
DIY Solutions for Plumbing Problems
DIY Solutions for Plumbing Problems with Minor Clogs
Sort your plumbing problems with these easy techniques:
- Plunging: A plunger can be a powerful tool for dislodging minor clogs in sinks, toilets, and showers. Ensure you have a good seal and use a vigorous up-and-down motion to clear the blockage.
- Using a Drain Snake: A drain snake, or auger, can reach deep into pipes to break up and remove clogs. This is particularly useful for stubborn clogs that a plunger can’t fix.
- Baking Soda and Vinegar Mixture: A mixture of baking soda and vinegar can be a natural and effective way to clear minor clogs. Pour the baking soda down the drain, followed by vinegar, and let it sit before flushing with hot water.
- Boiling Water Method: Pouring boiling water down the drain can help dissolve grease and soap scum, making it easier to clear the clog. This is a simple and often effective method for minor blockages.
Signs of Pipe Damage Plumbing Problems
If you notice signs of pipe damage, such as leaks, rust, or cracks, it’s crucial to call a Stoke Bishop emergency plumbing professional. Damaged pipes can lead to severe clogs and water damage if not repaired promptly.
Understanding the causes of clogs is the first step in preventing and addressing them. By recognising the signs and taking preventive measures, you can keep your plumbing running smoothly. Remember, when in doubt, calling a plumbing professional is always a wise choice to avoid further damage and costly repairs.
Plumbing Problems with Running Toilet
- Faulty Flapper Valve: The flapper valve is a crucial component of the toilet tank. It controls the release of water from the tank into the bowl. Over time, the flapper can become worn or warped, preventing it from sealing properly and causing the toilet to run continuously.
- Incorrect Water Level: If the water level in the tank is set too high, it can cause water to constantly flow into the overflow tube and keep the toilet running. Ensuring the correct water level is crucial for proper toilet function.
- Fill Valve Issues: The fill valve controls the flow of water into the toilet tank. If it’s not functioning correctly, it can cause the tank to overfill or fail to fill properly, leading to a running toilet.
- Leaky Flush Valve: The flush valve is responsible for releasing water from the tank to the bowl during a flush. A leaky flush valve can cause water to trickle into the bowl continuously, resulting in a running toilet.
- Problems with the Float: The float regulates the water level in the tank. If it’s not adjusted correctly or has become damaged, it can cause the water to overflow into the tank and keep the toilet running.
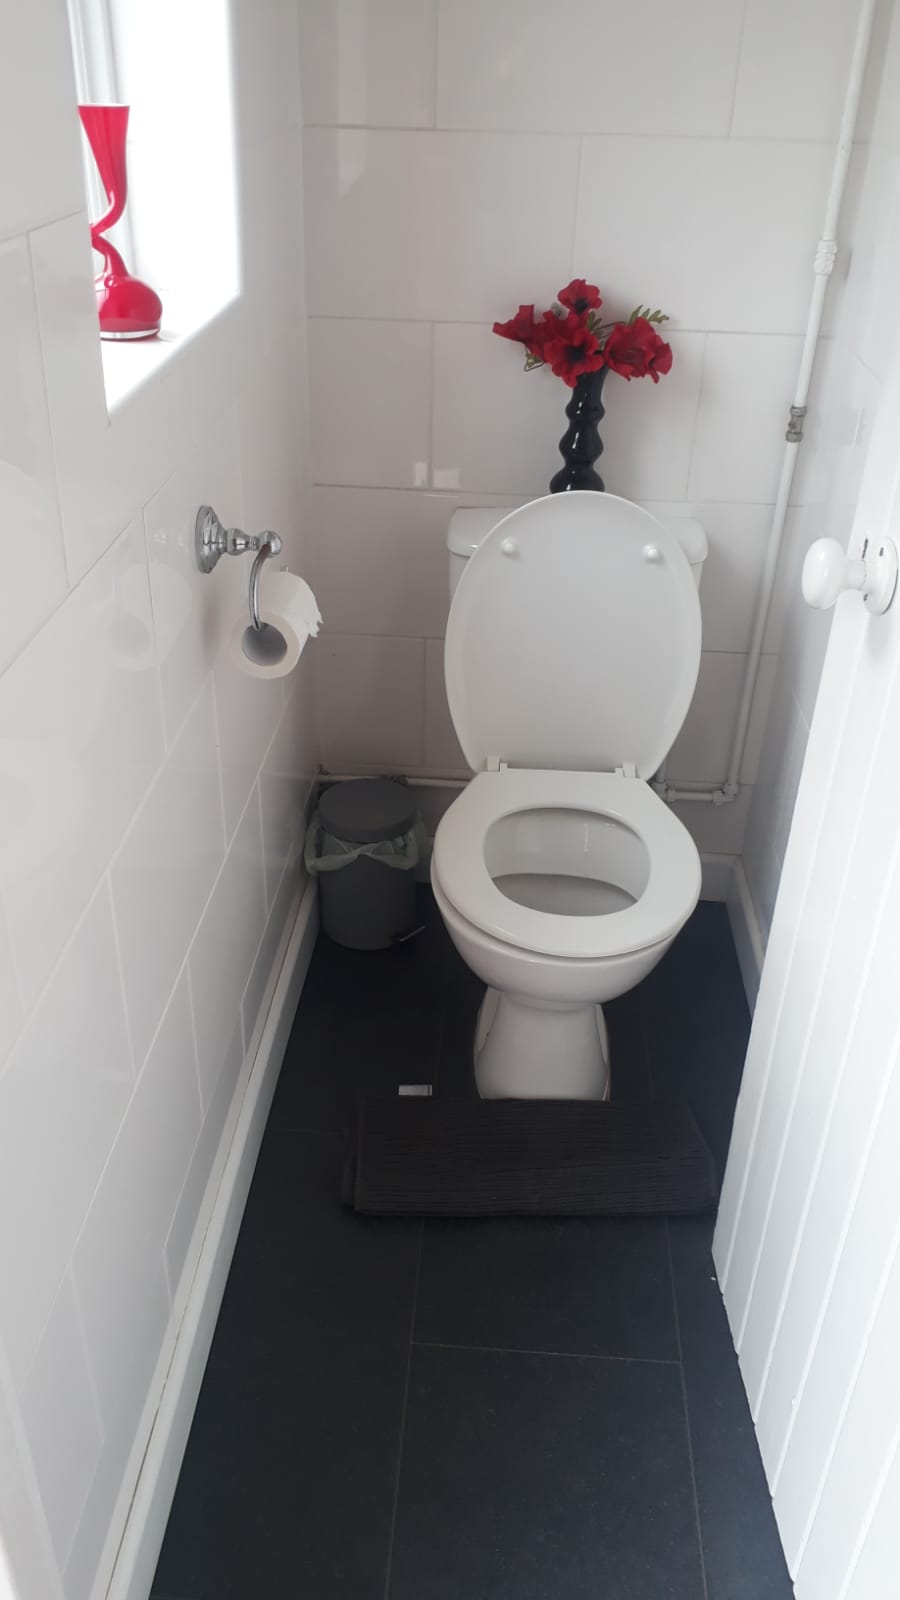
Identifying the The Running Toilet Plumbing Problem
- Listening for Water Running: One of the first signs of a running toilet is the sound of water running when the toilet has not been flushed. This indicates that water is escaping from the tank into the bowl.
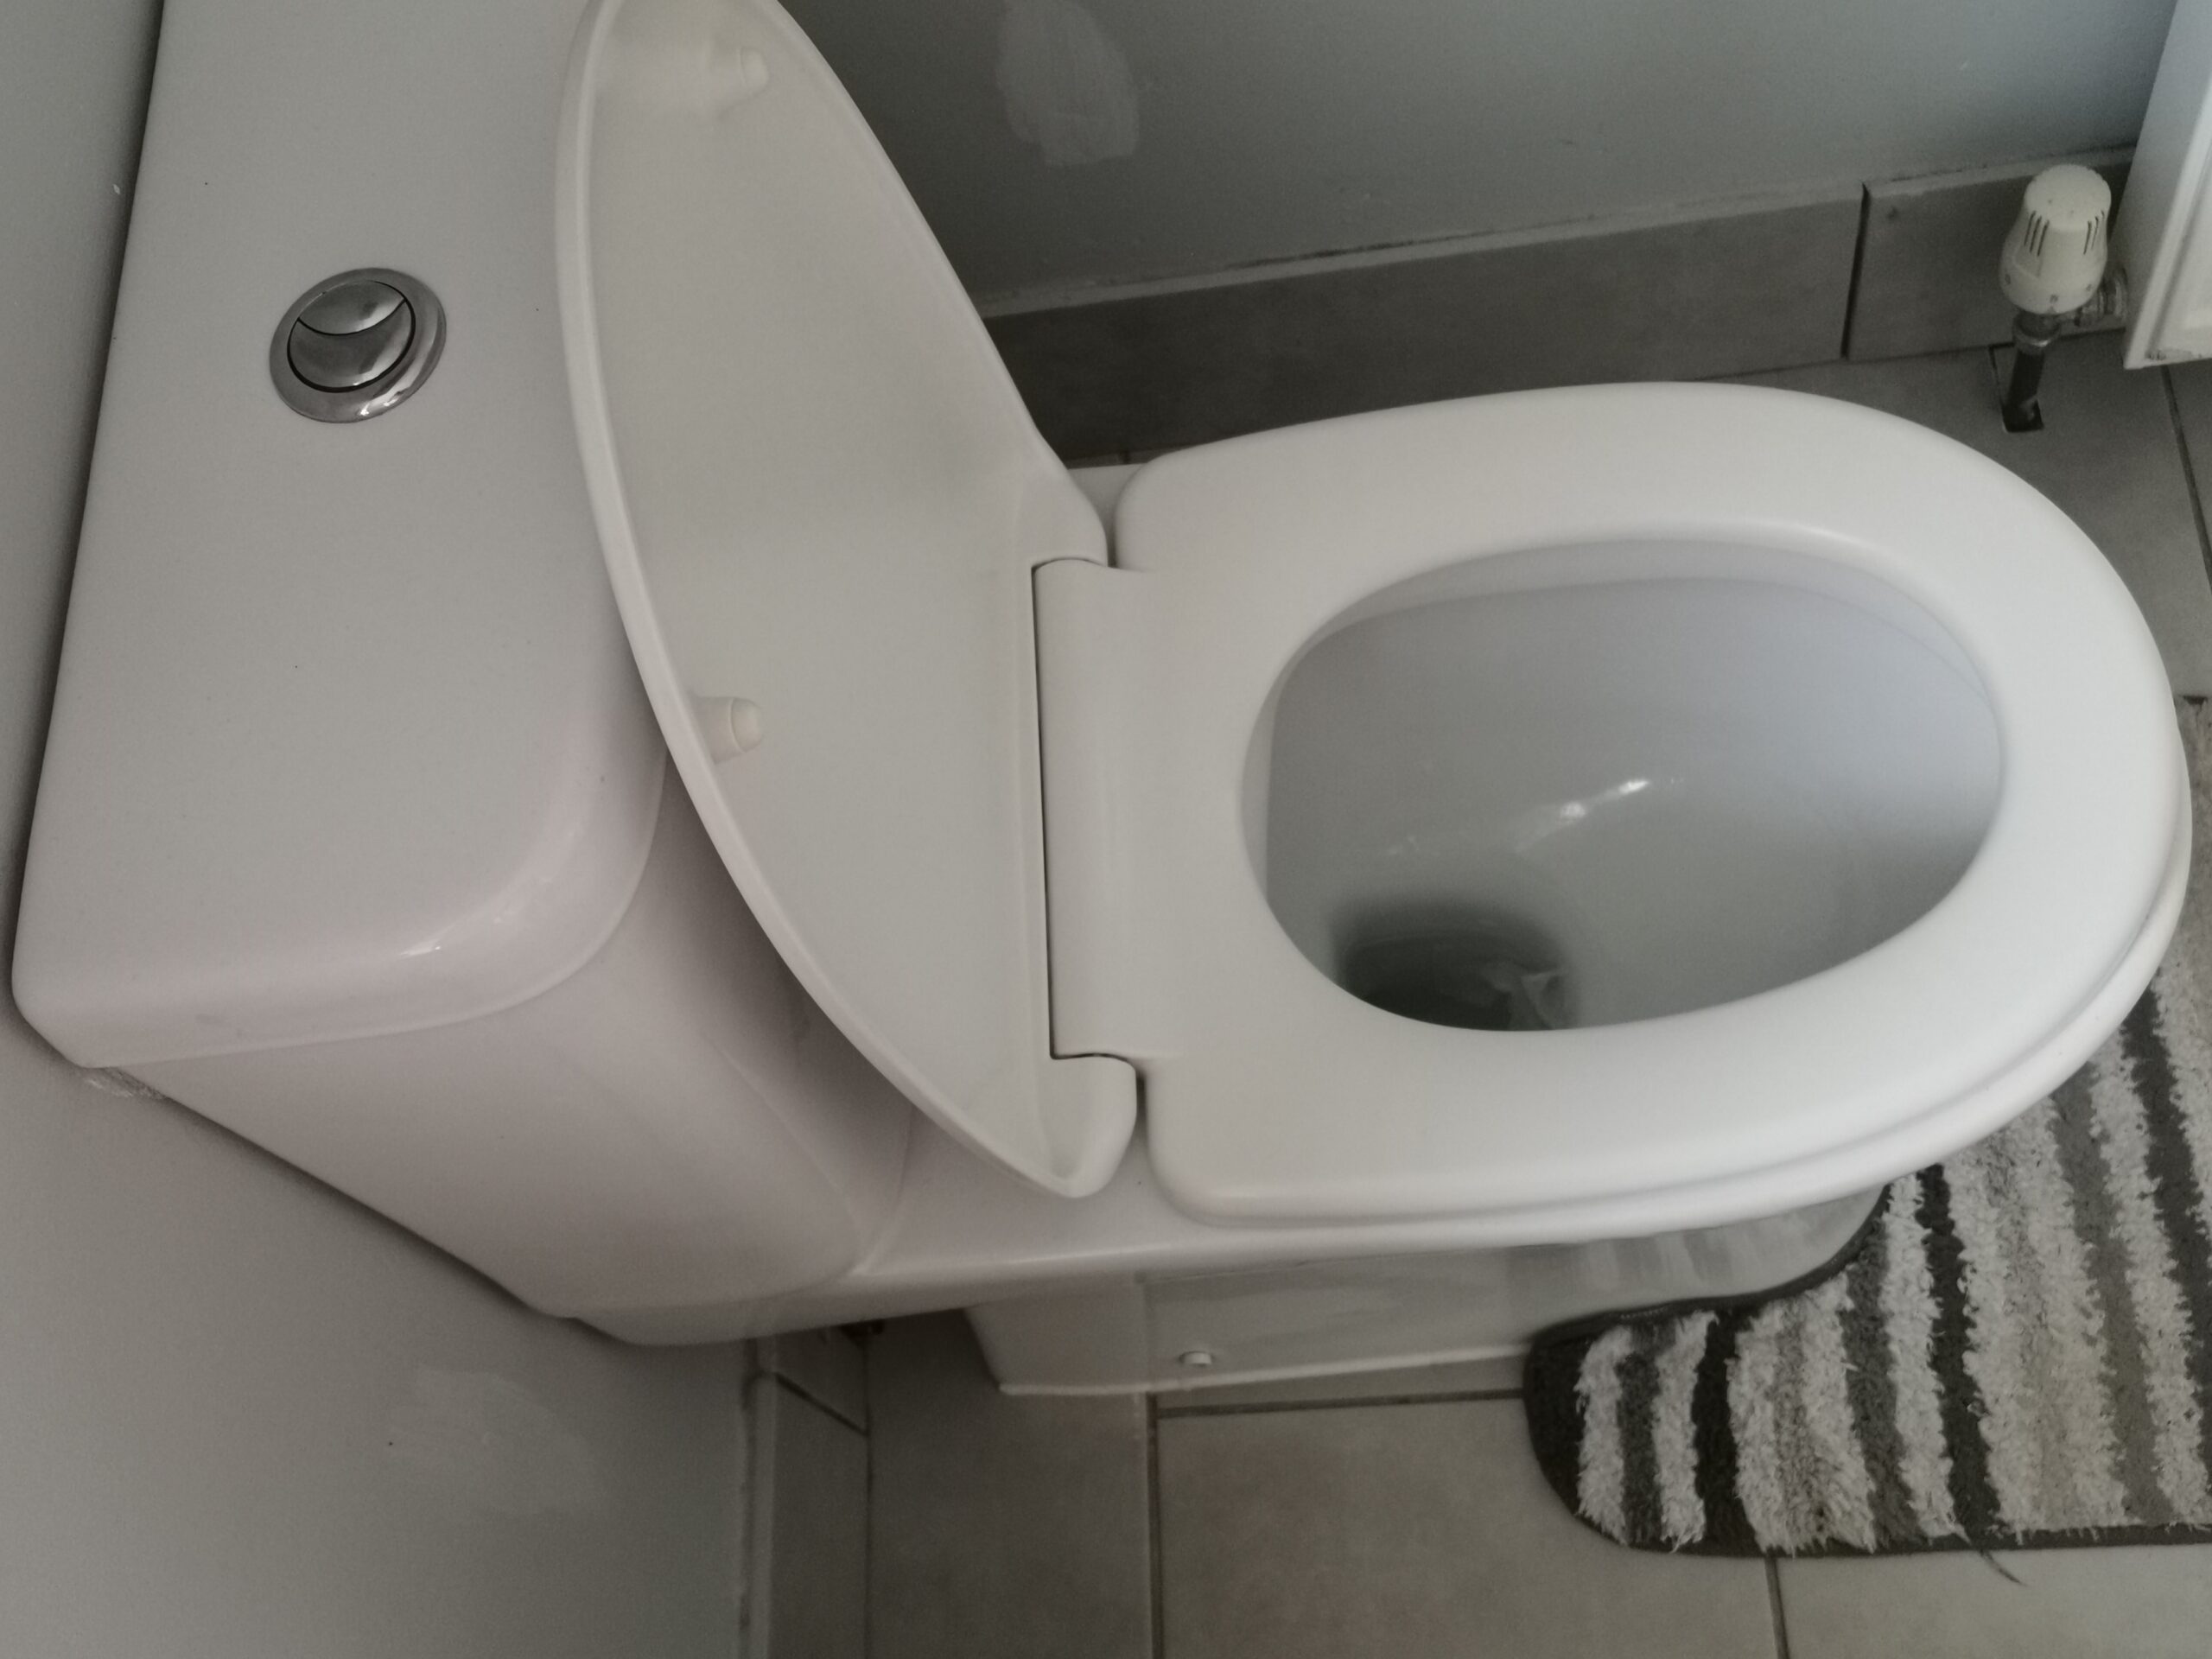
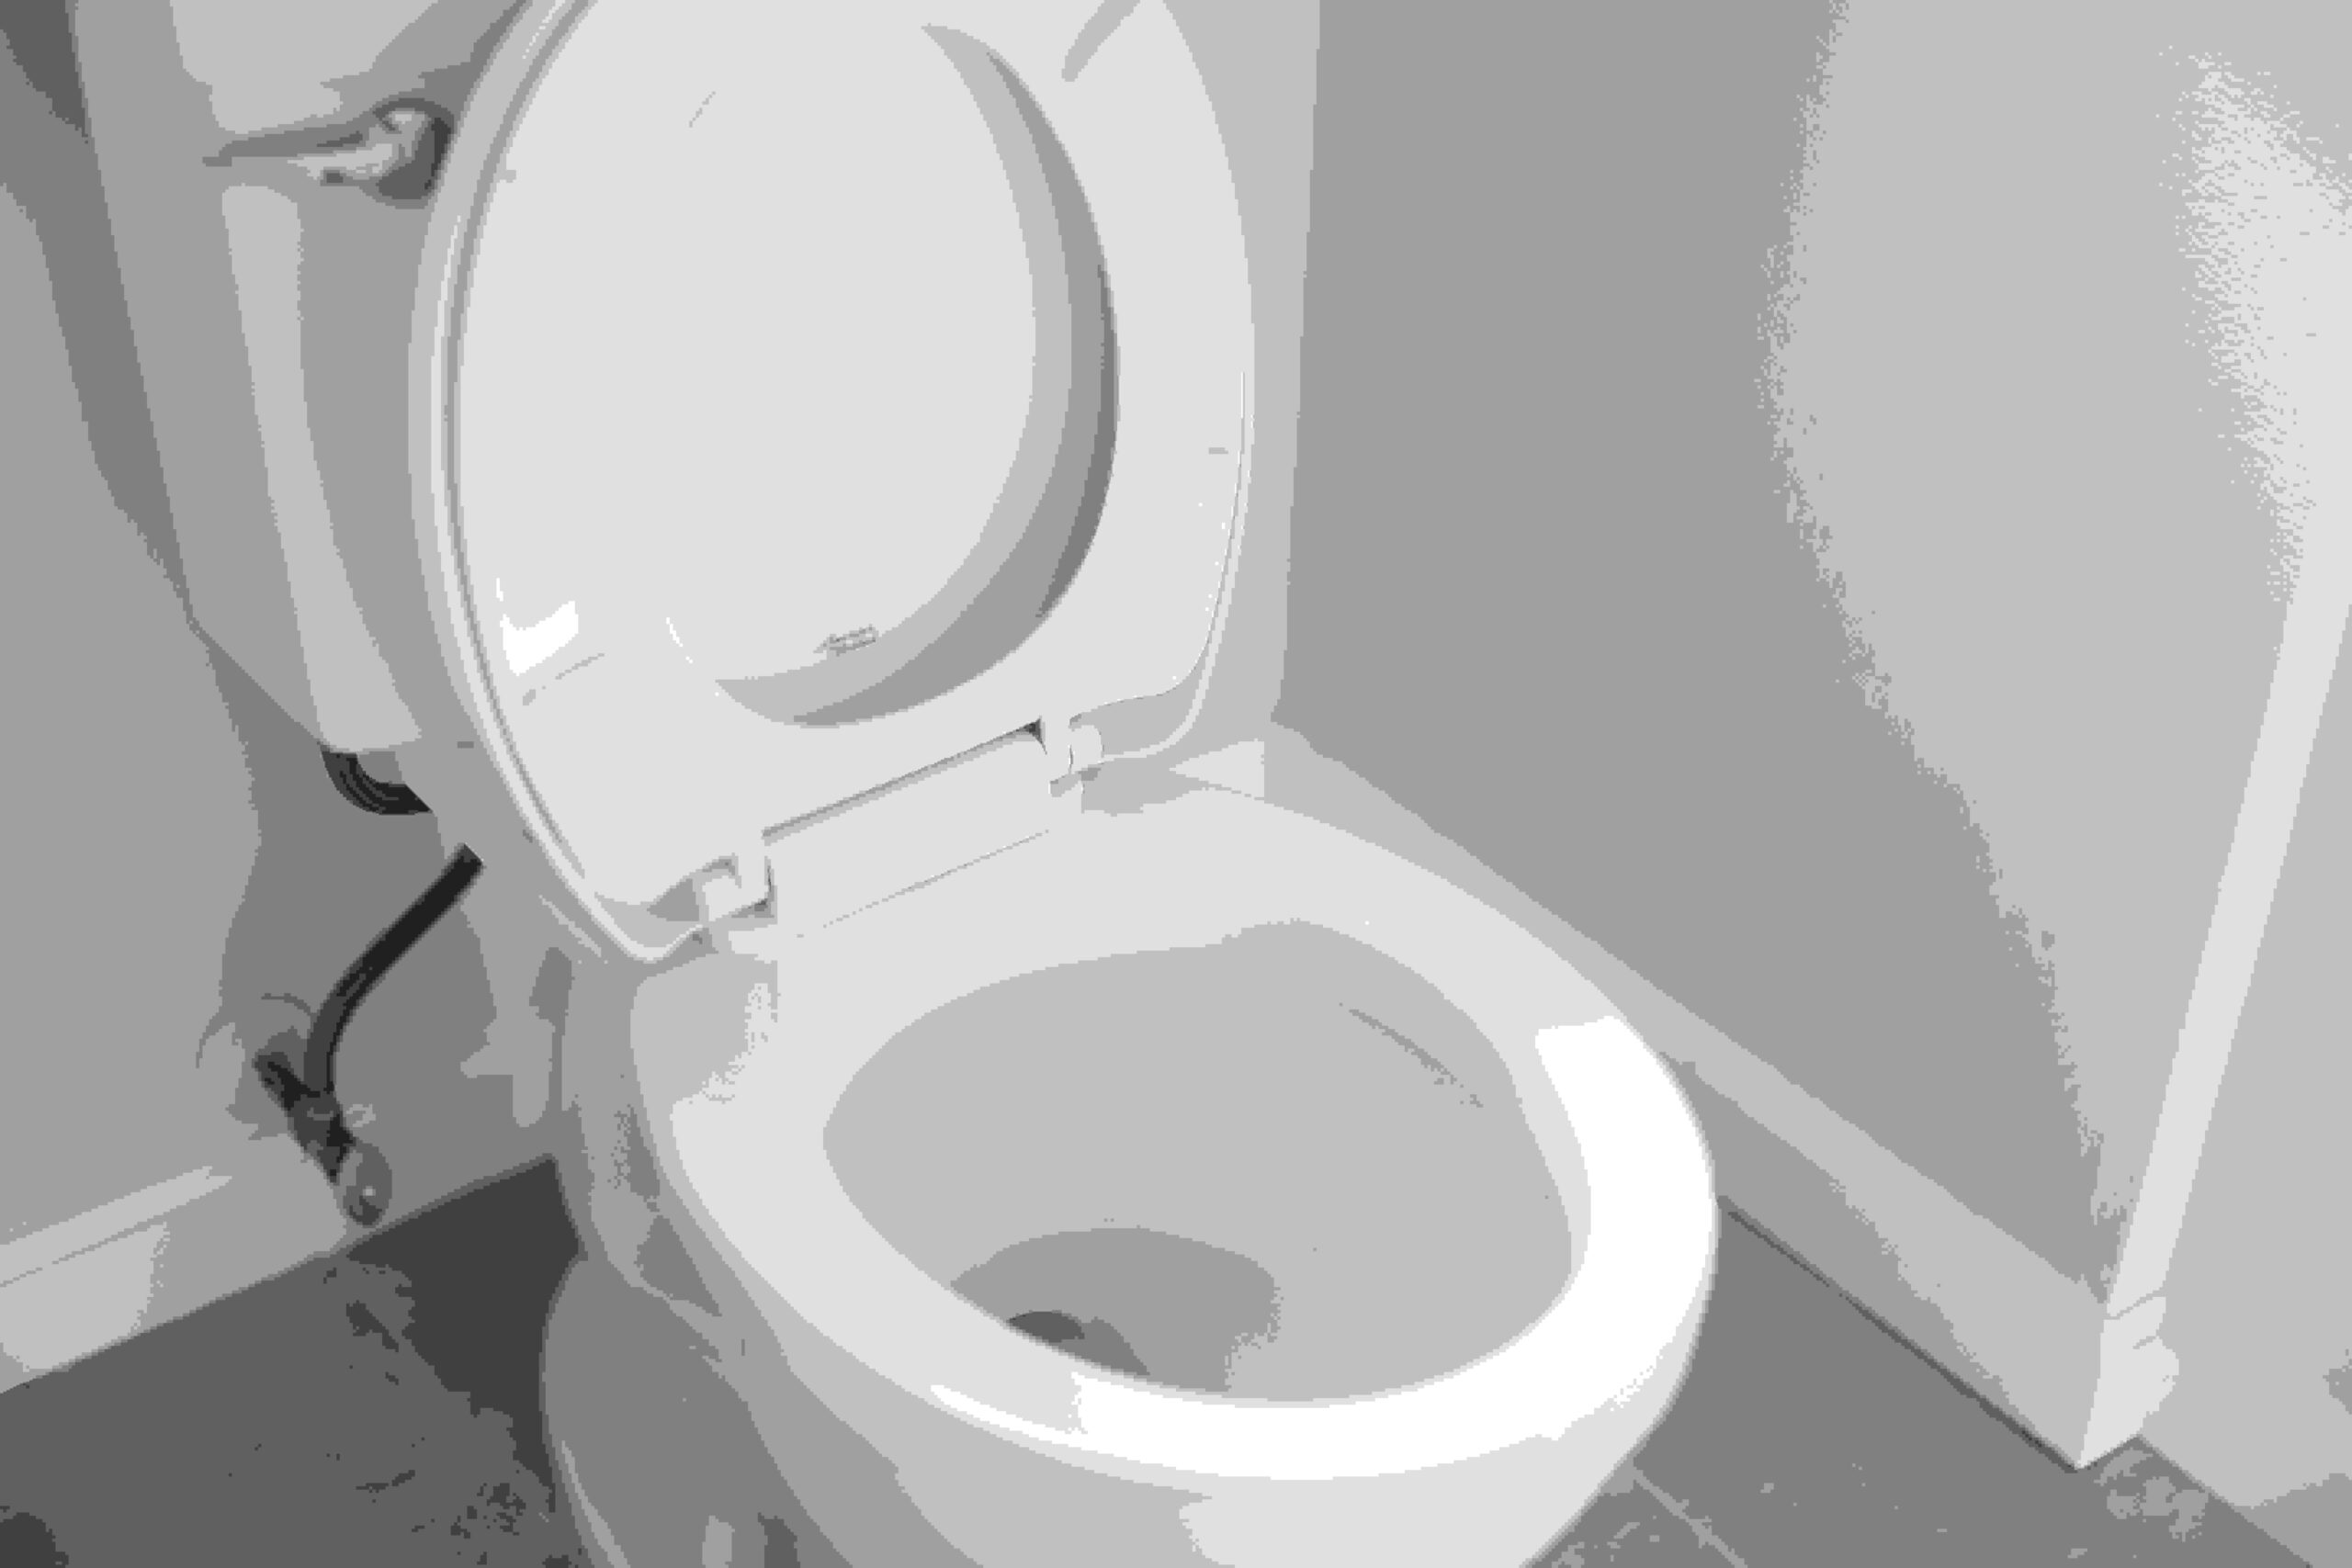
- Checking the Water Level: Remove the lid from the toilet tank and check the water level. It should be about an inch below the top of the overflow tube. If the water level is too high, it needs to be adjusted.
- Inspecting the Flapper: Examine the flapper for any signs of wear, warping, or damage. Ensure it’s seating properly over the flush valve opening and forming a tight seal.
- Examining the Fill Valve: Check the fill valve for proper operation. Ensure it’s shutting off when the tank is full and not allowing water to continue flowing.
- Assessing the Float: Make sure the float is not obstructed and is moving freely. Adjust the float to ensure it’s stopping the fill valve at the correct water level.
DIY Solutions for Plumbing Problems with Running Toilet
Replacing the Flapper
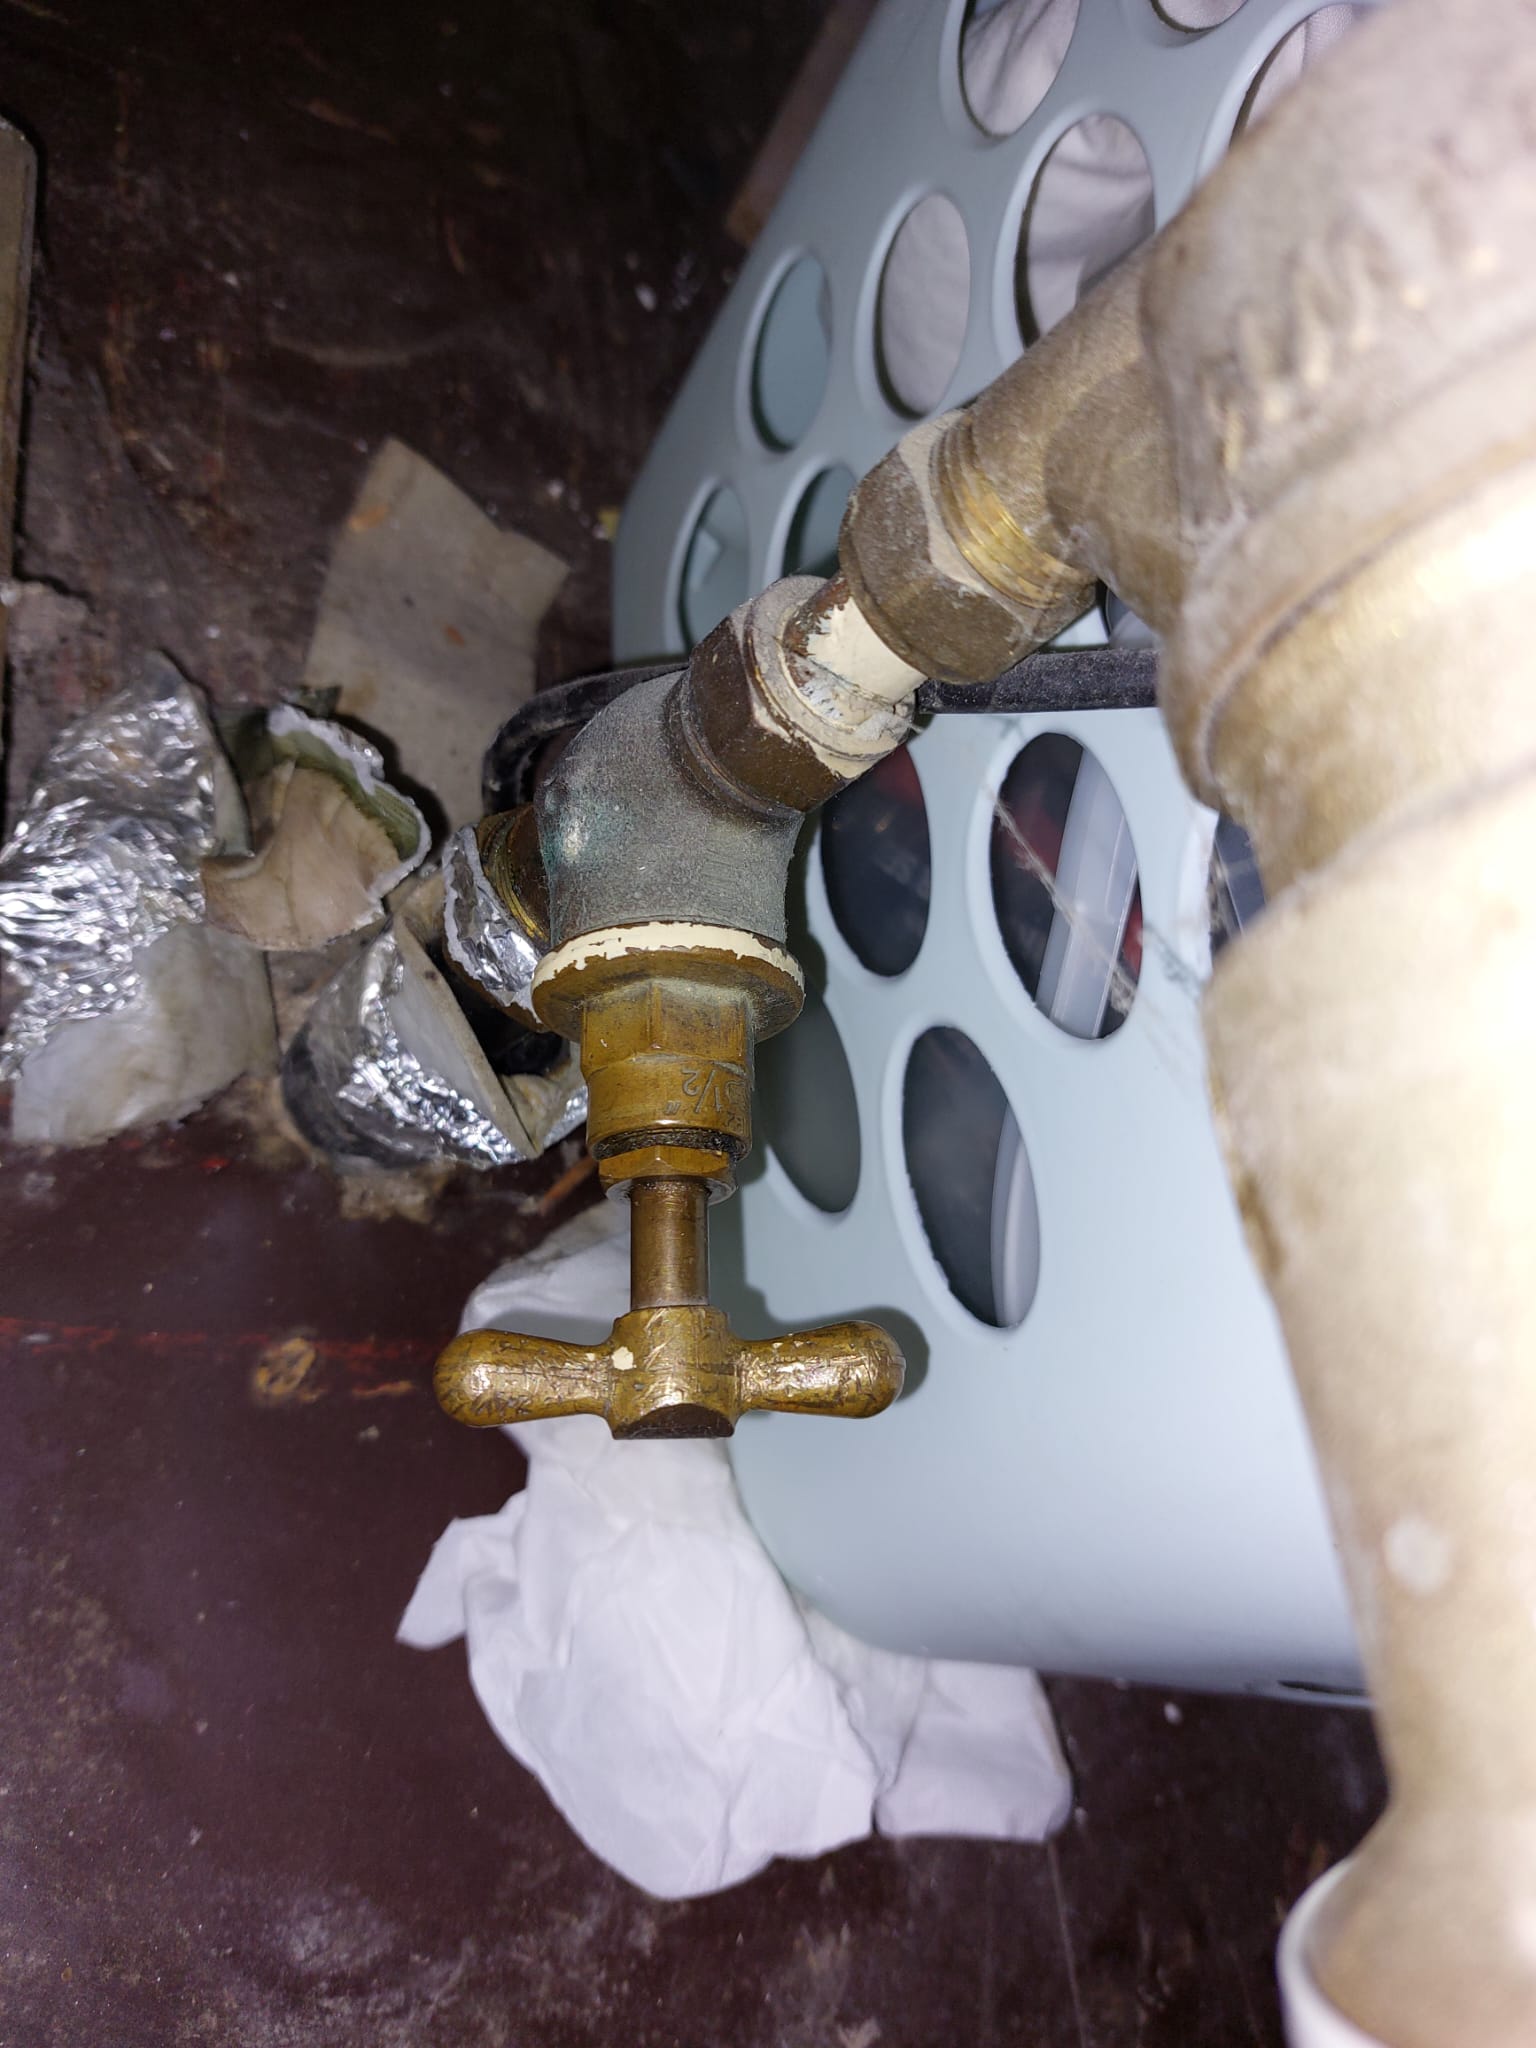
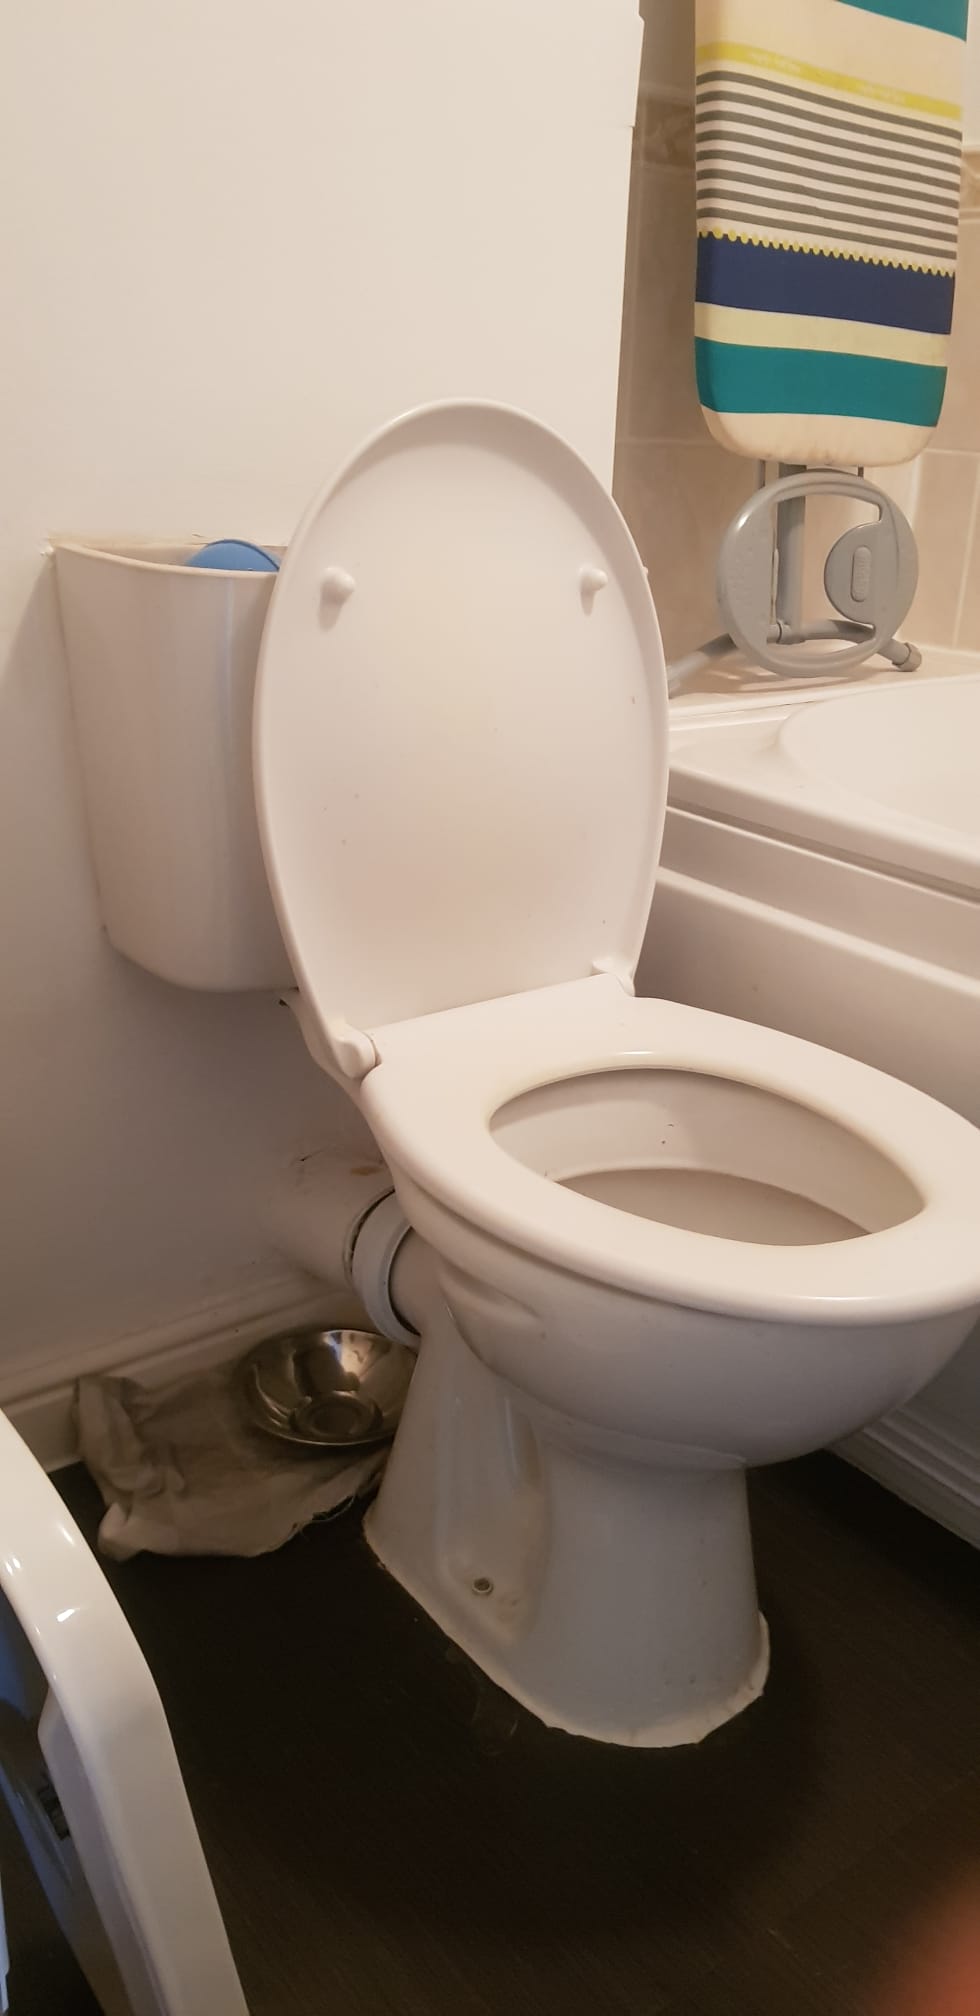
- Turn off the Water Supply: Locate the shutoff valve behind the toilet and turn it off.
- Drain the Tank: Flush the toilet to drain the water from the tank.
- Remove the Old Flapper: Disconnect the flapper from the chain and remove it from the flush valve.
- Install the New Flapper: Attach the new flapper to the flush valve and reconnect the chain.
- Turn on the Water Supply: Turn the water back on and test the new flapper.
Adjusting the Water Level
- Locate the Float: Identify the type of float in your toilet (ball float or cup float).
- Adjust the Float: For a ball float, bend the arm down to lower the water level. For a cup float, adjust the screw on top of the fill valve to lower the water level.
- Test the Adjustment: Flush the toilet and check the water level.

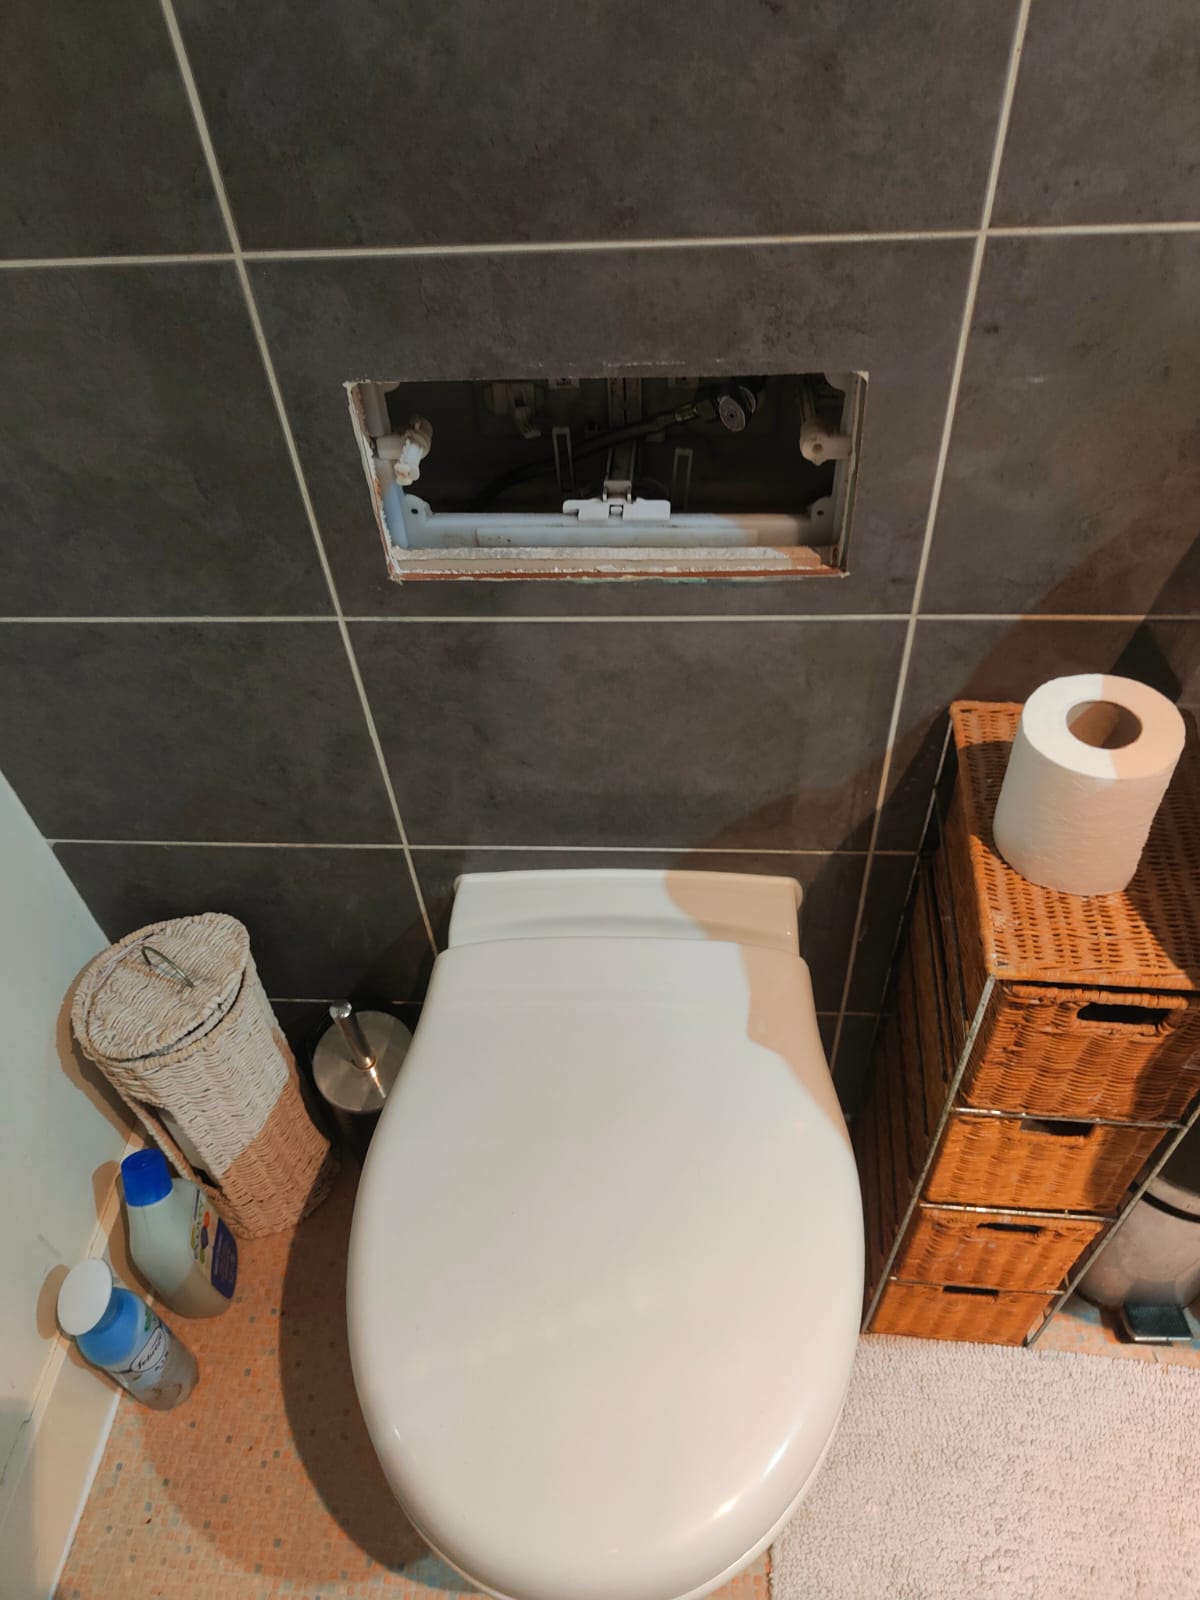
Fixing or Replacing the Fill Valve
- Turn off the Water Supply: Shut off the water supply to the toilet.
- Drain the Tank: Flush the toilet to empty the tank.
- Remove the Old Fill Valve: Disconnect the water supply line and remove the fill valve.
- Install the New Fill Valve: Follow the manufacturer’s instructions to install the new fill valve.
- Turn on the Water Supply: Reconnect the water supply and test the new fill valve.
Repairing the Flush Valve
- Turn off the Water Supply: Shut off the water supply to the toilet.
- Drain the Tank: Flush the toilet to empty the tank.
- Remove the Flapper and Flush Valve Seat: Disconnect the flapper and unscrew the flush valve seat.
- Install the New Flush Valve Seat: Follow the manufacturer’s instructions to install the new seat.
- Reattach the Flapper: Connect the flapper to the new seat and test the flush valve.
Adjusting or Replacing the Float
- Identify the Type of Float: Determine whether your toilet has a ball float or a cup float.
- Adjust the Float: For a ball float, bend the arm down to lower the water level. For a cup float, adjust the screw on top of the fill valve.
- Replace the Float if Necessary: If the float is damaged, replace it with a new one.
- Test the Adjustment: Flush the toilet and check the water level.
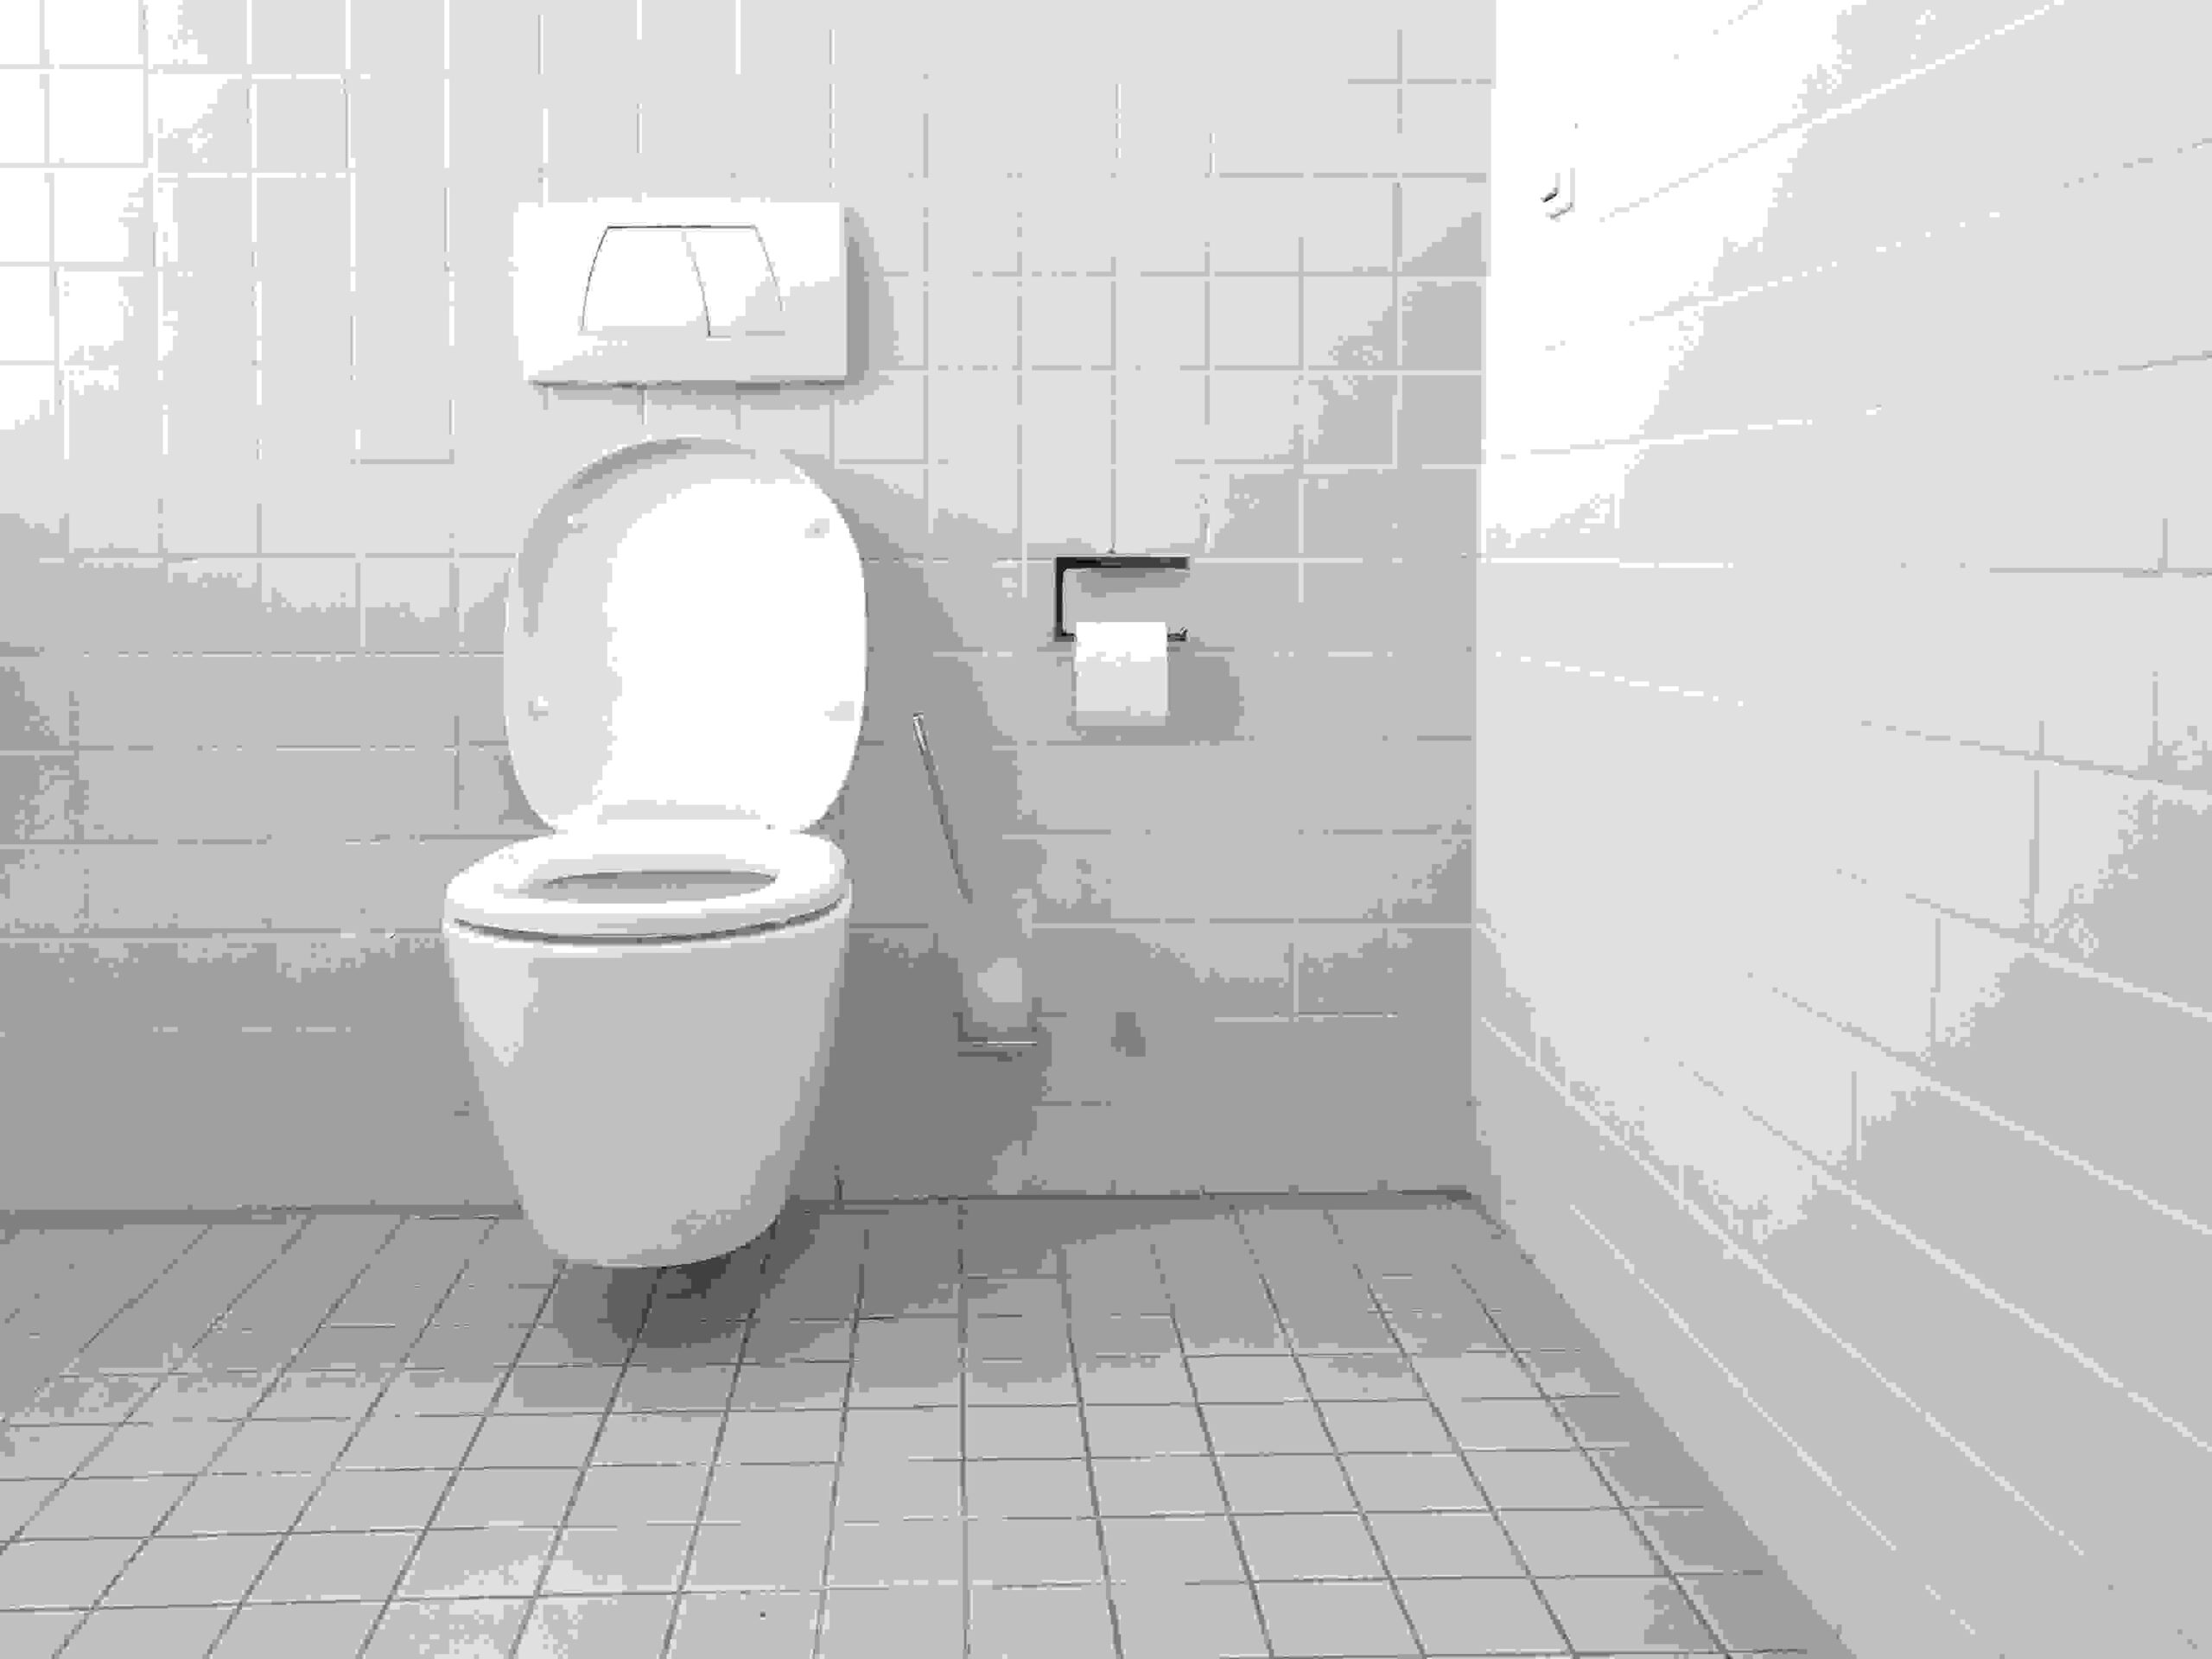
Preventive Measures for these Plumbing Problems
- Regular Maintenance: Regularly inspect and maintain your toilet’s components to ensure they are functioning correctly. This can help prevent running toilet issues before they start.
- Checking for Leaks: Periodically check for leaks in the tank and bowl. Use food colouring in the tank water to see if it seeps into the bowl without flushing, indicating a leak.
- Testing the Flapper Regularly: Test the flapper’s seal regularly by pressing down on it when the toilet is running. If the running stops, the flapper needs to be replaced.
- Ensuring Proper Float Operation: Ensure the float is free from obstructions and is moving smoothly. Adjust the float if necessary to maintain the correct water level.
Environmental Impact of Plumbing Problems with Toilet Running
- Water Wastage: A running toilet can waste a significant amount of water, which is not only costly but also environmentally damaging. Fixing the issue promptly is essential.
- Importance of Timely Repairs: Timely repairs can prevent further water wastage and reduce your utility bills. It also helps conserve water resources.
- Eco-Friendly Solutions: Opt for eco-friendly repair solutions and products to minimise environmental impact. Avoid chemical cleaners that can harm the environment.
Troubleshooting Toilet Plumbing Problems