
How to Replace a Toilet: A Guide for Toilet Replacement
Replacing a toilet might seem like a daunting task, but with the right guidance and a bit of confidence, it can be a straightforward DIY plumber project. Whether you’re upgrading to a more efficient model or need to fix a leaky toilet, this step-by-step guide will walk you through the process. By the end of this article, you’ll be equipped with the knowledge and skills to replace a toilet yourself.

Read about electric shower replacement.
Why Replace Your Toilet?
Before diving into the process, it’s essential to understand why you might need to replace your toilet. Some common reasons include improving water efficiency, addressing leaks, or simply updating the bathroom’s aesthetics. Replacing an old toilet with a newer, more efficient model can lead to water and cost savings in the long run.
Tools and Materials You’ll Need to Replace a Toilet
To successfully replace your toilet, gather the following tools and materials:
- Adjustable wrench
- Screwdriver
- Putty knife
- Bucket
- Towels
- New wax ring
- Bolts
- Caulk gun and caulk
- Toilet seat (if not included with the new toilet)
Safety Precautions for Replacing a Toilet
Safety first! Before you start, make sure to turn off the plumber water supply to the toilet. This prevents any unexpected water leaks or accidents during the process.
Turn Off the Water Supply Before You Replace a Toilet
- Locate the water supply valve usually located on the wall behind the toilet. Turn it clockwise to shut off the water. Flush the toilet to empty the tank completely.
Remove the Old Toilet
- Empty the Toilet Tank: Remove the tank lid and flush the toilet. Use a sponge or towel to remove any remaining water from the tank and bowl. This will make the toilet easier to handle.
- Disconnect the Water Supply Line: Use an adjustable wrench to disconnect the water supply line from the bottom of the tank. Be prepared for a little water to spill out.

Remove the Wax Ring and Bolts
- Remove the caps covering the bolts securing the toilet to the floor. Use a wrench to loosen and remove these bolts. Carefully lift the toilet off the wax ring, which might require a bit of wiggling.
Prepare the Area for Installation
- Clean the area where the old wax ring was located and remove any debris or remnants. Ensure the floor is level and in good condition.
Install the New Wax Ring and Bolts
- Place the new wax ring over the flange on the floor, ensuring it’s centered. Insert the new bolts into the flange slots.
Position the New Toilet
- Carefully lower the new toilet onto the wax ring and bolts, aligning it with the floor bolts.
Secure the Toilet in Place
- Place a washer and nut onto each bolt and tighten them evenly. Be careful not to overtighten, as this can crack the toilet base.
Reconnect the Water Supply
- Reattach the water supply line to the bottom of the toilet tank and turn on the water supply valve.
Test for Leaks from Your New Toilet
- Flush the replacement toilet and check for any leaks around the base and water connections. If you spot any leaks, tighten the connections as needed.
Caulk the Base
- Apply a bead of caulk around the base of the toilet to create a watertight seal and improve aesthetics.
Attach the Toilet Seat
- If your new toilet did not come with a seat, install a new one following the manufacturer’s instructions.
Check for Stability
- Give the toilet a gentle shake to ensure it’s stable and securely anchored to the floor.
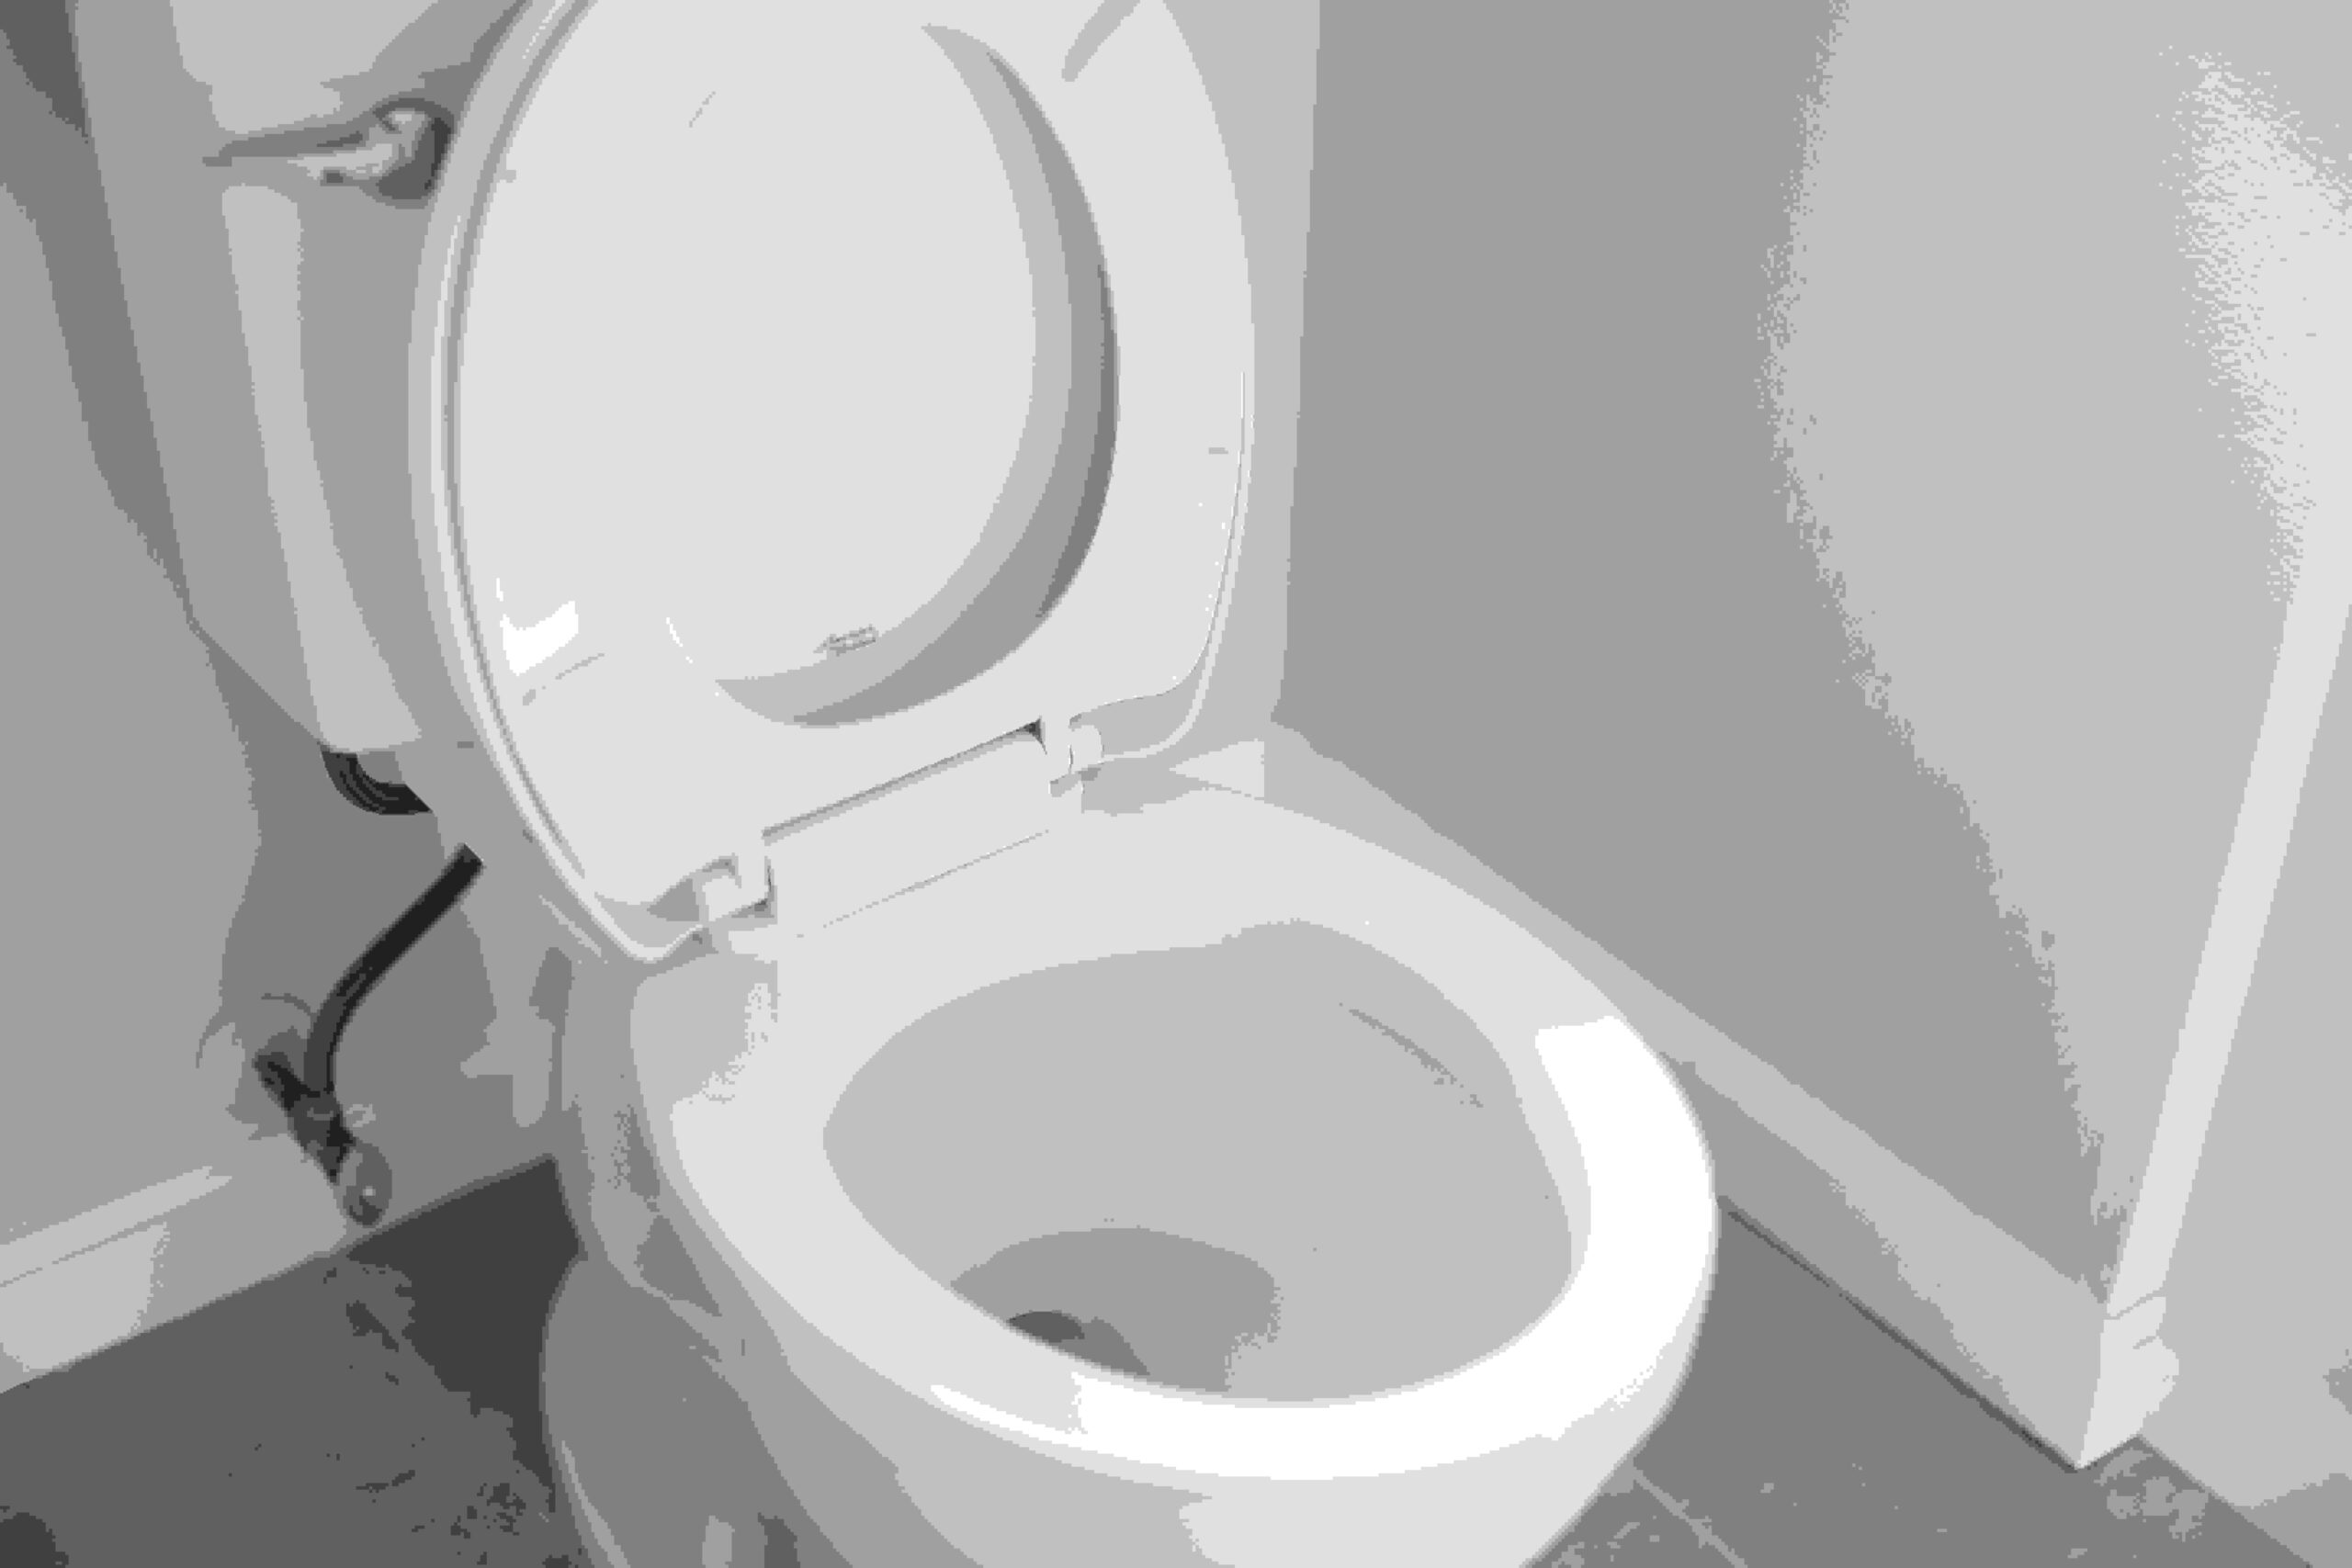
Newly Installed Toilet
Congratulations! You’ve successfully replaced your toilet. This DIY project can save you money and improve the functionality and appearance of your bathroom. Remember to dispose of the old toilet responsibly and enjoy your newly installed fixture.
Questions about How to Replace a Toilet
Can I reuse the old wax ring when replacing a toilet?
- No, it’s recommended to use a new wax ring when installing a new toilet to ensure a proper seal and prevent leaks.
How long does it take to replace a toilet?
- On average, it takes about 1 to 2 hours to replace a toilet, but this can vary depending on your level of experience.
What should I do if I encounter a stubborn bolt when removing the old toilet?
- Spraying a lubricant like WD-40 on the bolts can help loosen them. If they’re still challenging to remove, consider using a hacksaw to cut them.

Do I need any special skills to replace a toilet?
- No, replacing a toilet is a manageable DIY project that doesn’t require advanced skills. However, following the steps carefully is crucial.
Can I replace a toilet without turning off the water supply?
- No, it’s essential to turn off the water supply before starting to prevent water from gushing out when disconnecting the water supply line.
Reach out if you need help to replace a toilet
Replacing a toilet may seem intimidating at first, but with the right tools, knowledge, and patience, it’s a task that many homeowners can tackle successfully. This step-by-step guide has provided you with the essential information to replace your toilet and enjoy the newer, more efficient fixture. If you have any further questions or concerns, don’t hesitate to reach out to a professional plumber Bristol for assistance.