How to Replace a Washer in a Tap: A Step-by-Step Guide

Leaky taps can be a constant source of annoyance and wasted water. Fortunately, you don’t need to be a plumbing expert to tackle this common household issue. This is a guide on how to replace a washer in a tap. Plumbers Bristol will walk you through the process of replacing a washer in a leaking tap, step by step. By the end of this article, you’ll have the confidence and know-how to fix that annoying drip yourself.
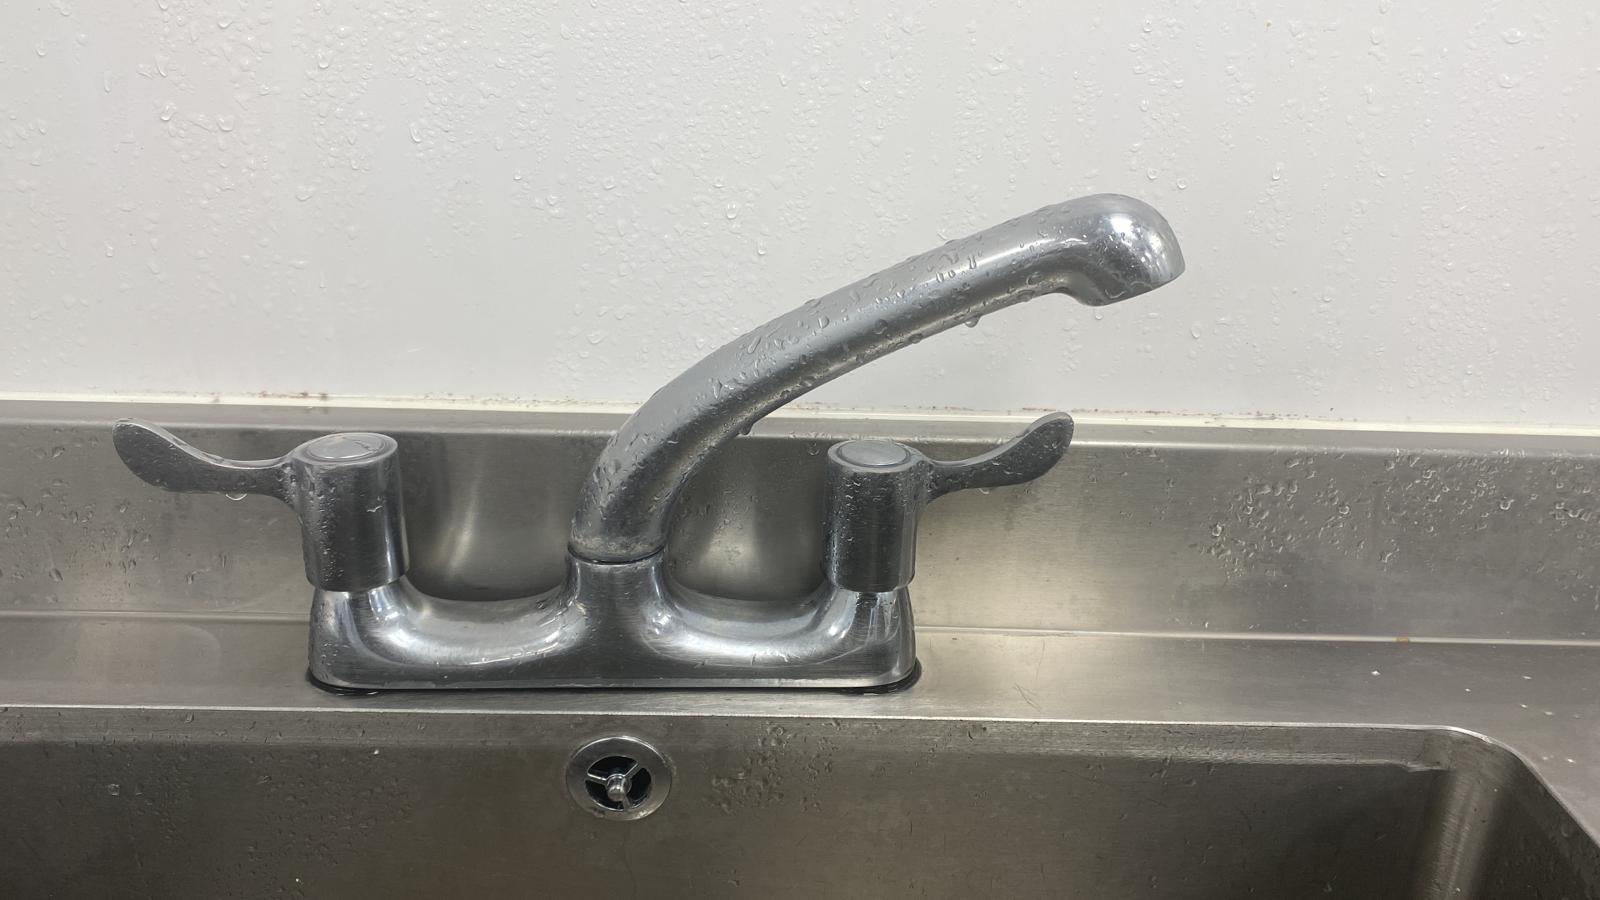
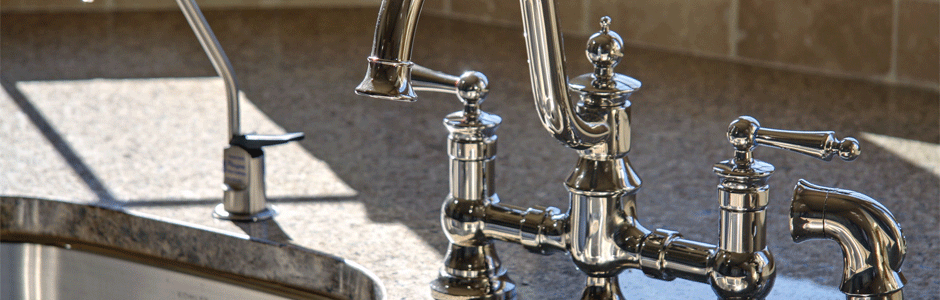
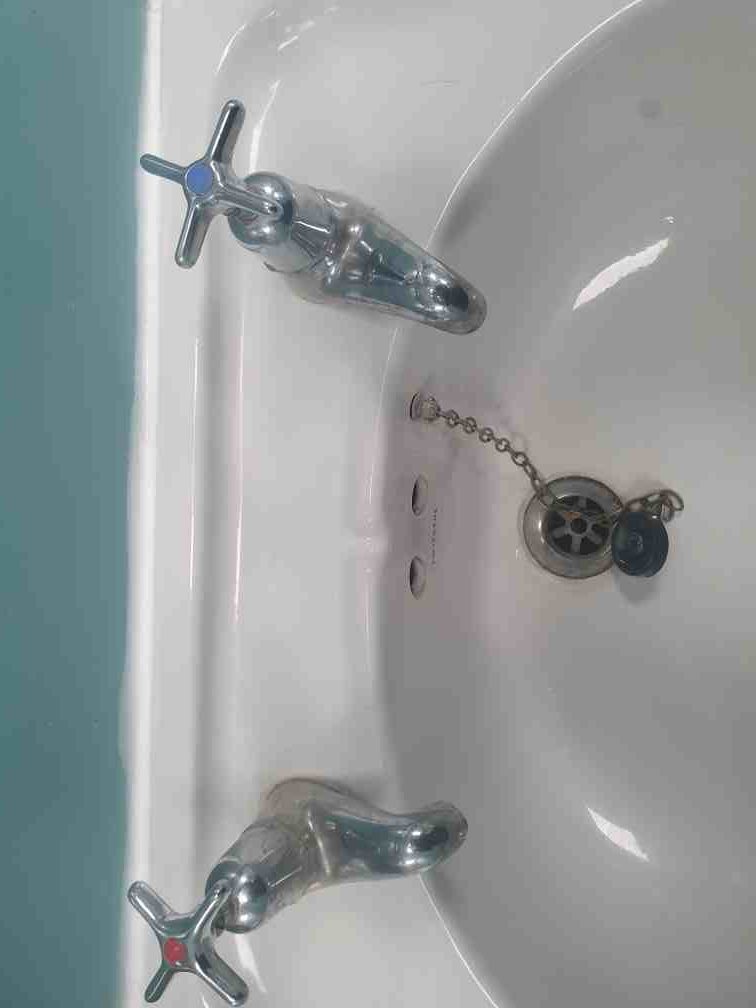
Understanding Tap Washers
What is a Tap Washer?
A tap washer is a small, often rubber or metal, disc found inside the tap. It creates a seal when the tap is turned off, preventing water from flowing.
Types of Tap Washers
- Rubber Washers: Common in older taps, they compress to stop the flow of water.
- Ceramic Washers: Found in modern taps, they offer better durability and less wear over time.
Common Issues with Tap Washers
Signs Your Tap Washer Needs Replacing
- Dripping tap
- Difficulty turning the tap off completely
- Reduced water pressure
Causes of Tap Washer Wear and Tear
Continuous use, high water pressure, and mineral deposits can cause washers to wear out, leading to leaks and inefficiency.
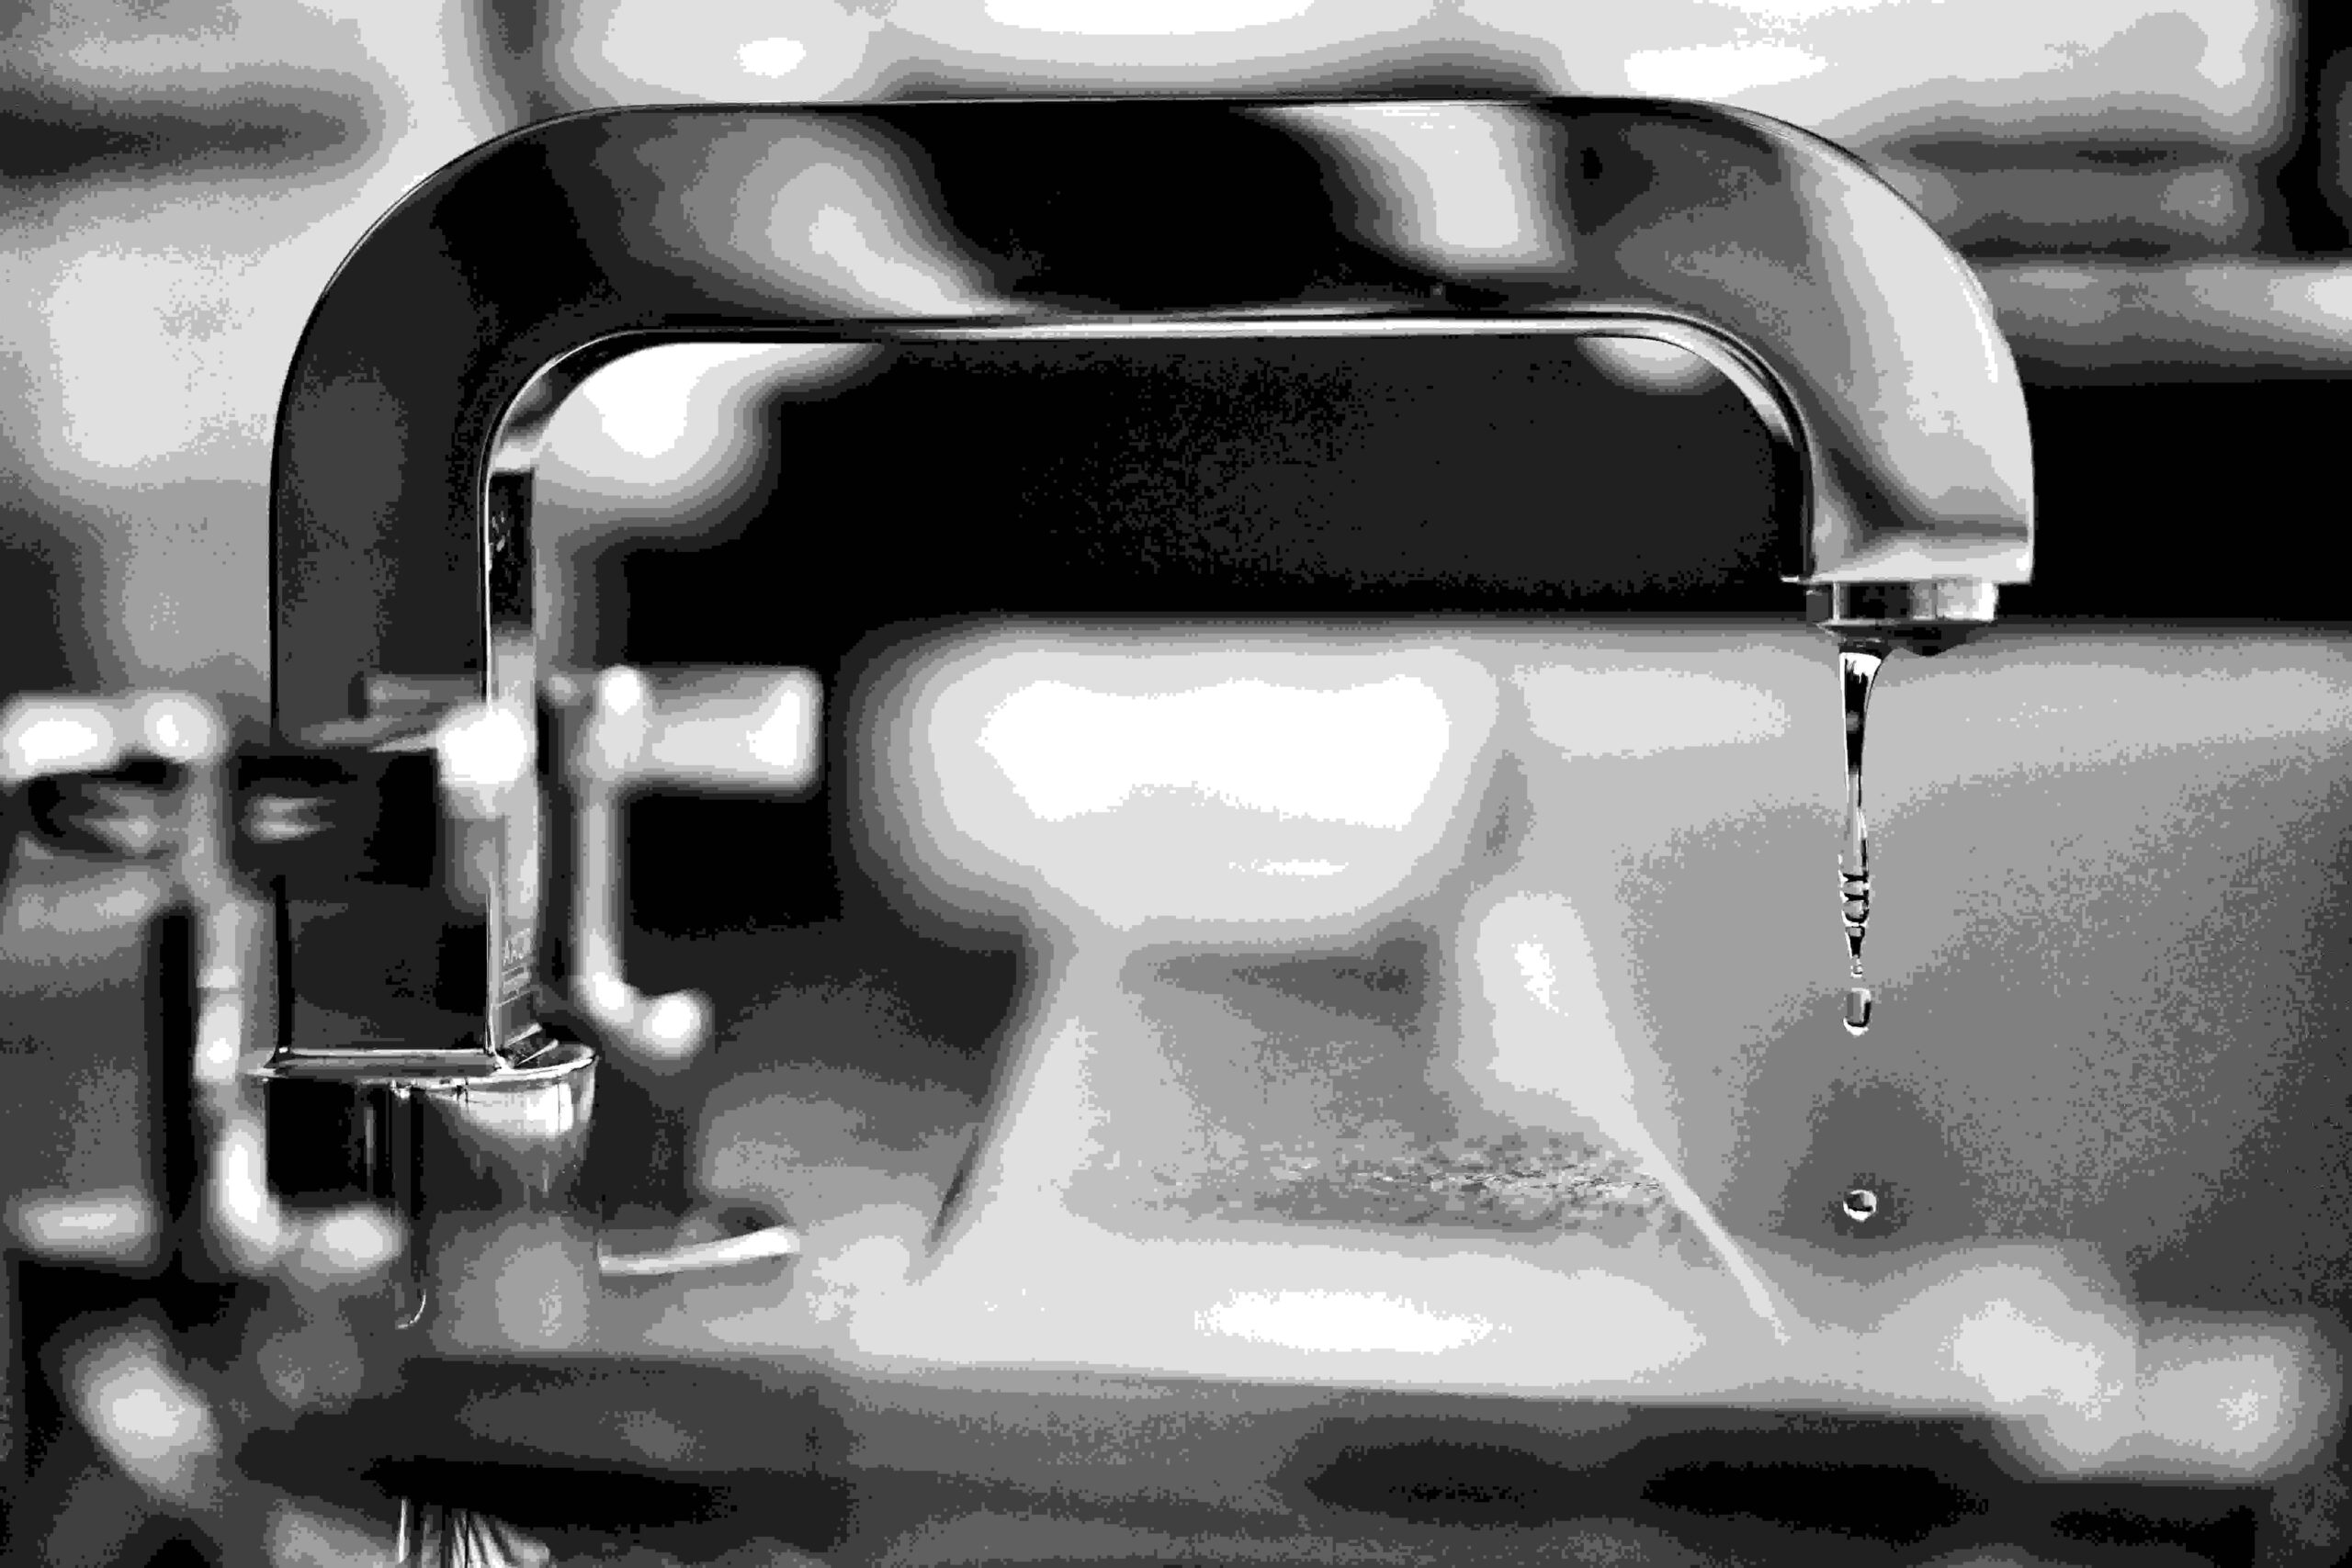
Why Is Your tap Leaking? Is it the washer?
Before we dive into the repair process, it’s essential to understand why your tap is leaking in the first place. Typically, a leaky tap is caused by a worn-out washer. The washer is a small rubber or plastic ring that sits inside the tap valve. Over time, this washer can deteriorate, causing water to seep through and create a drip.
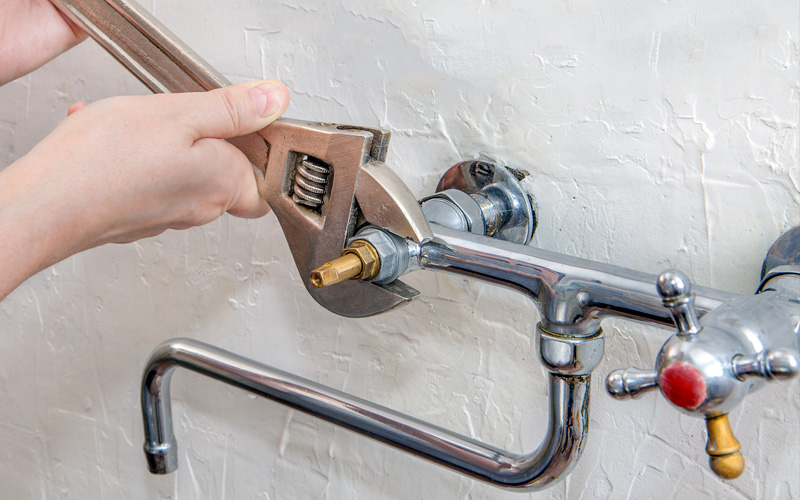
Tools and Materials You’ll Need to change the washer
Before you start the repair, gather the following tools and materials:
Tools:
- Adjustable wrench
- Screwdriver (Phillips or flathead, depending on your tap)
- Plumber’s tape
- Bucket or towel (to catch any excess water)
- Replacement washer (ensure it matches the size and type of your tap)
Step 1: Turn Off the Water Supply before changing the washer
Safety first! Locate the water shut-off valve under the sink and turn it off to prevent any water flow while you work on the tap.

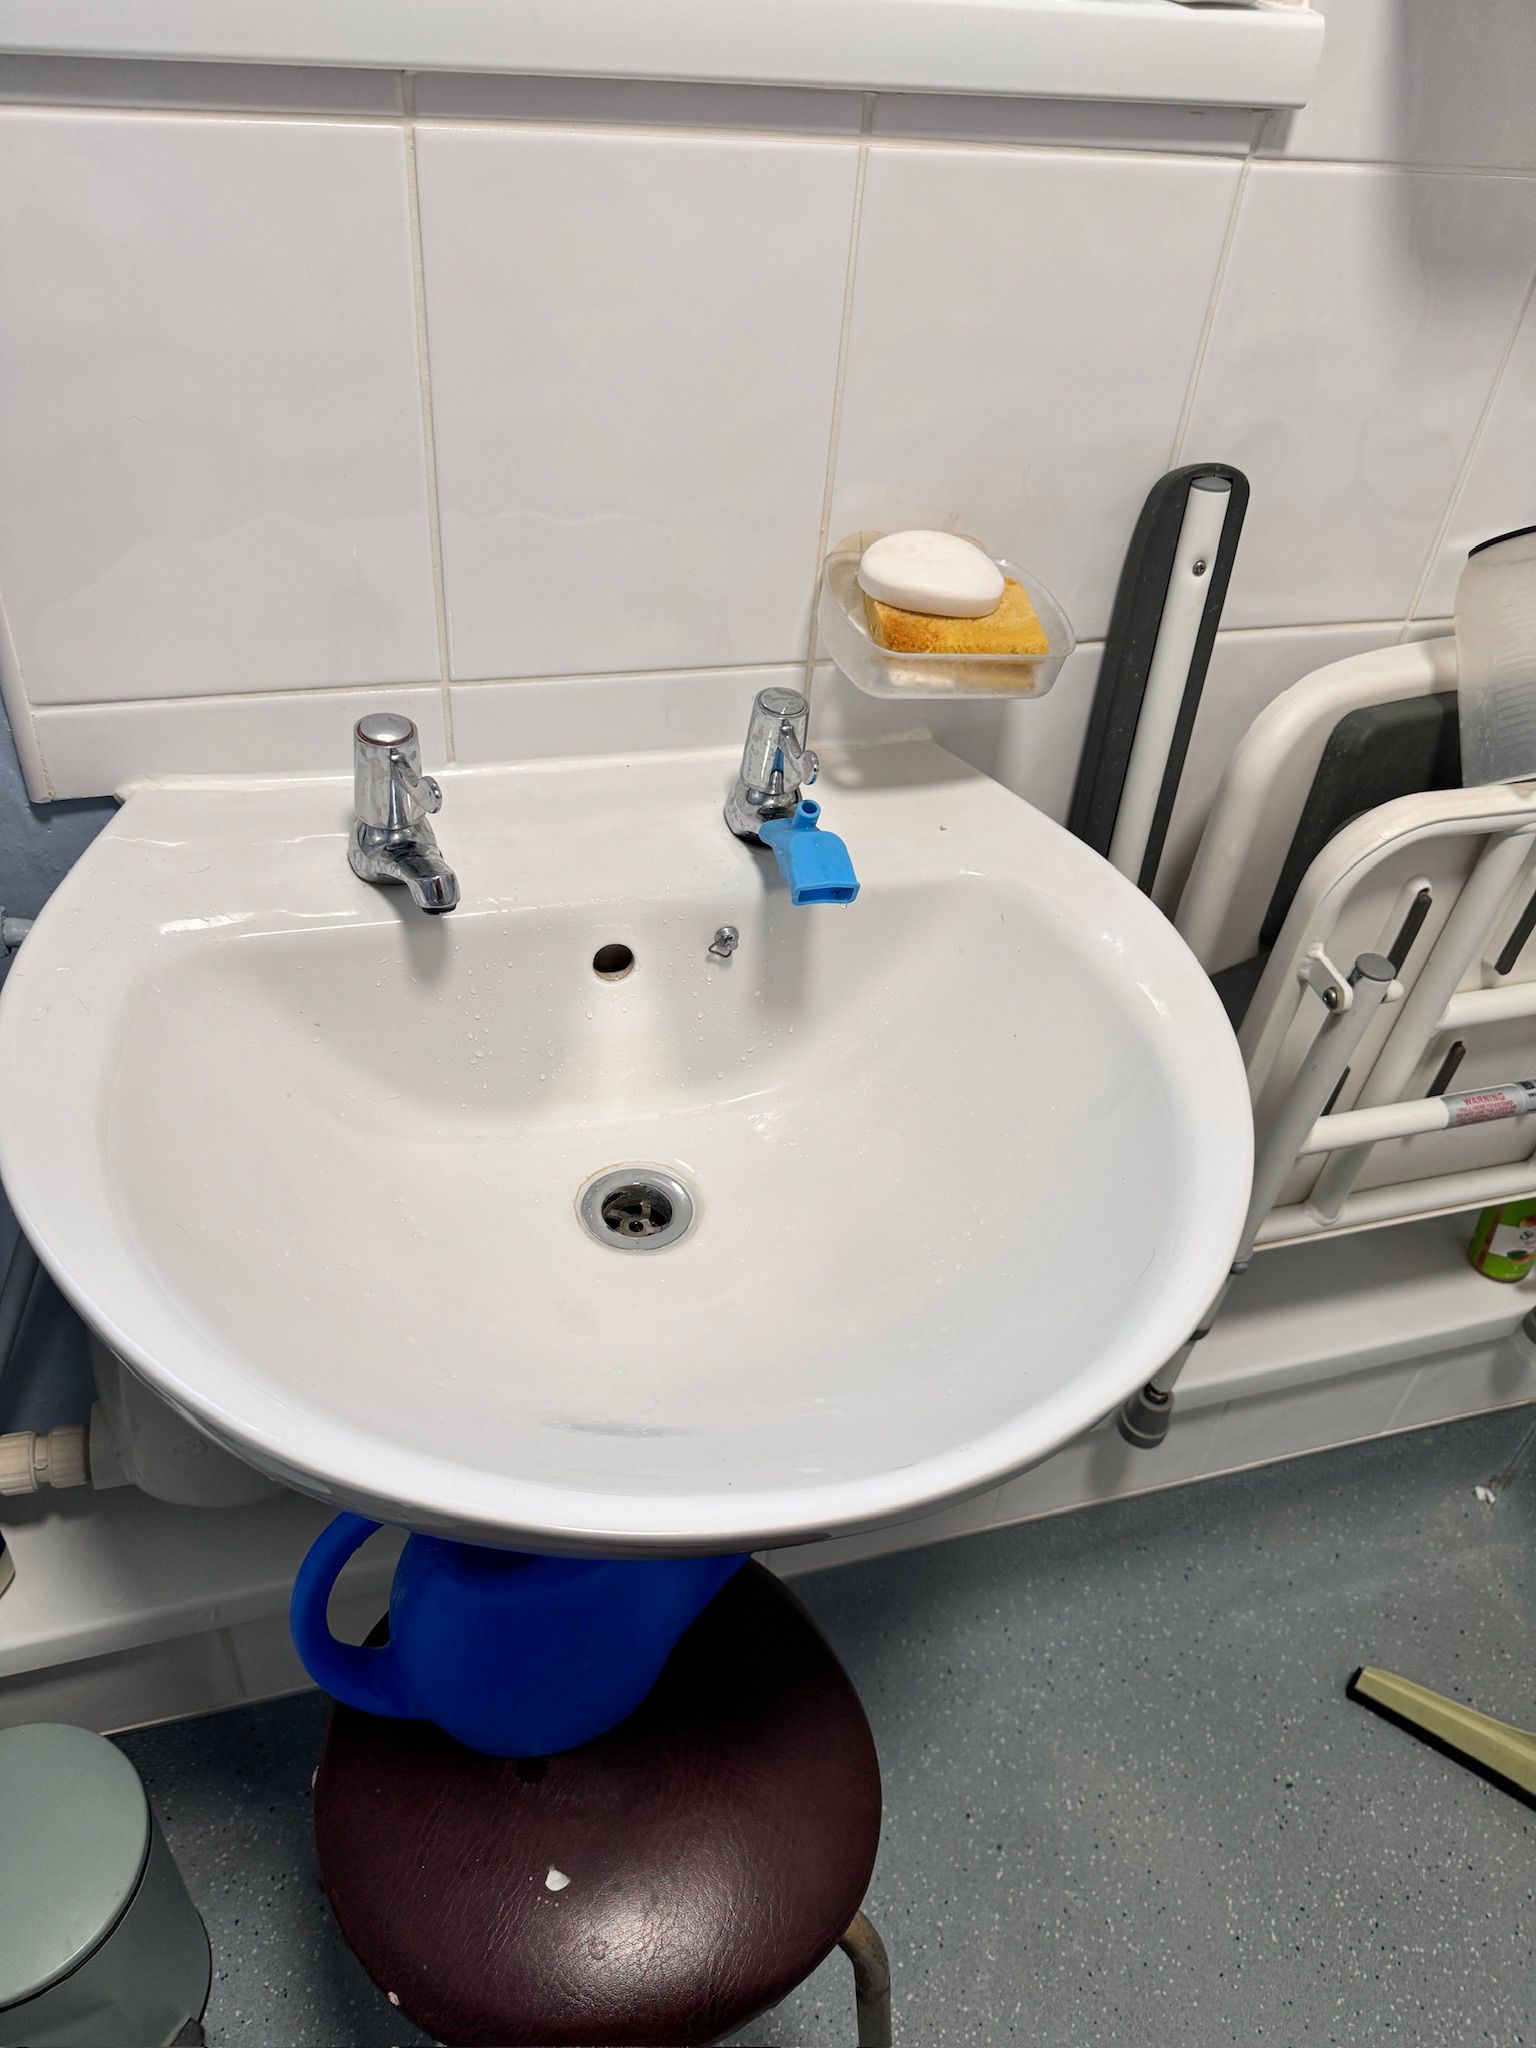
Step 2: Prepare Your Workspace for washer change
Place a bucket or towel under the tap to catch any water that may drip during the repair. This will help keep your workspace clean and dry.
Read what to do if you have a clogged kitchen sink.
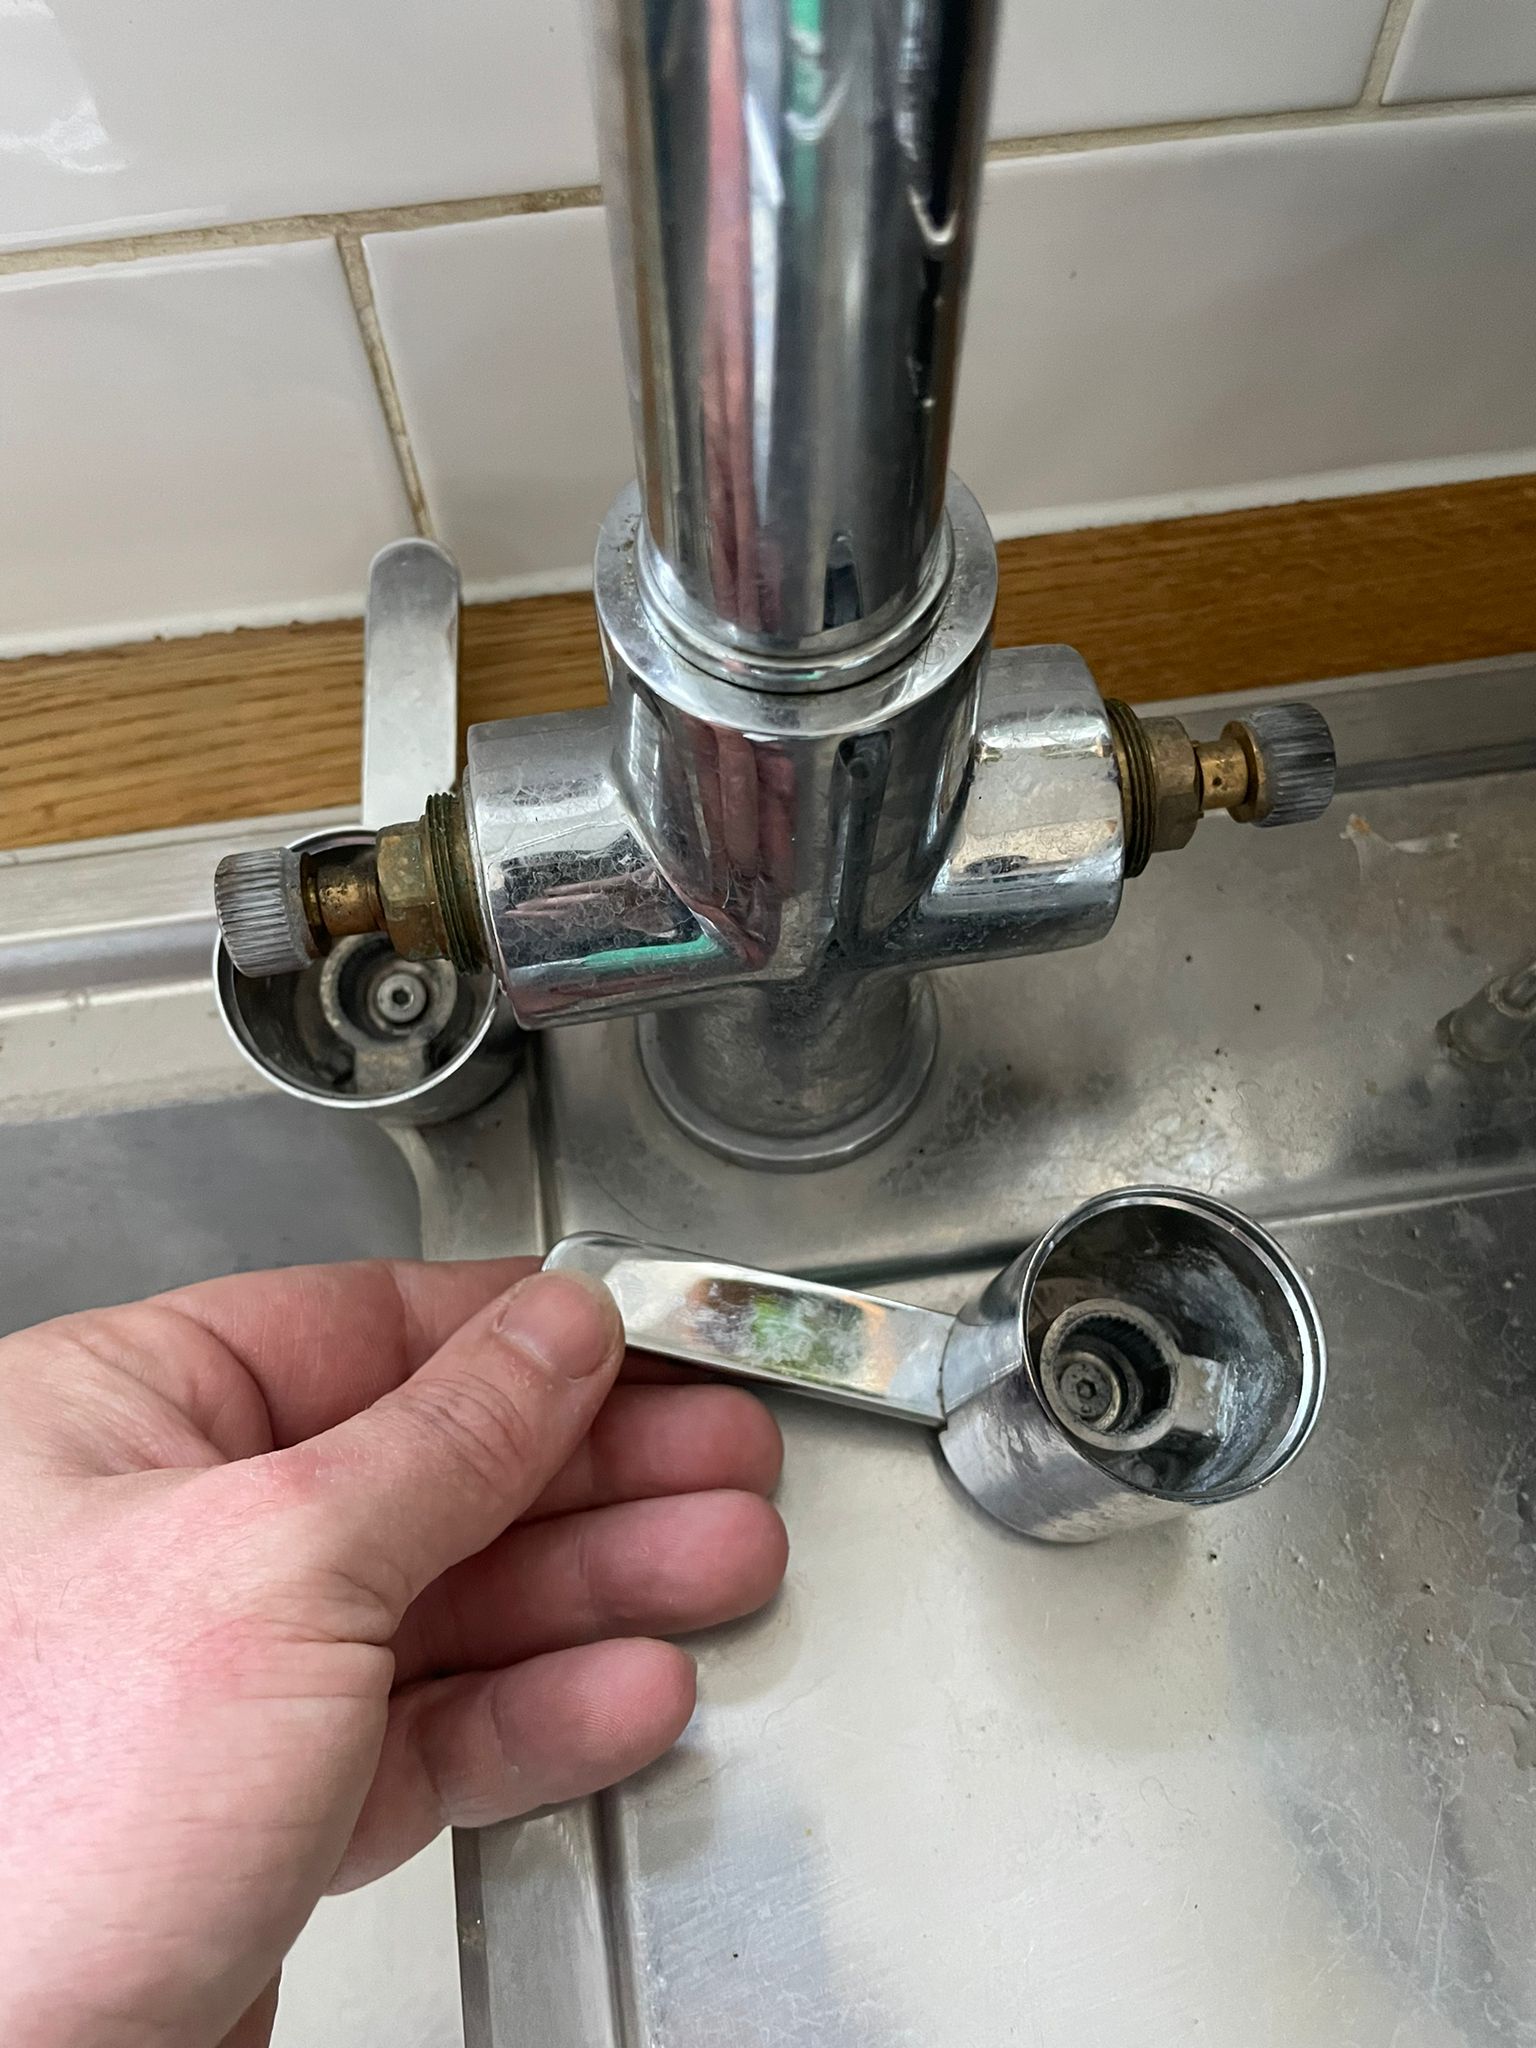
Step 3: Remove the tap Handle before changing washer
Use your screwdriver to remove the handle of the tap. Depending on your tap type, you may need to locate and remove a decorative cap first. Once the handle is off, set it aside.
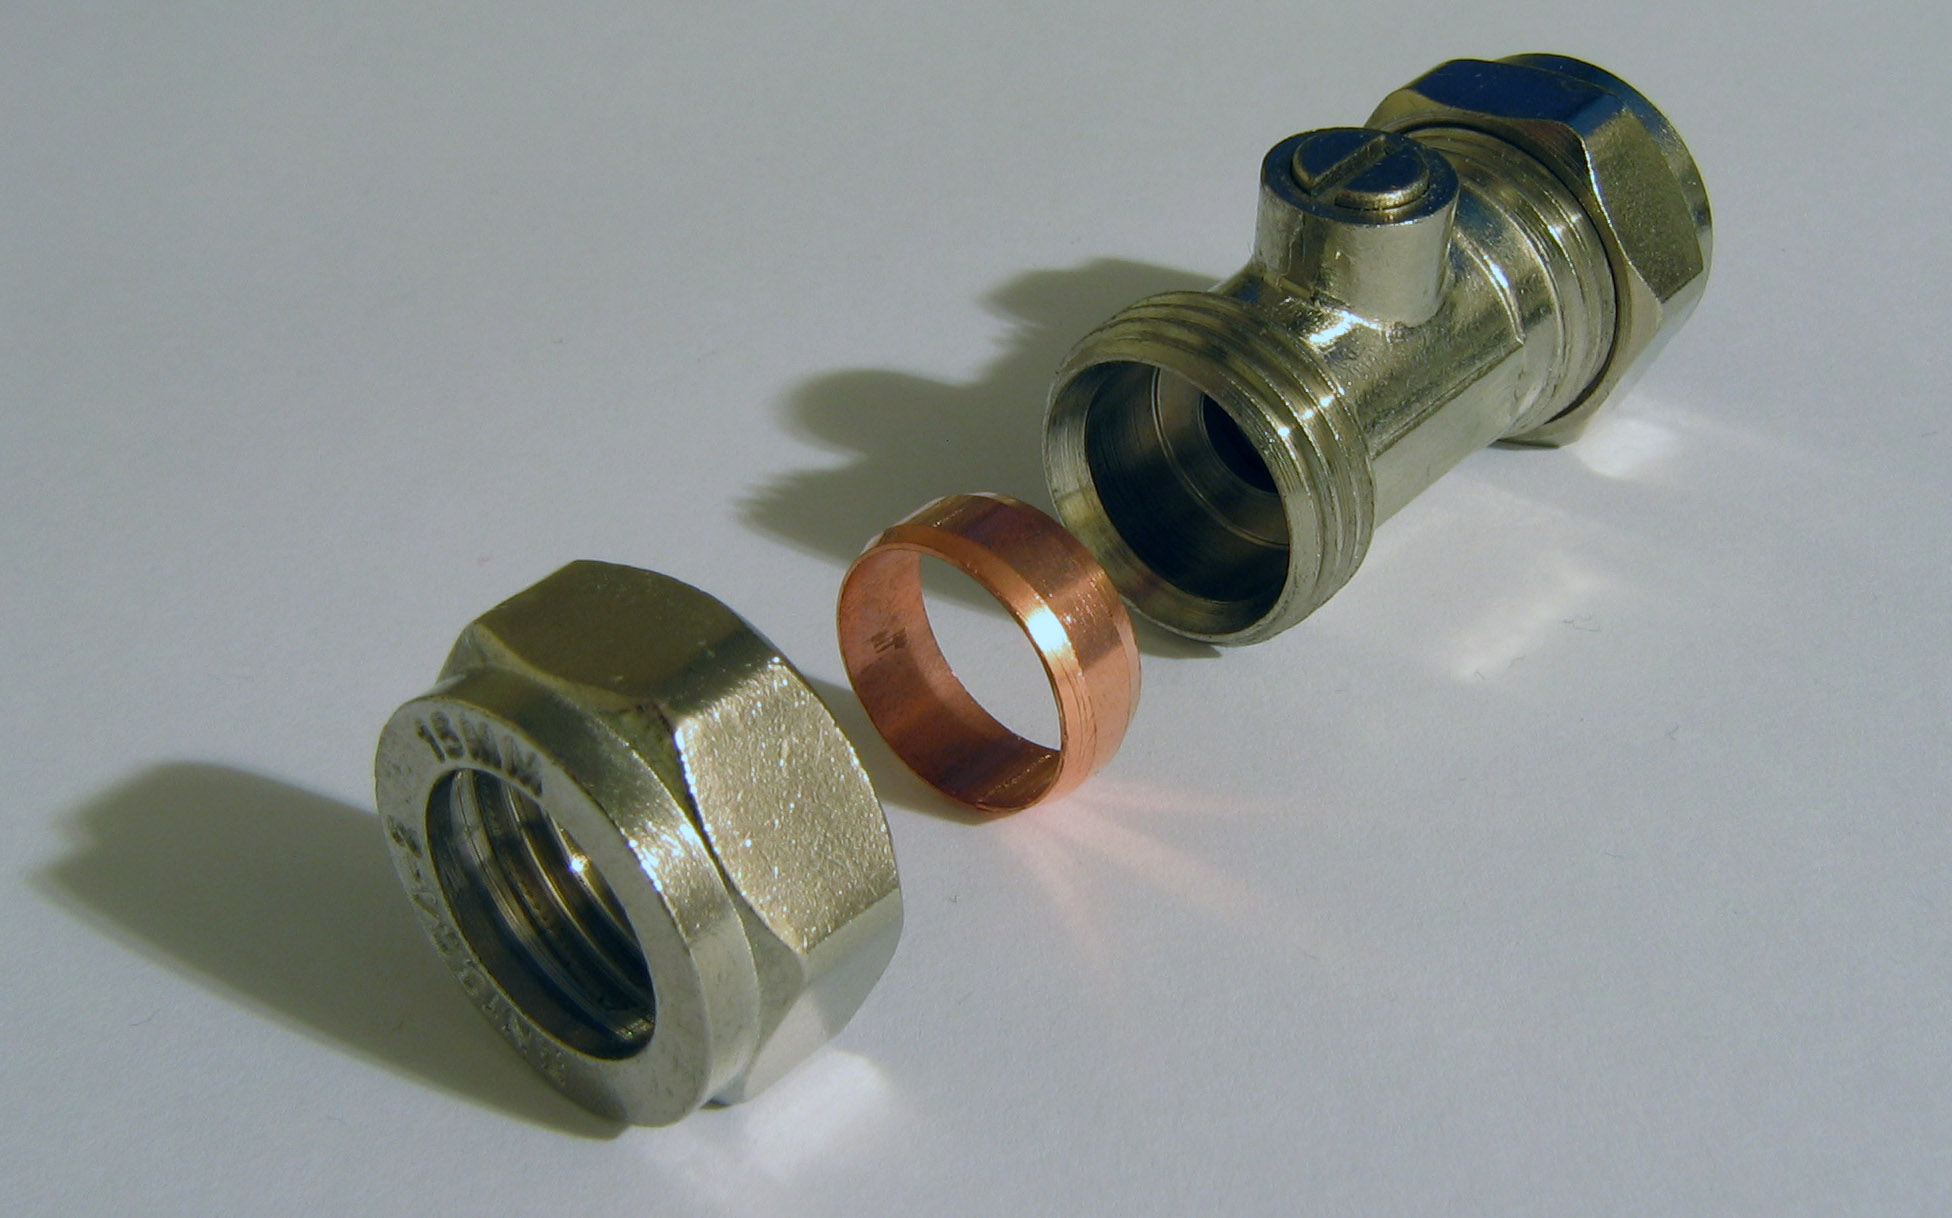
Step 4: Access the Valve before changing washer
With the handle removed, you’ll now have access to the valve. Using your wrench, carefully loosen and remove the nut that secures the valve in place.
Step 5: Replace the Washer
Once the valve is exposed, you’ll see the old washer. Gently remove it and replace it with a new one of the same size and type. Make sure it fits snugly into the plumber valve.
Step 6: Reassemble the tap after washer changed
Reattach the valve nut and tighten it securely with your wrench. Then, reattach the tap handle and any decorative caps you removed earlier.
Step 7: Turn the Water Supply Back On to complete washer change
Carefully turn the water supply back on and check for any leaks. If the leak persists, you may need to tighten the valve nut a bit more.
Fixing a leaking tap by replacing the washer is a DIY task that can save you time and money. With the right tools and a little patience, you can put an end to that annoying drip and enjoy a leak-free tap once again.
Preventing Future Tap Washer Issues
Tips for Extending the Life of Your Tap Washer
- Avoid overtightening the tap.
- Regularly clean the tap to prevent mineral build-up.
- Ensure water pressure is not too high.
Regular Maintenance Practices
Regularly check for leaks and inspect the condition of your taps to catch issues early and prolong the life of your washers.
FAQs
How long does it take to replace a washer in a leaking tap?
The process typically takes about 30 minutes to an hour, depending on your familiarity with plumbing tasks.
Can I use any washer to replace the old one?
No, it’s essential to use a washer that matches the size and type of your tap. Using the wrong washer may not provide a proper seal.
What if the leak continues after replacing the washer?
If the leak persists, it’s possible that there may be other issues with your tap components, such as a damaged valve seat. In such cases, it’s best to consult a professional plumber.
Is it necessary to turn off the water supply before starting the repair?
Yes, turning off the water supply is crucial to ensure your safety and prevent water damage while working on the tap.
Can I replace a washer in a tap with no plumbing experience?
Yes, this is a beginner-friendly DIY task that doesn’t require advanced plumbing knowledge. Just follow the steps in this guide carefully, and you should be able to successfully replace the washer in your leaking tap.
How do I know if my tap washer needs replacing?
Common signs include a dripping tap, difficulty turning the tap off completely, or reduced water pressure. Regular inspections can help catch these issues early.