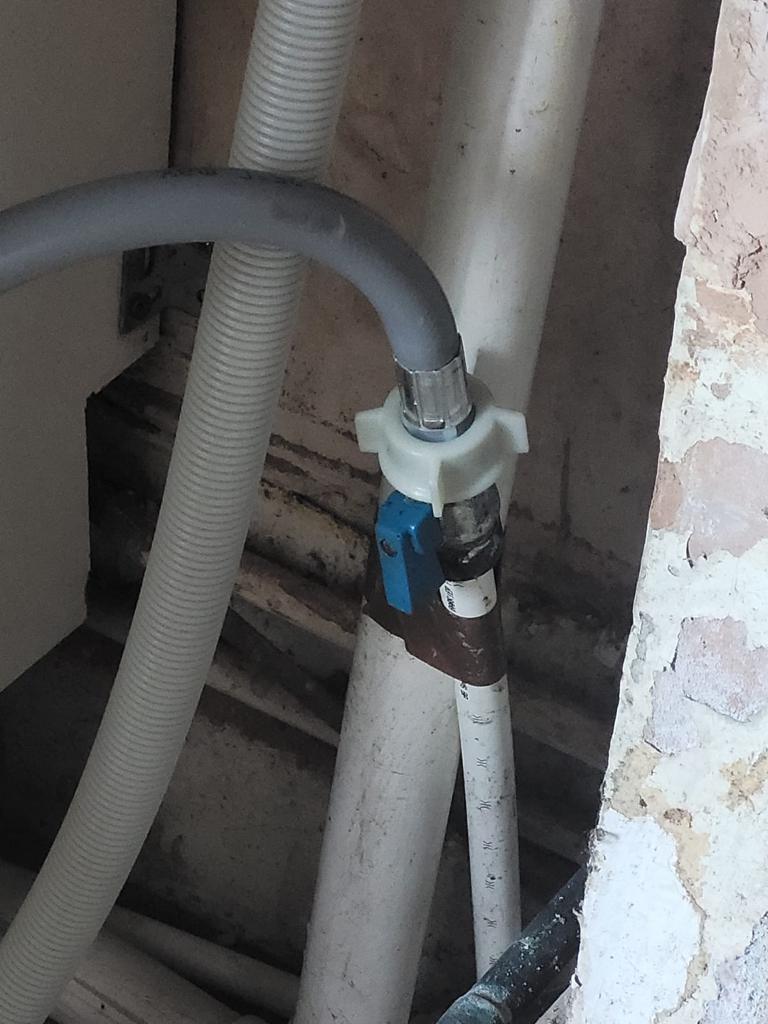
How to Replace a Damaged Water Supply Line: A Step-by-Step Guide
When it comes to home maintenance, dealing with a damaged water supply line can be a common issue. A damaged water supply line can lead to leaks, reduced water pressure, and even costly water damage if not addressed promptly. In this comprehensive guide, we will walk you through the process of replacing a damaged water supply line, step by step.

Replacing a damaged water supply line may seem like a daunting task, but with the right guidance and tools, it can be a manageable DIY project. This article will guide you through each step, ensuring you can tackle this issue with confidence.
Assess the Damage
Before you begin the replacement process, assess the extent of the damage. Determine whether the entire line needs replacing or if a simple repair will suffice. Minor leaks can often be fixed with a patch or sealant, but if the damage is extensive or the line is old, replacement is the best option.
Gather the Necessary Tools and Materials
To complete this task successfully, you’ll need a few essential tools and materials. These include:
- Pipe cutter or hacksaw
- Adjustable wrench
- Pipe wrench
- Plumber’s tape
- New water supply line
- Fittings and connectors
- Teflon tape
- Bucket or towels for water cleanup
Shut Off the Water Supply
Before you start any work, turn off the main water supply to your home. This will prevent water from flowing through the damaged supply line while you’re working on it.
Drain the Water
Open faucets in your home to drain any remaining water from the pipes. This will reduce the pressure in the supply line and make it easier to work on.
Remove the Old Water Supply Line
Use a pipe cutter or hacksaw to carefully remove the damaged supply line. Be sure to wear safety goggles and gloves while doing this to protect yourself from any sharp edges.
Measure and Cut the New Water Supply Line
Measure the length of the old supply line and use a pipe cutter to cut the new one to the same length. Ensure that the ends are clean and free of burrs.
Attach Fittings and Connectors
Apply plumber’s tape to the threads of the fittings and connectors to create a watertight seal. Then, attach them to both ends of the new supply line.
Turn On the Water Supply
Carefully turn on the main water supply to your home. Check for any leaks at the fittings and connectors. If you notice any leaks, tighten them with a wrench until they are snug.
Check for Leaks
Inspect the entire length of the new supply line for any leaks. If you find any, turn off the water supply again and make the necessary adjustments.
Inspect for Proper Water Flow
Once you are confident that there are no leaks, open faucets in your home and check for proper water flow. Ensure that water is flowing smoothly and with adequate pressure.
Secure the New Water Supply Line
Use pipe clamps or hangers to secure the new supply line to the wall or floor. This will prevent it from sagging or moving.
Clean Up and Test
Clean up any debris and water from the work area. Test all faucets and appliances connected to the new supply line to ensure they are functioning correctly.
Common Issues and Troubleshooting
If you encounter any issues during the replacement process or notice unusual water behavior after installation, consult our troubleshooting guide for solutions to common problems.
Replacing a damaged water supply line is a manageable DIY project that can save you time and money. By following these step-by-step instructions and taking the necessary precautions, you can ensure a successful replacement.
FAQs
- How long does it take to replace a damaged water supply line?
- The time required varies depending on the extent of the damage and your experience. It can take a few hours to complete the replacement.
- Can I use a repair clamp instead of replacing the entire supply line?
- Repair clamps are a temporary solution for minor leaks. If the damage is severe or the line is old, replacement is the better long-term option.
- Do I need to hire a professional plumber Bristol for this task?
- If you are comfortable with basic plumbing tasks and have the necessary tools, you can likely handle this as a DIY project. However, if you have any doubts, it’s best to consult a professional plumber.
- What should I do if I discover additional problems while replacing the supply line?
- If you encounter unexpected issues or complications, it’s advisable to consult a plumber for expert assistance.
- Is it necessary to turn off the main water supply to my home during the replacement?
- Yes, turning off the main water supply is crucial to ensure your safety and prevent water from flowing through the damaged line while you work on it.
Replacing a damaged water supply line may appear challenging, but with the right knowledge and tools, it’s a task you can accomplish. Follow the outlined steps, and you’ll have a smoothly functioning water supply in no time. If you encounter any difficulties, don’t hesitate to consult a professional plumber for assistance.
