
How to Replace a Showerhead: A Step-by-Step Guide
Replacing a Showerhead
Why Replace a Showerhead?
Over time, showerheads can become clogged with mineral deposits, resulting in reduced water pressure and inefficient performance. This is when you need to Replace a Showerhead. Replacing an old or malfunctioning showerhead can improve your shower experience and even save water.
Replacing a shower head might seem like a daunting plumber task, but with the right tools and a little guidance, it can be a straightforward DIY project. Whether you’re looking to upgrade your shower head for a better experience or simply need to fix a leaky one, this article will walk you through the process. In this comprehensive guide, we’ll cover everything from gathering the necessary tools to the final installation, ensuring you have a refreshing and leak-free shower in no time.
Replace the malfunctioning and outdated Showerhead
Showerheads are an integral part of our daily routine, and a malfunctioning or outdated one can be quite frustrating. Learning how to replace a showerhead is a valuable skill that can save you money on plumbing services. In this guide, we will take you through the process step by step, ensuring you have a rejuvenated shower experience.
Gather Your Tools and Materials and Replace a Showerhead

Before you begin, gather the following tools and materials:
- Adjustable wrench
- Teflon tape (plumber’s tape)
- New showerhead
- Old towel or cloth
Turn Off the Water Supply
Begin by turning off the water supply to your shower. You can usually find the shut-off valve in your bathroom or near the water heater. Turning off the water is crucial to prevent any unwanted leaks during the replacement process.
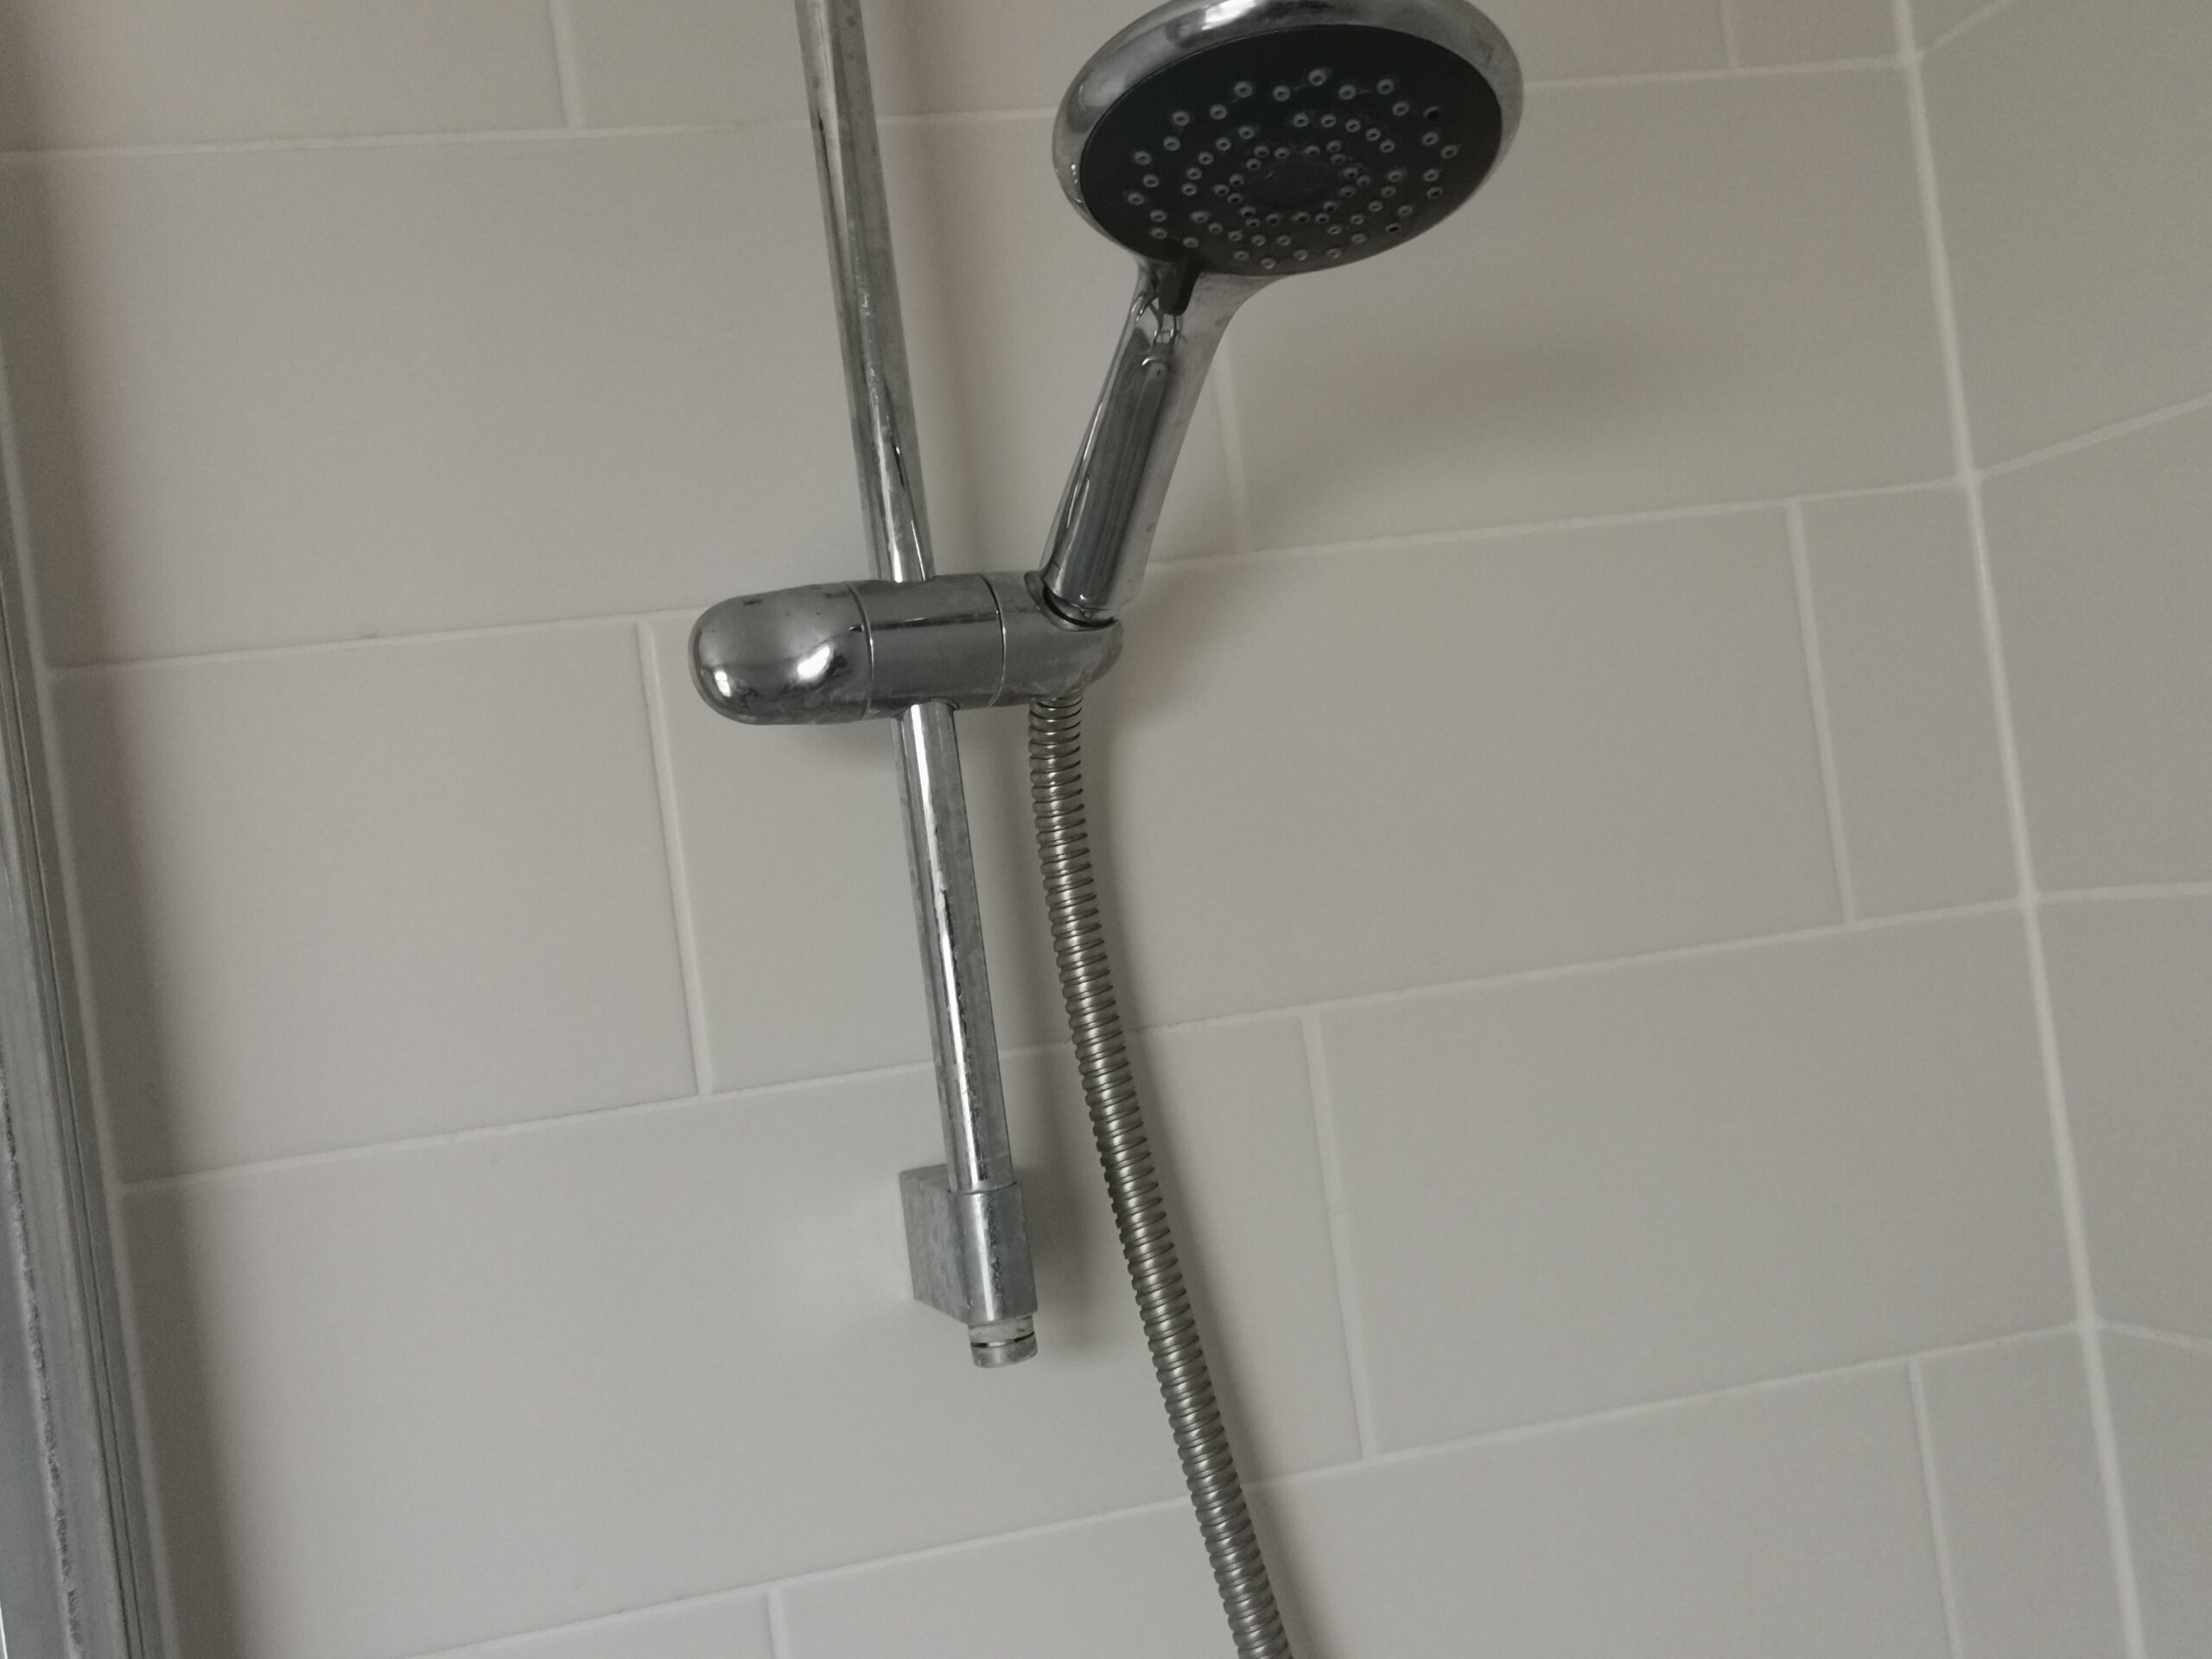
Remove the Old Showerhead
Use an adjustable wrench to loosen and remove the old showerhead. Turn it counterclockwise until it comes off. Be cautious not to damage the shower arm during this process.
Removing the Old Showerhead
- Turn off the Water: Ensure the water supply to the shower is turned off.
- Remove the Old Showerhead: Use an adjustable wrench to unscrew the old showerhead from the shower arm. If it’s tight, use a rag to protect the finish and increase grip.
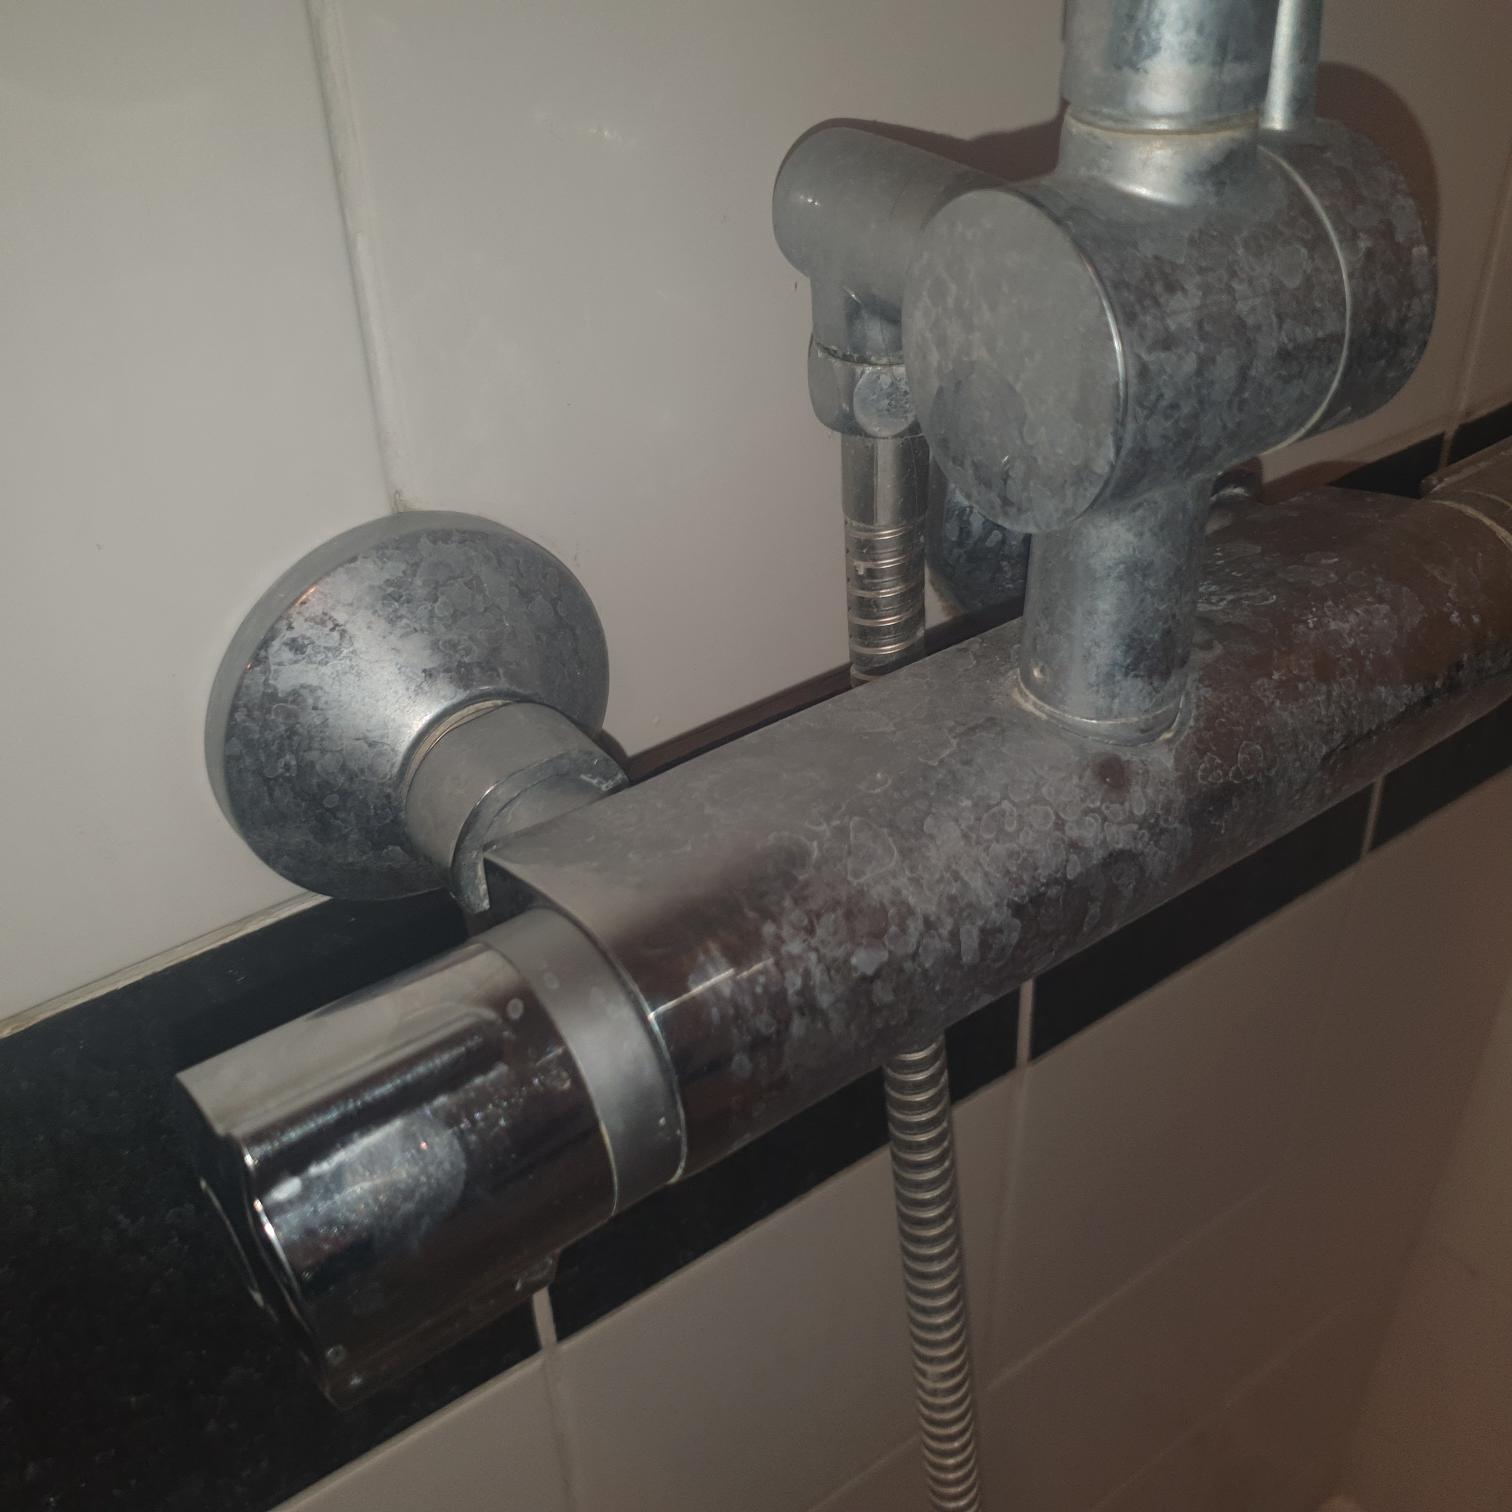
Clean the Shower Arm befor you Replace a Showerhead
Inspect the shower arm for any debris or old Teflon tape. Use an old towel or cloth to clean it thoroughly. A clean surface will ensure a proper seal when installing the new showerhead.
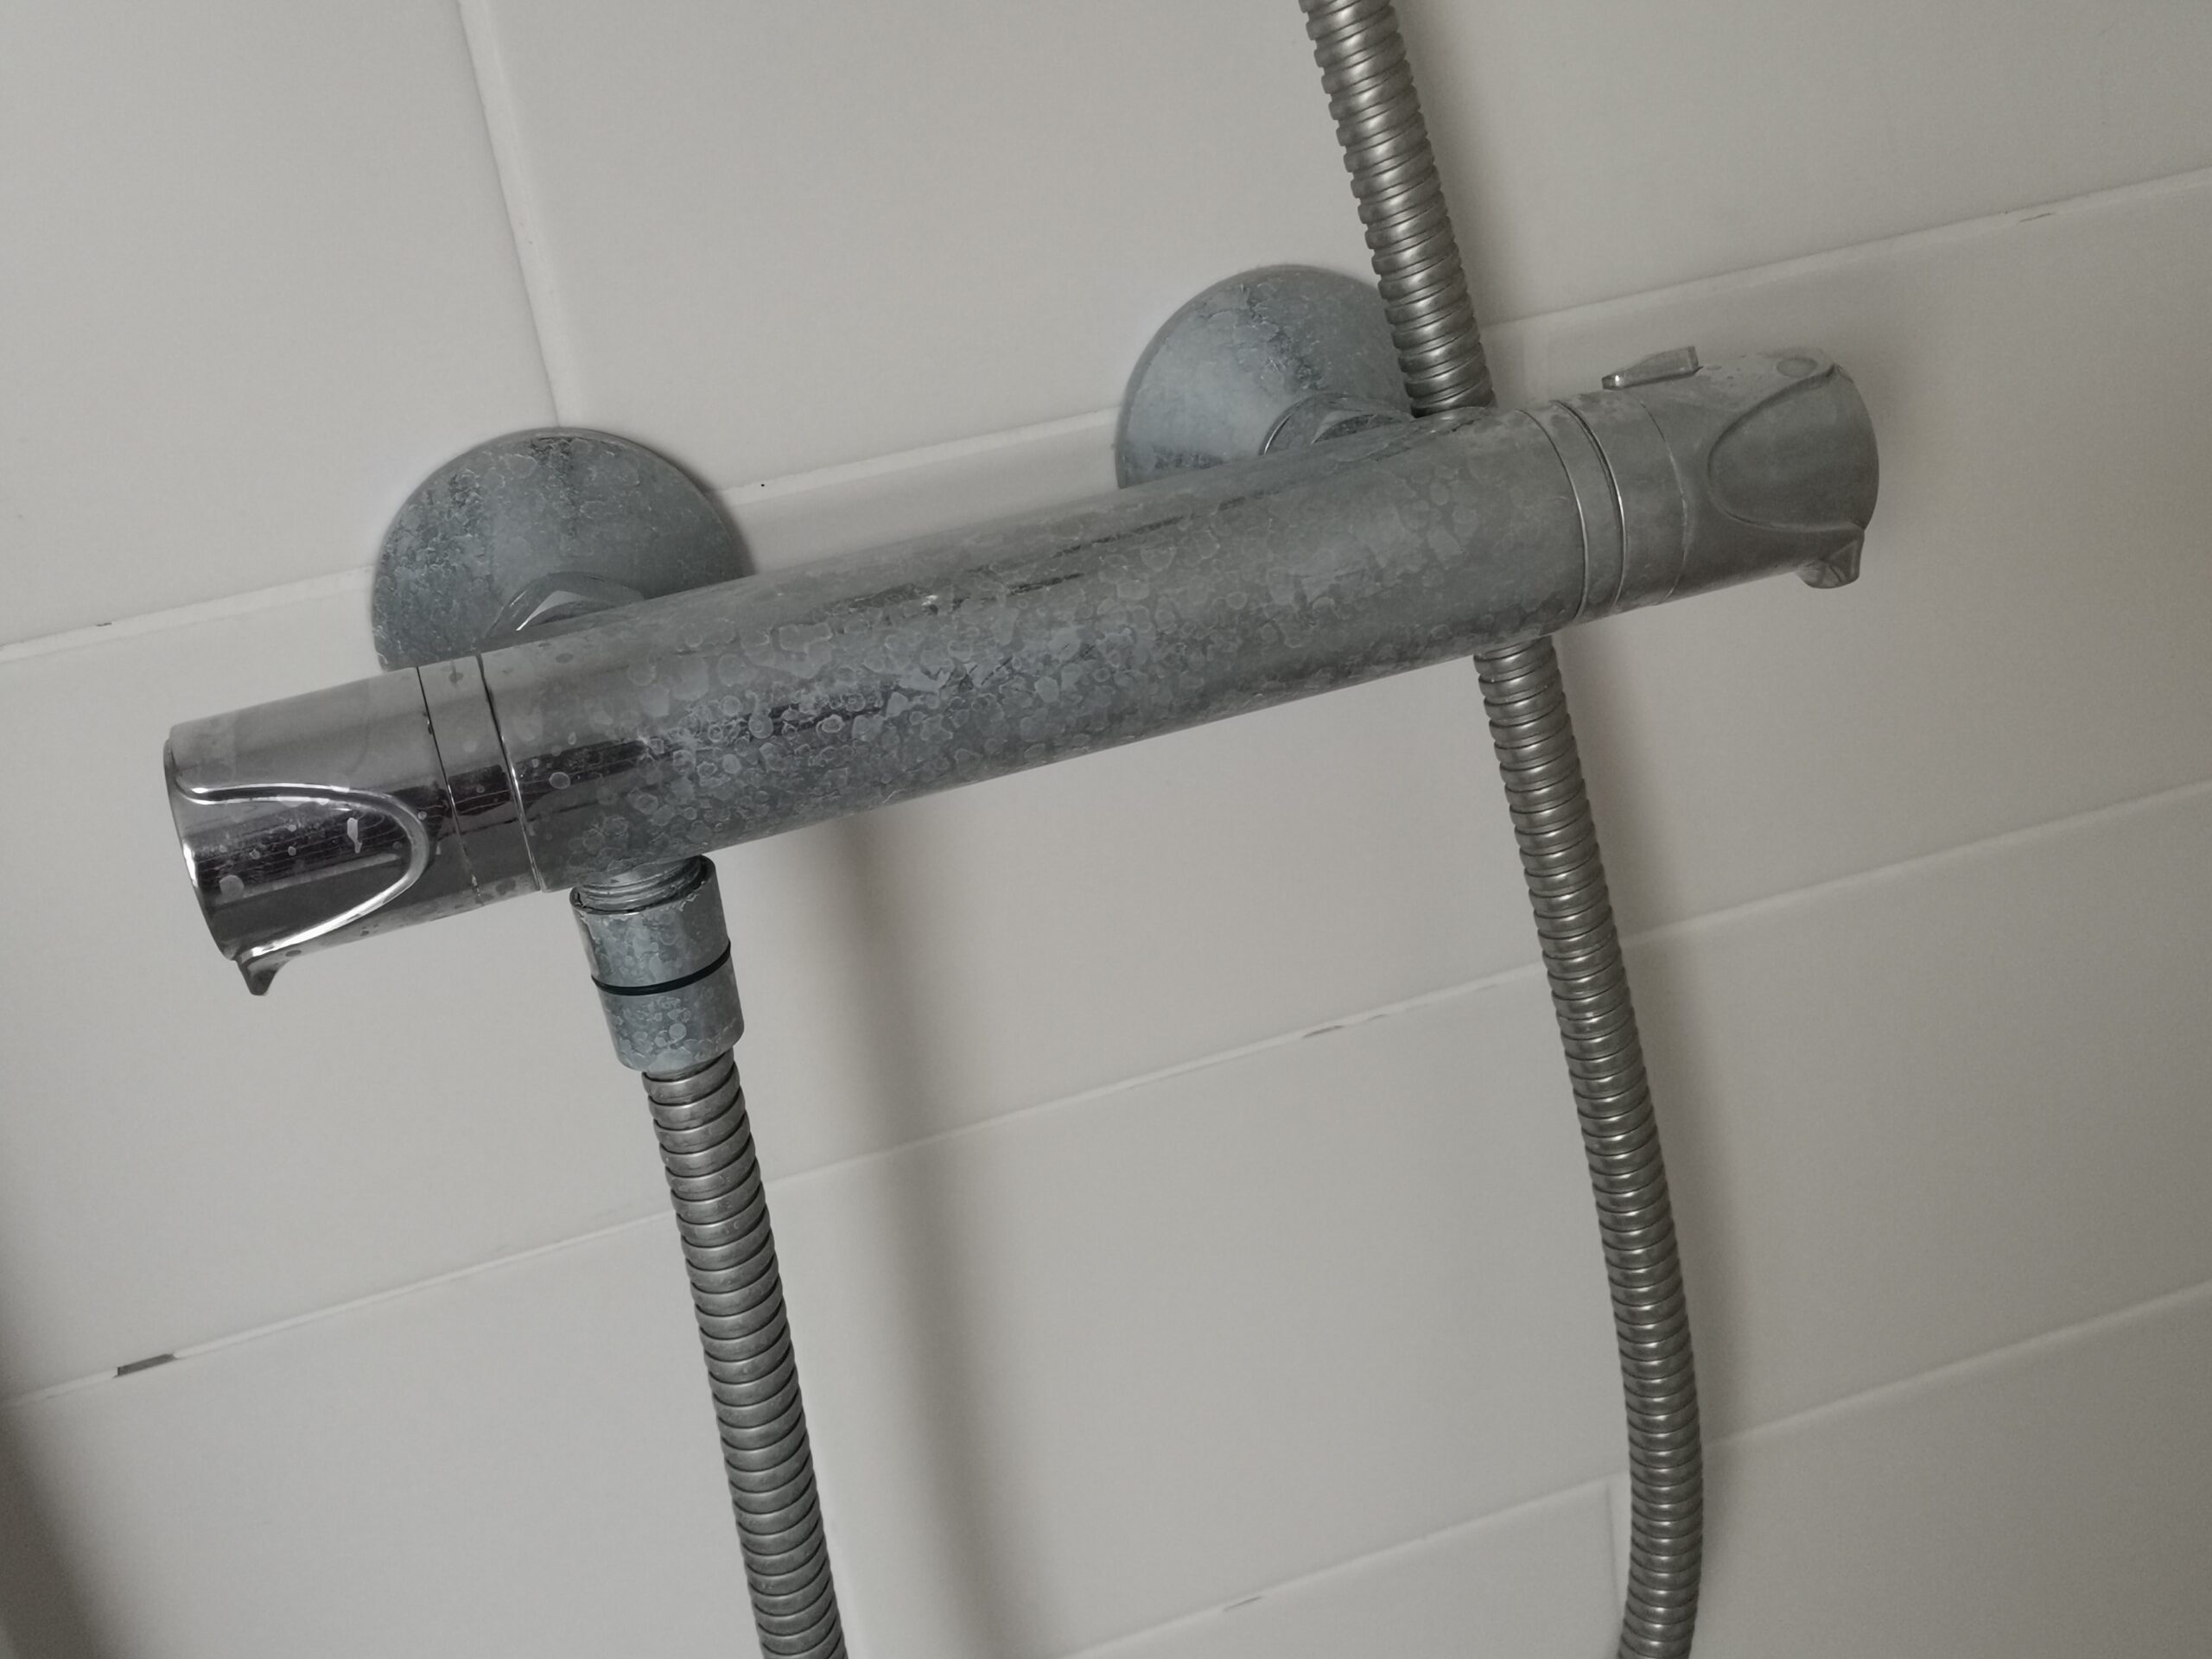
Apply Teflon Tape
Wrap a few layers of Teflon tape around the threads of the shower arm in a clockwise direction. This will help create a tight seal and prevent leaks.
Preparing the New Showerhead

- Clean the Threads: Wipe the threads of the shower arm clean.
- Apply Teflon Tape: Wrap Teflon tape around the threads of the shower arm to prevent leaks.
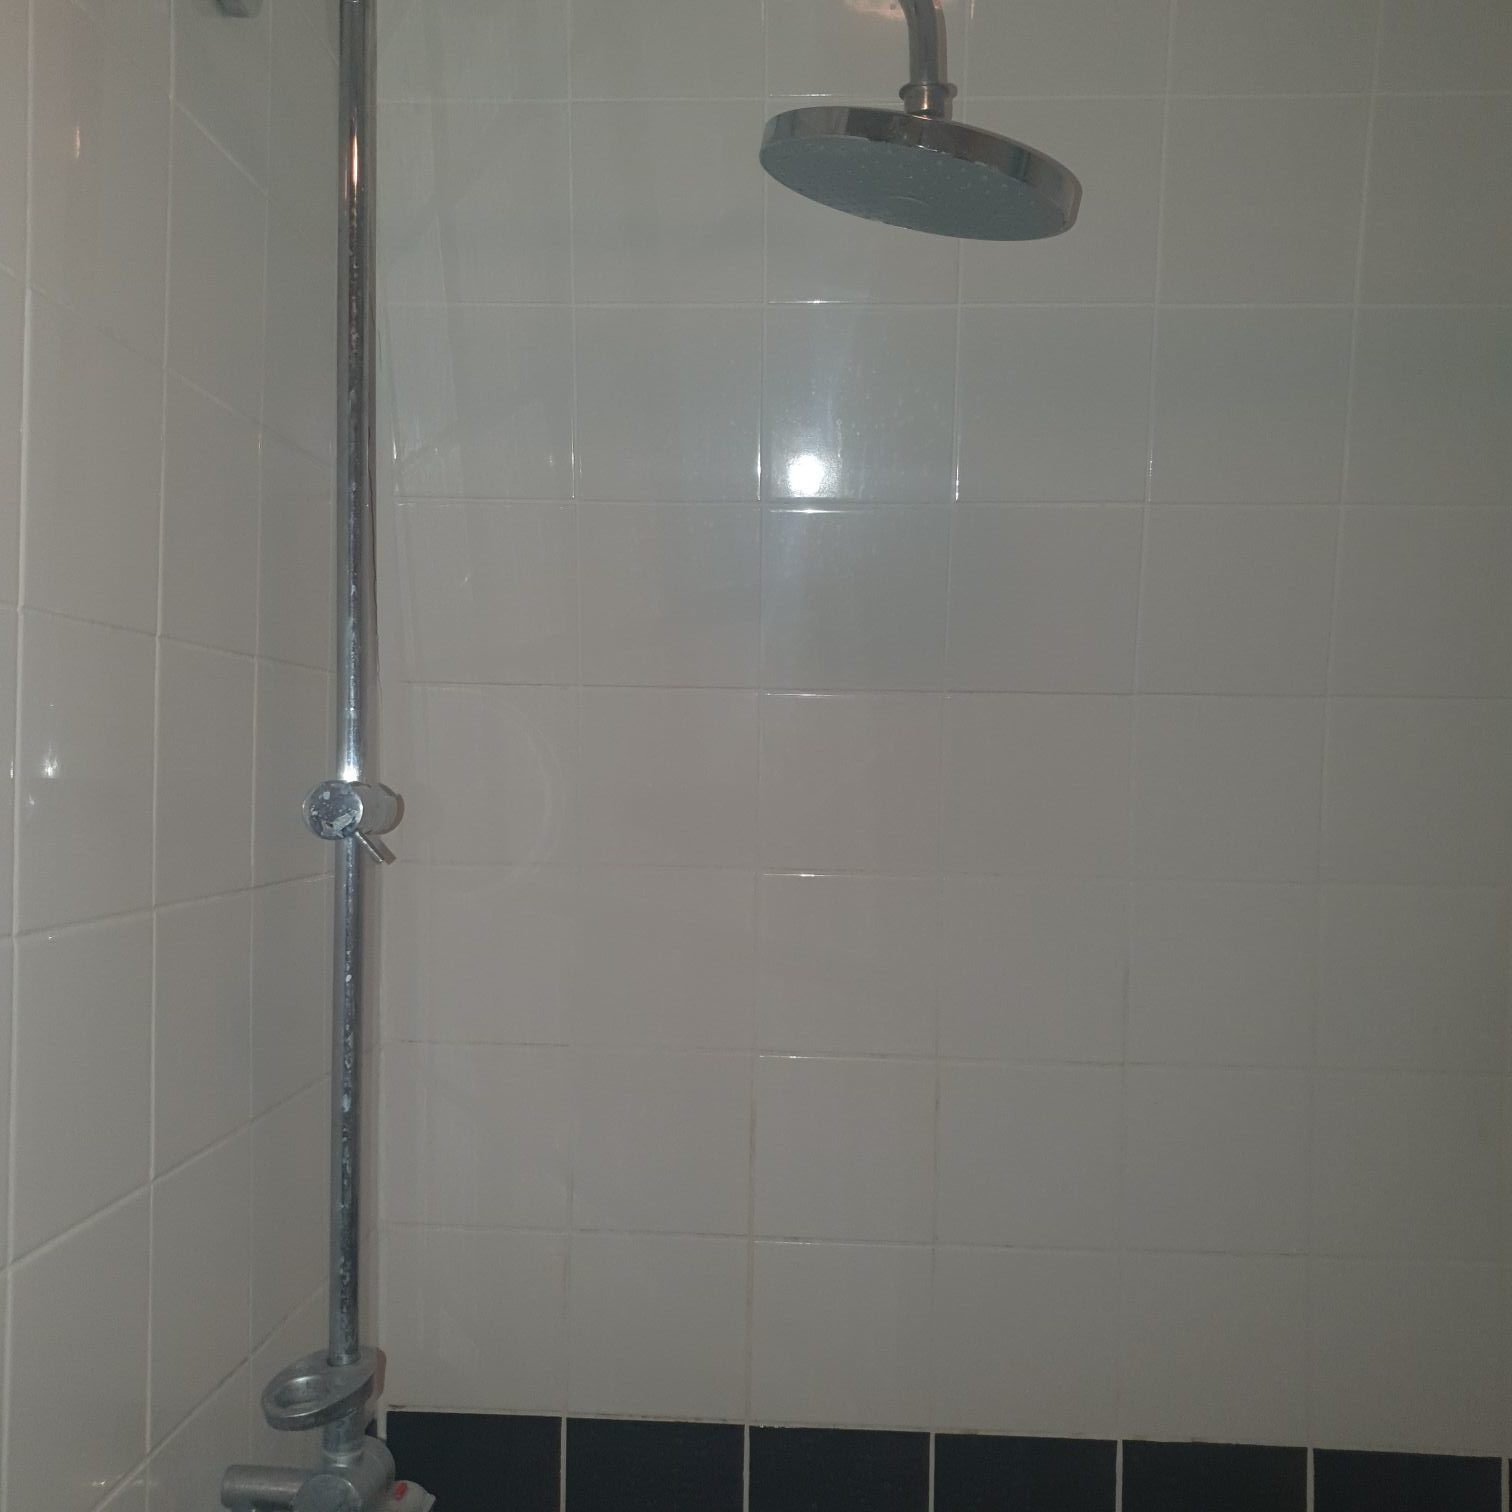
Attach the New Showerhead
Screw the new showerhead onto the shower arm in a clockwise direction. Use the adjustable wrench to tighten it securely. Make sure it’s snug but not over-tightened to avoid damaging the threads.
Installing the New Showerhead
- Attach the New Showerhead: Screw the new showerhead onto the shower arm by hand. Tighten it further with an adjustable wrench if necessary.
- Check for Leaks: Turn the water back on and check for leaks. If there are any, tighten the showerhead further or apply more Teflon tape.
- Test for Leaks: Turn the water supply back on and check for any leaks around the base of the new showerhead. If you notice any leaks, tighten it a bit more. If the issue persists, you may need to reapply Teflon tape.
See some tips on how to unblock a sink on your own.
Showerhead Replacing Final Touches
Once you’re confident that there are no leaks, wipe down the showerhead and arm to remove any fingerprints or smudges. Your new showerhead is now ready for use!
Maintenance Tips
To ensure your showerhead remains in excellent condition, clean it regularly to prevent mineral buildup. Soaking it in a vinegar solution can help remove any deposits and keep the water flow steady.
Showerhead Leaks and Drips is a sign that you need to Replace a Showerhead
Common Causes of Showerhead Leaks

- Worn-out washers or O-rings
- Mineral deposits clogging the showerhead
- Loose connections
How to Fix a Leaking Showerhead
- Inspect the Showerhead: Remove and check for any obvious damage or debris.
- Replace Washers and O-rings: If they are worn out, replace them.
- Clean the Showerhead: Soak the showerhead in vinegar to remove mineral deposits.
Preventing Future Leaks
- Regularly clean the showerhead
- Replace washers and O-rings periodically
- Ensure tight connections
Some Questions you might ask before you Replace a Showerhead
- Can I use the same showerhead on different shower arms?
- No, showerheads are typically designed to fit specific shower arms, so it’s essential to choose one that matches your existing setup.
- How often should I replace my showerhead?
- Showerheads can last for several years, but if you notice reduced water pressure or leaks, it’s time for a replacement. It’s generally recommended to replace your showerhead every 6 to 8 months to ensure optimal performance and hygiene.
- Do I need a Bristol plumber’s help to replace a showerhead?
- In most cases, replacing a showerhead is a DIY-friendly task, and you can do it yourself following this guide.
- What are the benefits of upgrading to a high-pressure showerhead?
- High-pressure showerheads can provide a more invigorating shower experience and may help conserve water.
- Can I use thread sealant instead of Teflon tape?
- Yes, thread sealant can be used instead of Teflon tape for sealing the threads, but Teflon tape is more commonly recommended.
- How can I prevent my showerhead from leaking?
- Regularly clean the showerhead, replace worn-out washers and O-rings, and ensure all connections are tight.
Upgrade your Shower by Replacing a Showerhead
Replacing a showerhead is a manageable DIY project that can enhance your daily shower experience and save you money on plumbing services. By following the steps outlined in this guide, you can successfully replace your showerhead and enjoy a refreshing and leak-free shower.
Now that you have the knowledge and confidence to tackle this project, it’s time to get started. Upgrade your shower today and experience the difference for yourself!
Replacing a showerhead is a simple yet rewarding task that anyone can do. By following these steps and guidelines, you can enjoy a revitalized shower experience without the need for professional help. So, don’t hesitate to upgrade your showerhead and make your daily routine more enjoyable and efficient.