
Having Shower Problems? Quick shower replacements with our service
If the shower is fed from the boiler plumbers then we can do the job. Things to consider to have your Shower Problems sorted…
If you have a standard relatively cheap shower then order a similar replacement shower from somewhere like Toolstation or send us a photo and we will bring one that’s similar.

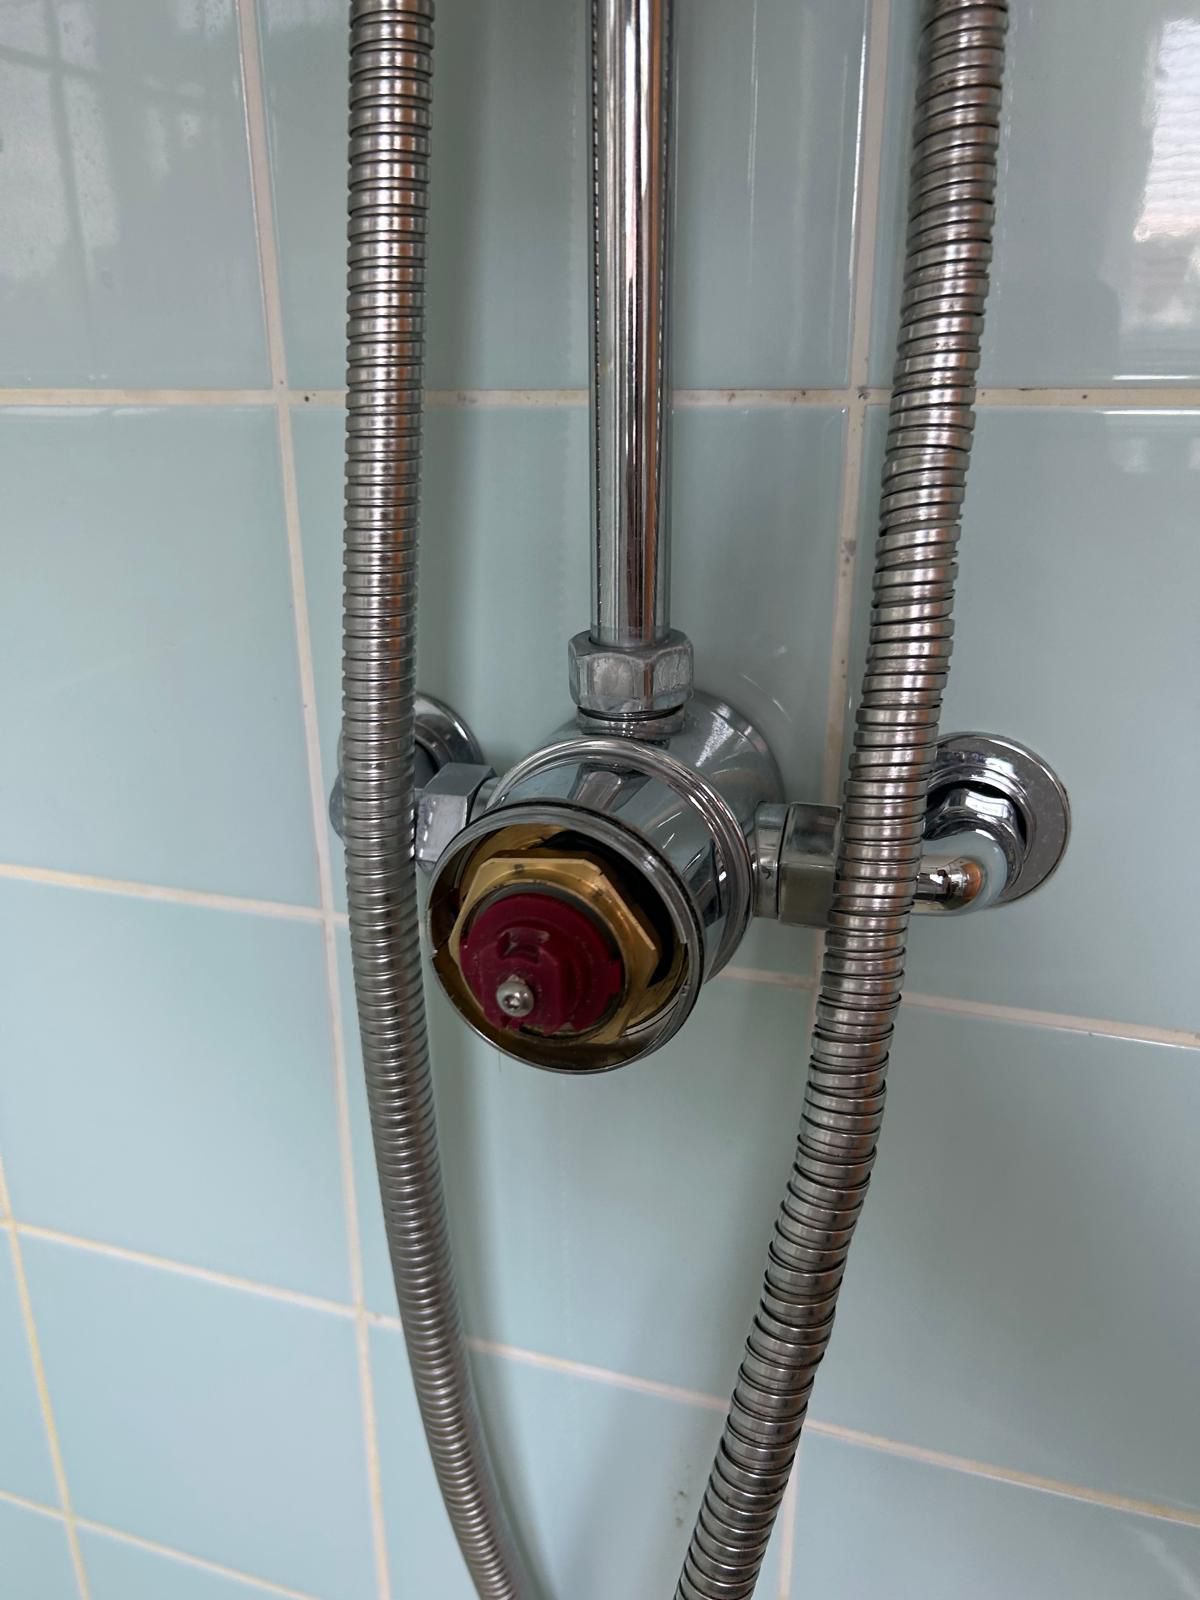
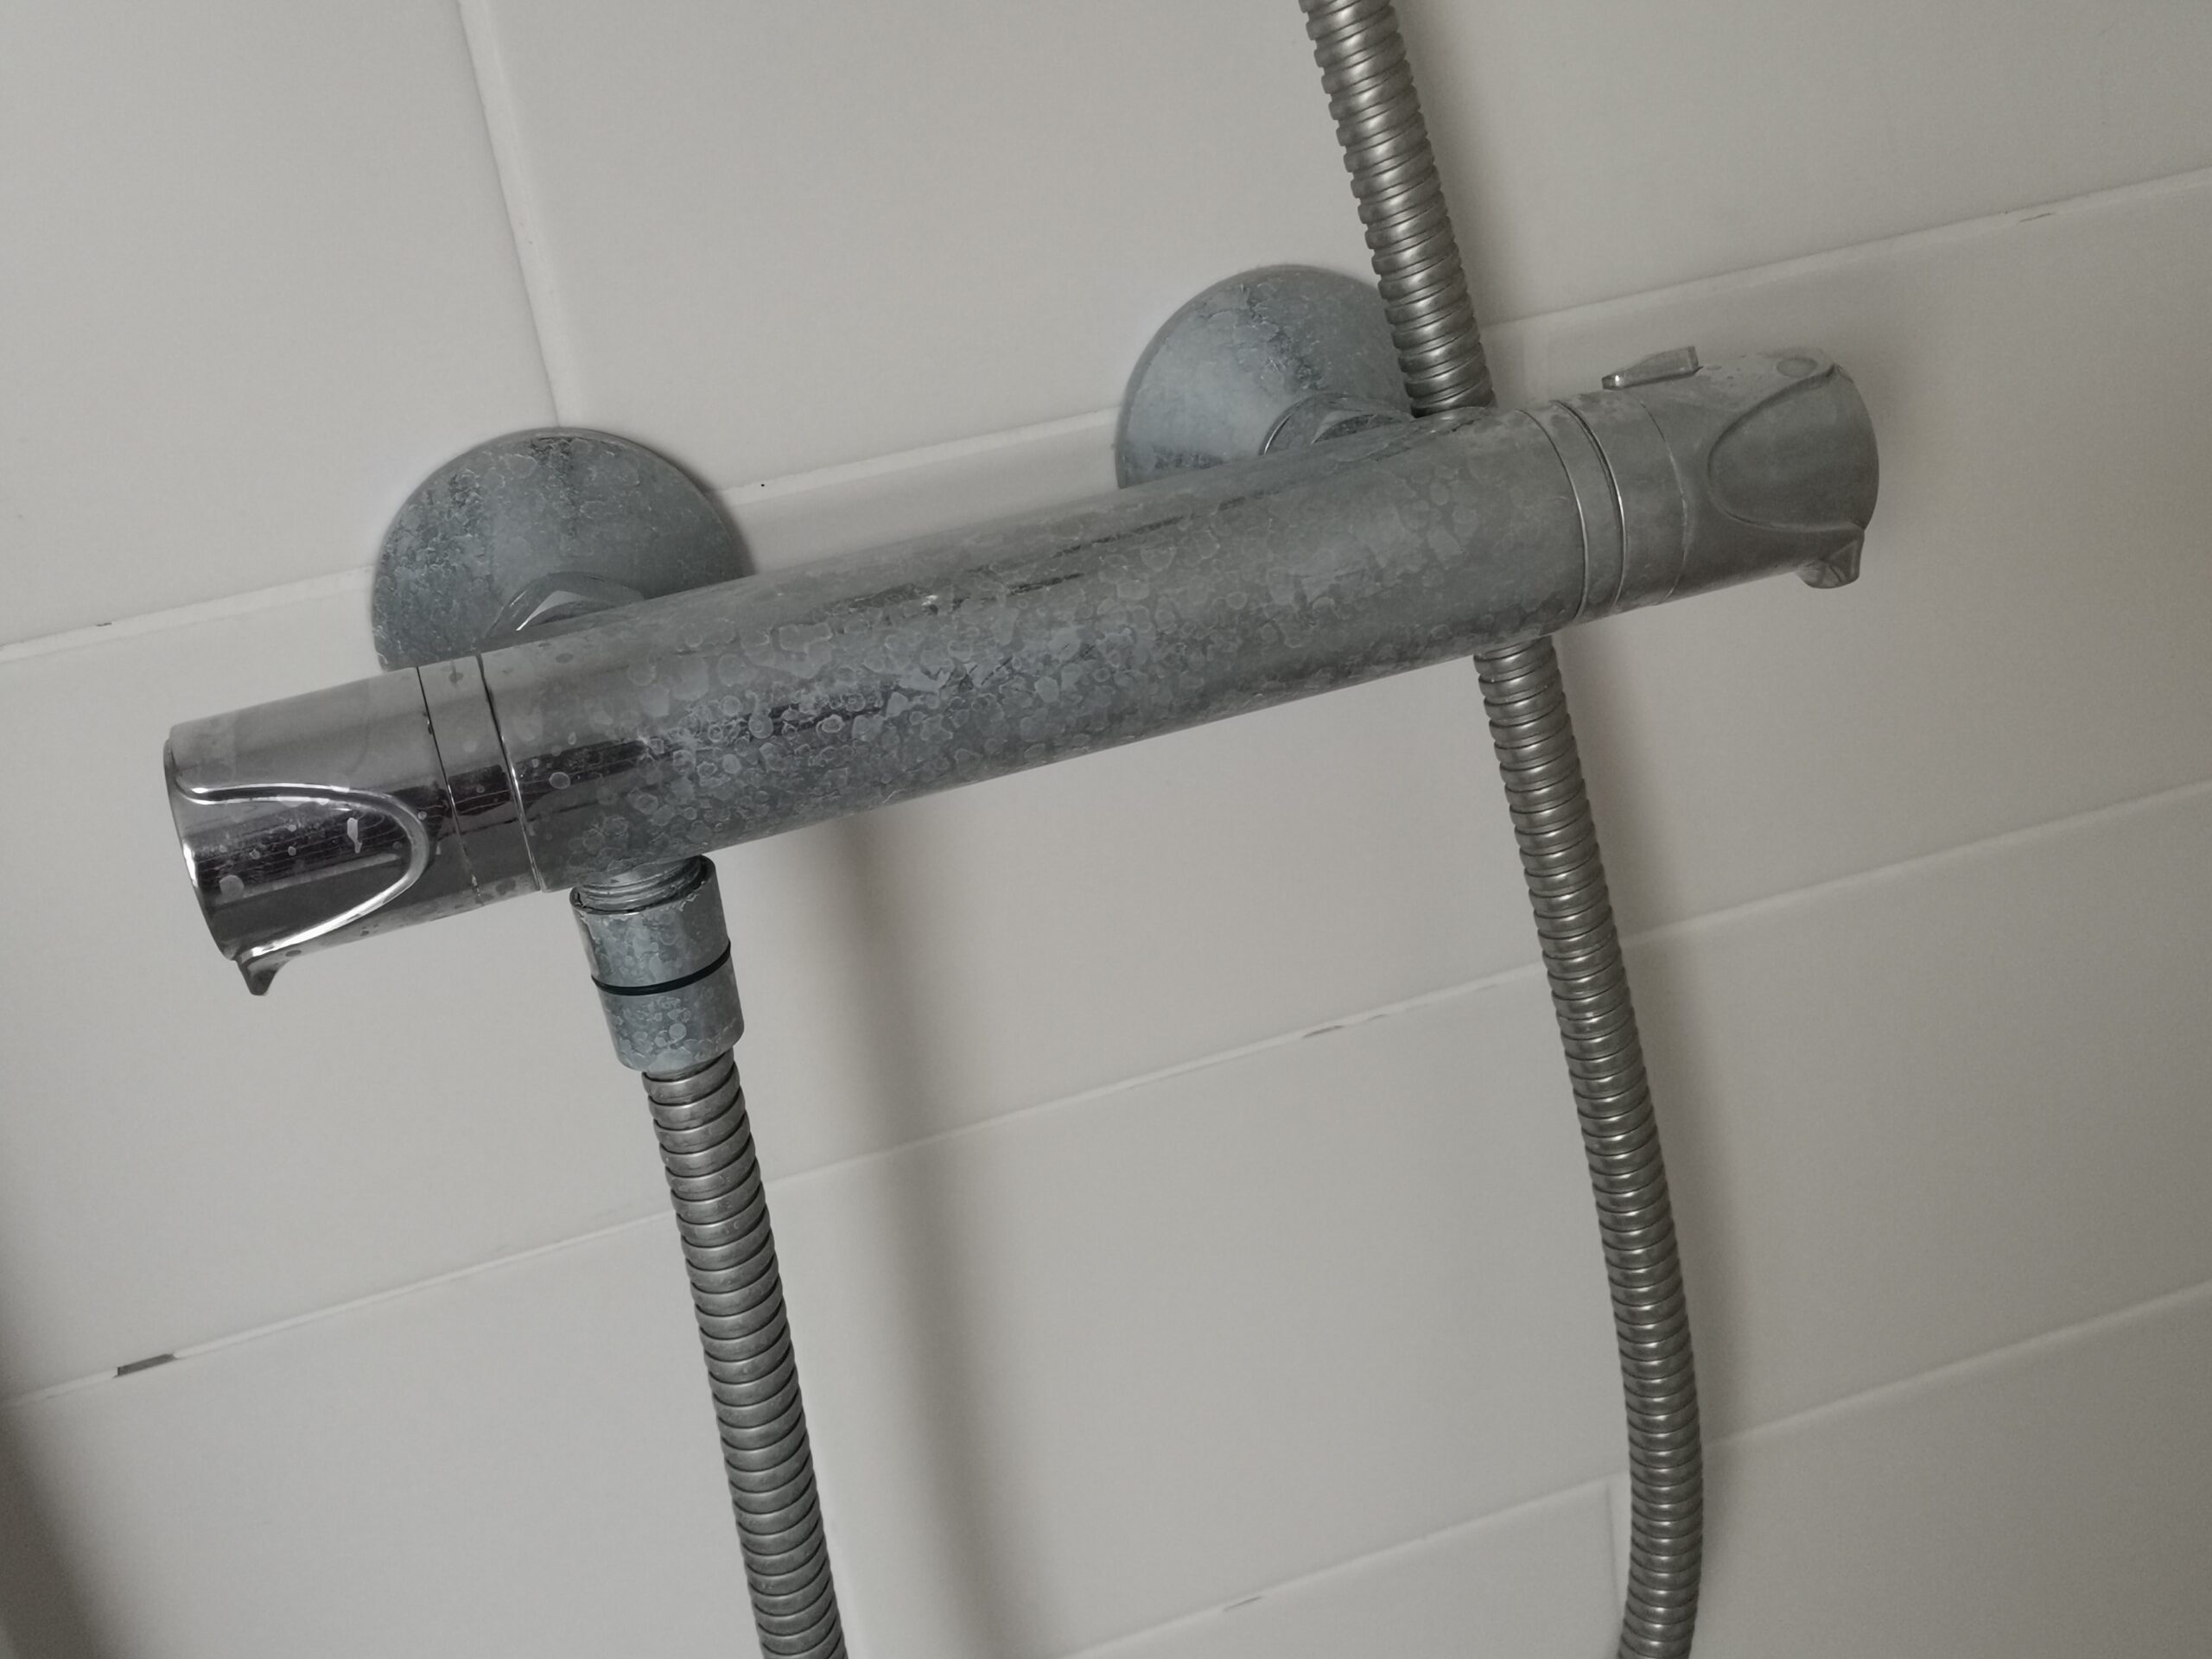
What if your shower is built in to the wall or a more expensive shower? This will probably mean the cartridge will need to be changed as a more cost effective and simple solution.
If you know the model of the shower then you will be able to order a shower cartridge fairly easily. You can order a replacement online. What if you don’t know which cartridge to use because you don’t know which model shower you have? Try a company such as ShowerDoc who may be able to identify the cartridge as well.
Once you have the cartridge we can come the same day and complete the job which usually can be completed within the 1 hour labour slot.
If it is electric then you may need to contact a plumber who is qualified to fit electric showers as this requires part P certification which we do not offer at this time but hope to be offering this in 2022.
See our article about gurgling toilet.
Relax, you can shower once again! Your Shower Problems are sorted!
It’s easy to take such a thing as your morning or evening shower for granted, and it’s not until you no longer have it that you realise just how important it is. Your plumbing service knows that a shower is not only about cleanliness and hygiene, but it helps your wake up, your routine, your feeling of freshness which brings your mind to a good way of starting the day and much more. Of course a morning shower has as much meaning and importance as you give it, and for many it’s a priceless convenience, pleasure and help in our busy everyday lives.
Should your shower be broken and in need of quick replacement, you can always get in touch with your shower installer, if you give us a call appointments can be made on short notice, and installation can be done as soon as the same day if circumstances allow.
Of course if you are thinking about a shower upgrade, for energy saving purposes or other, you can always speak to your team and find out what there is available. Here we are dedicated to bringing you the best products, as well as the best value for money currently available on the market. So feel free to give us a call and speak to a Bristol plumber expert today!
Plumbing Contractors for Shower Problems: Solving Your Wet Woes
Shower problems can be a real headache, causing inconvenience and water damage in your home. When you encounter issues with your shower, it’s essential to turn to plumbers Bristol who specialize in resolving these problems efficiently. In this article, we’ll explore the common shower issues homeowners face and how plumbing contractors can come to the rescue.
Identifying Shower Problems
Low Water Pressure
Low water pressure can turn your shower into a mere trickle. Plumbing contractors can diagnose the cause, whether it’s a clog in the pipes or a faulty pressure regulator, and restore a satisfying flow.
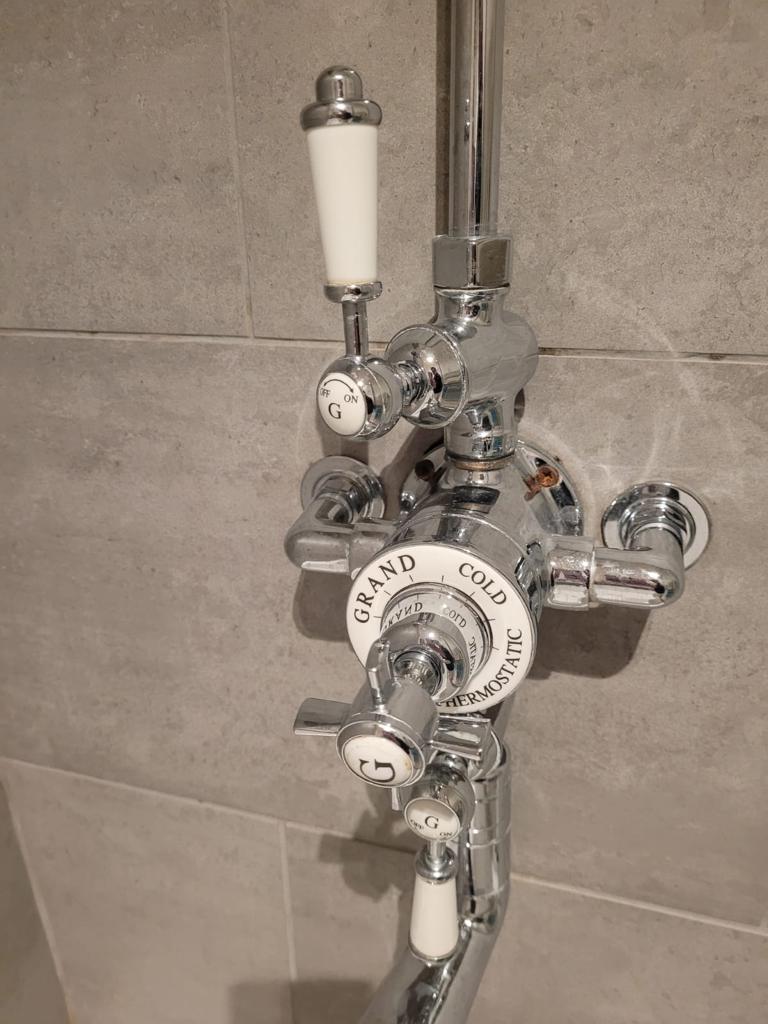
Temperature Fluctuations
Sudden temperature changes during your shower are not only uncomfortable but can also be dangerous. Plumbing contractors can repair faulty mixing valves or recommend a more reliable system.
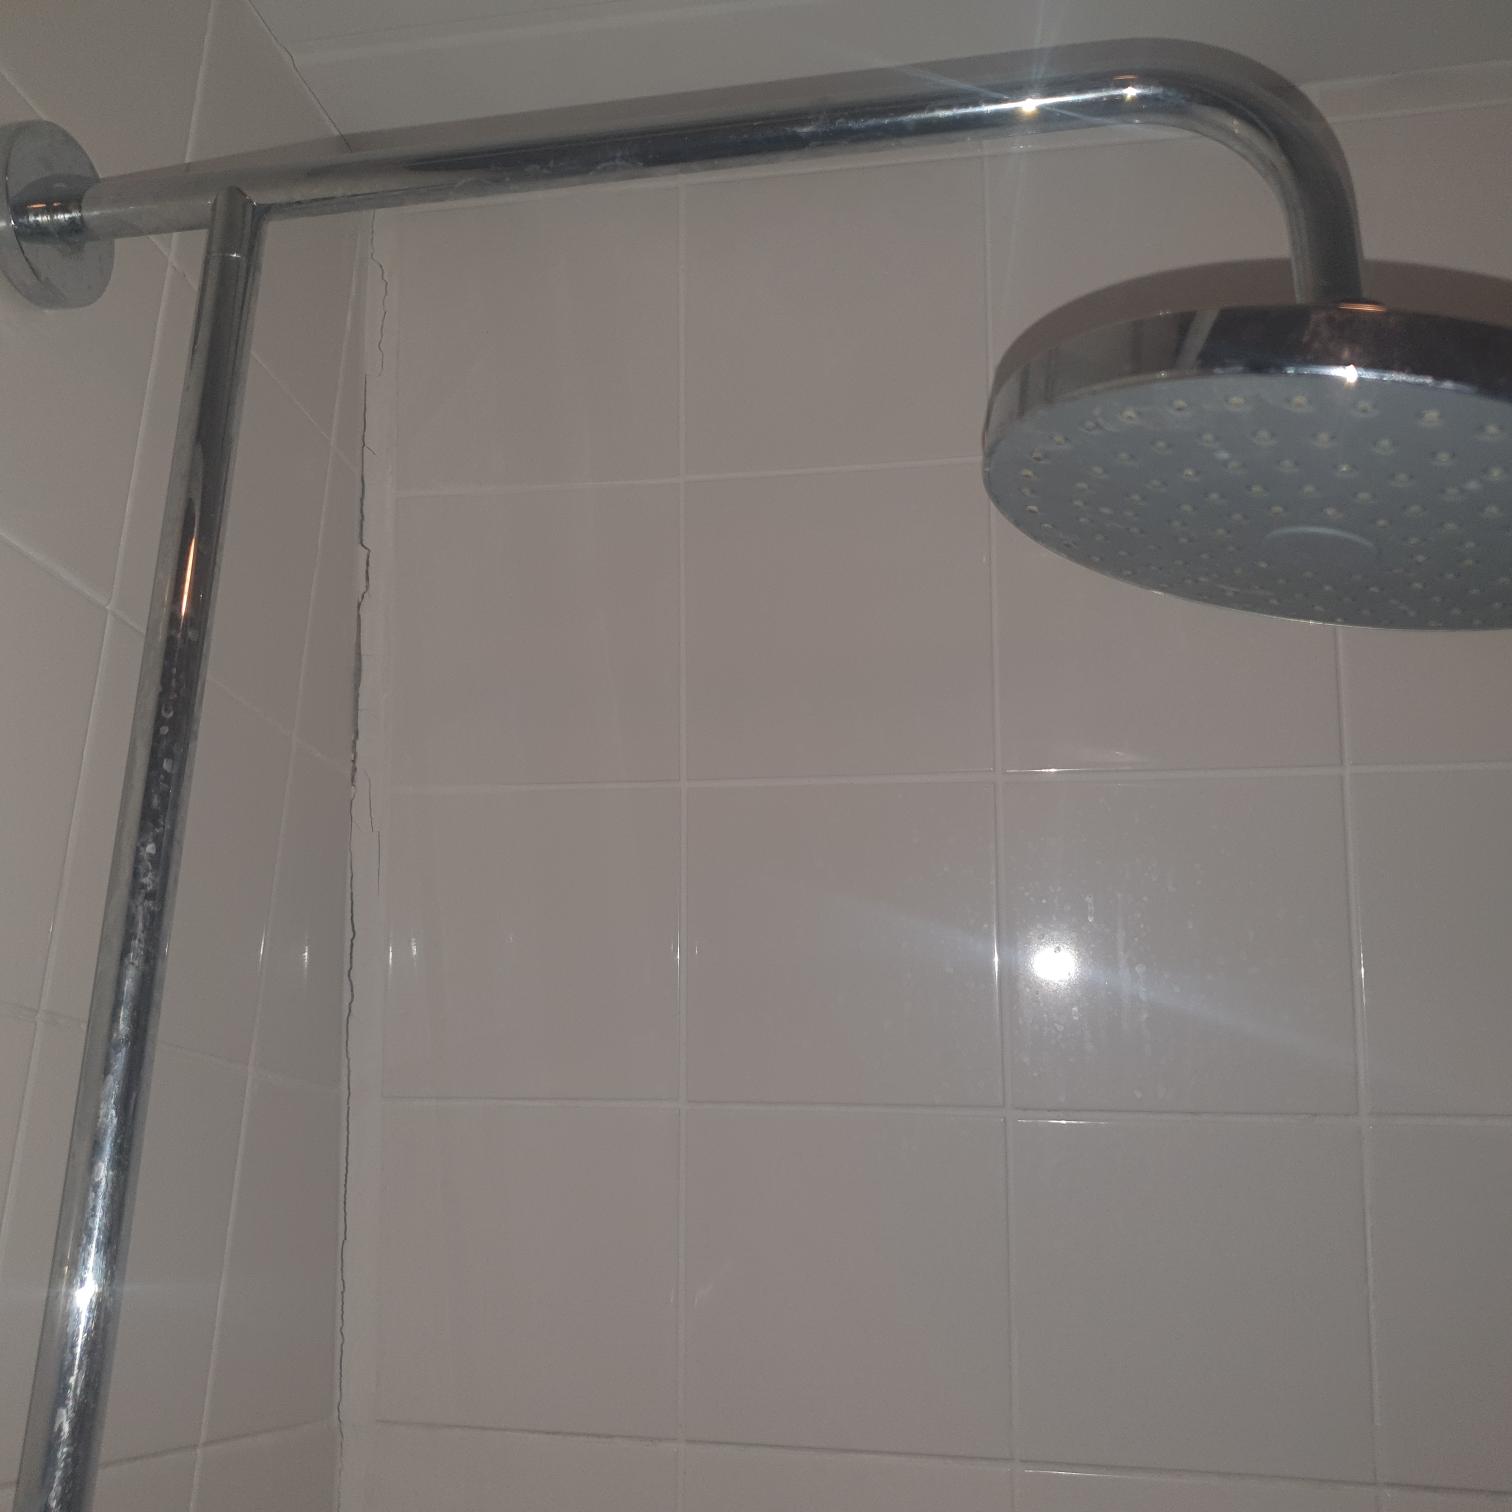
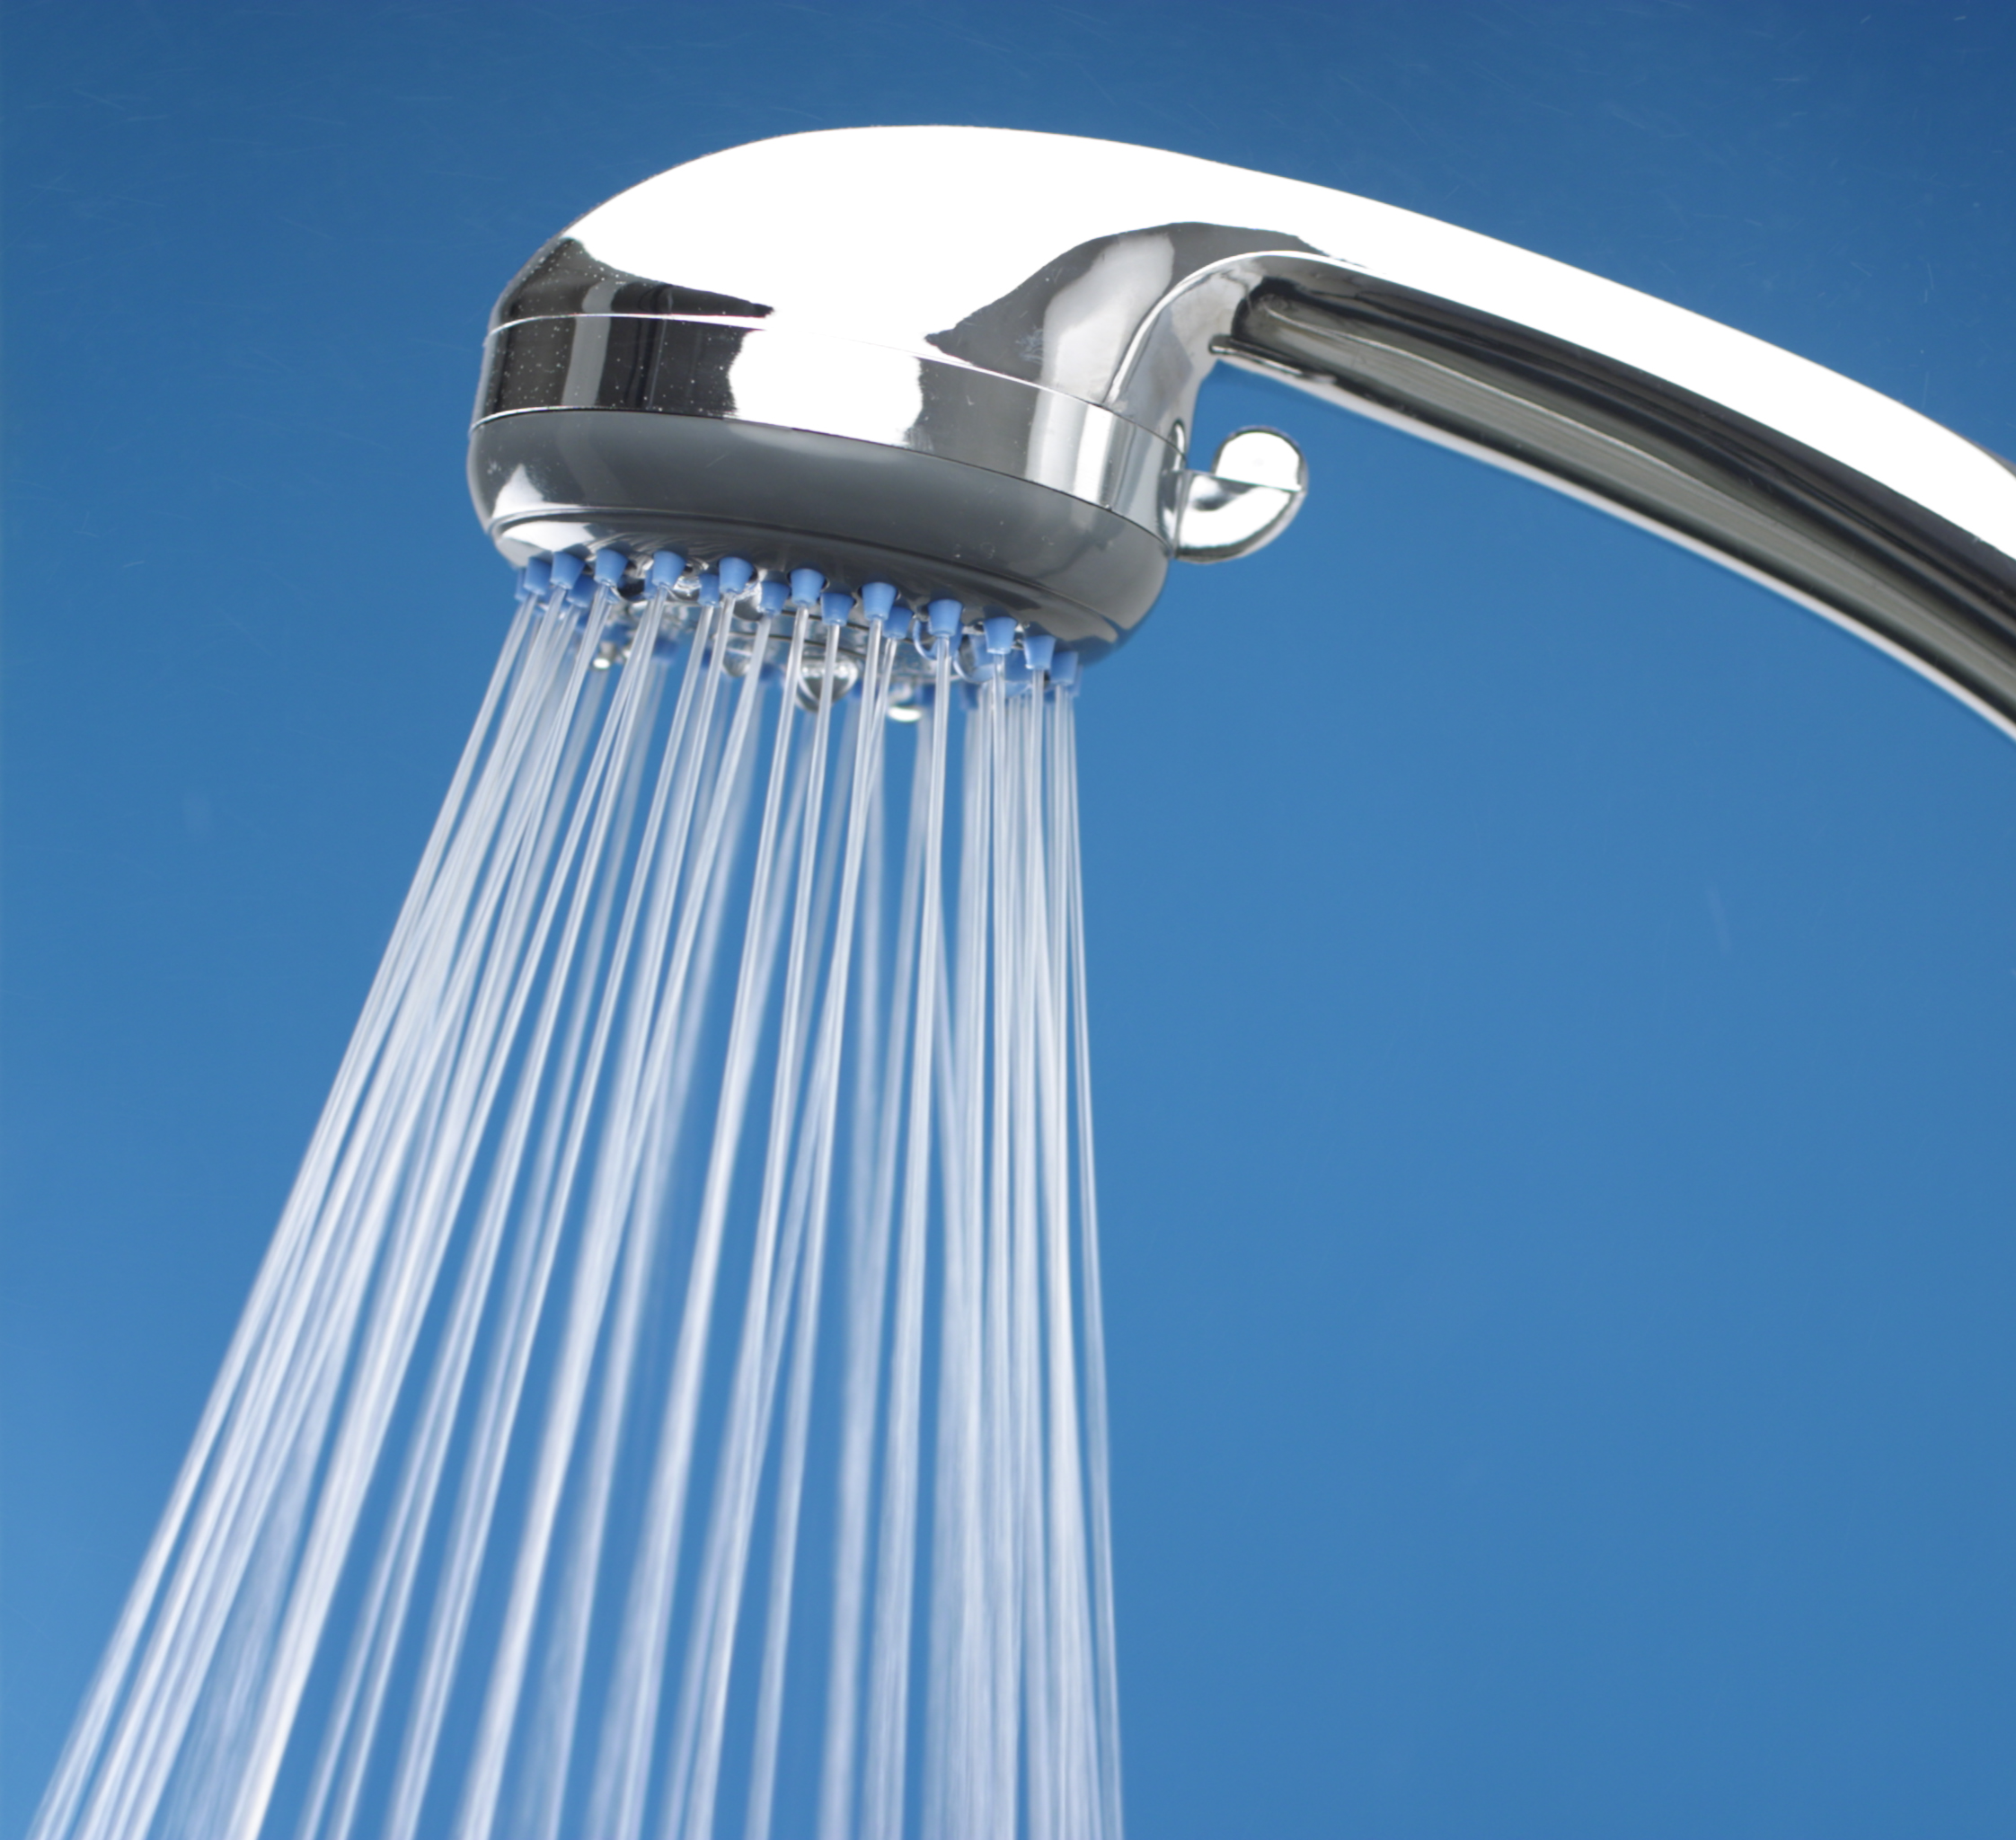
Leaking or Dripping Showerheads
A dripping showerhead not only wastes water but can also lead to water damage. Plumbing contractors can replace worn-out washers or the entire showerhead, preventing further issues.
4. Drainage Problems
Slow drainage or water pooling in your shower can be a sign of clogged pipes or inadequate slope. Plumbing contractors can address these issues and ensure proper drainage.
Why Choose Professional Plumbing Contractors to fix your Shower Problems
Expertise
Experienced plumbing contractors have the knowledge and skills to diagnose and fix various shower problems accurately and avoid emergency plumbing problems.
Equipment
Plumbing contractors come equipped with specialized tools and equipment to tackle even the most stubborn issues.
Time and Cost Efficiency
Professional contractors can save you time and money by quickly resolving problems and preventing further damage.
Hiring the Right Plumbing Contractor for your Shower Problems
Licensing and Certification
Ensure that the plumbing contractor you choose is licensed and certified to work in your area.
References and Reviews
Check for references and read reviews from previous clients to gauge the contractor’s reputation.
Insurance
Confirm that the contractor carries insurance to protect against any accidents or damage that may occur during the repair.
Warranty
Ask about the warranty provided for the work performed to ensure you have recourse if issues reoccur.
When you encounter shower problems, it’s crucial to enlist the help of professional plumbing contractors. They possess the expertise, equipment, and efficiency needed to diagnose and resolve issues effectively, ensuring your shower functions as it should. Don’t let shower problems dampen your daily routine—reach out to experienced plumbing contractors for a quick and reliable solution.
FAQs about Shower Problems
How can I prevent low water pressure in my shower?
Regularly clean your showerhead and consider installing a water softener to prevent mineral buildup in your pipes.

Is it possible to fix a leaking showerhead on my own?
In some cases, a leaking showerhead can be fixed by replacing washers or seals, but if the problem persists, it’s best to consult a professional.
Are there eco-friendly options for shower repairs?
Yes, plumbing contractors can recommend eco-friendly solutions such as low-flow showerheads and efficient water heaters to reduce water and energy consumption.
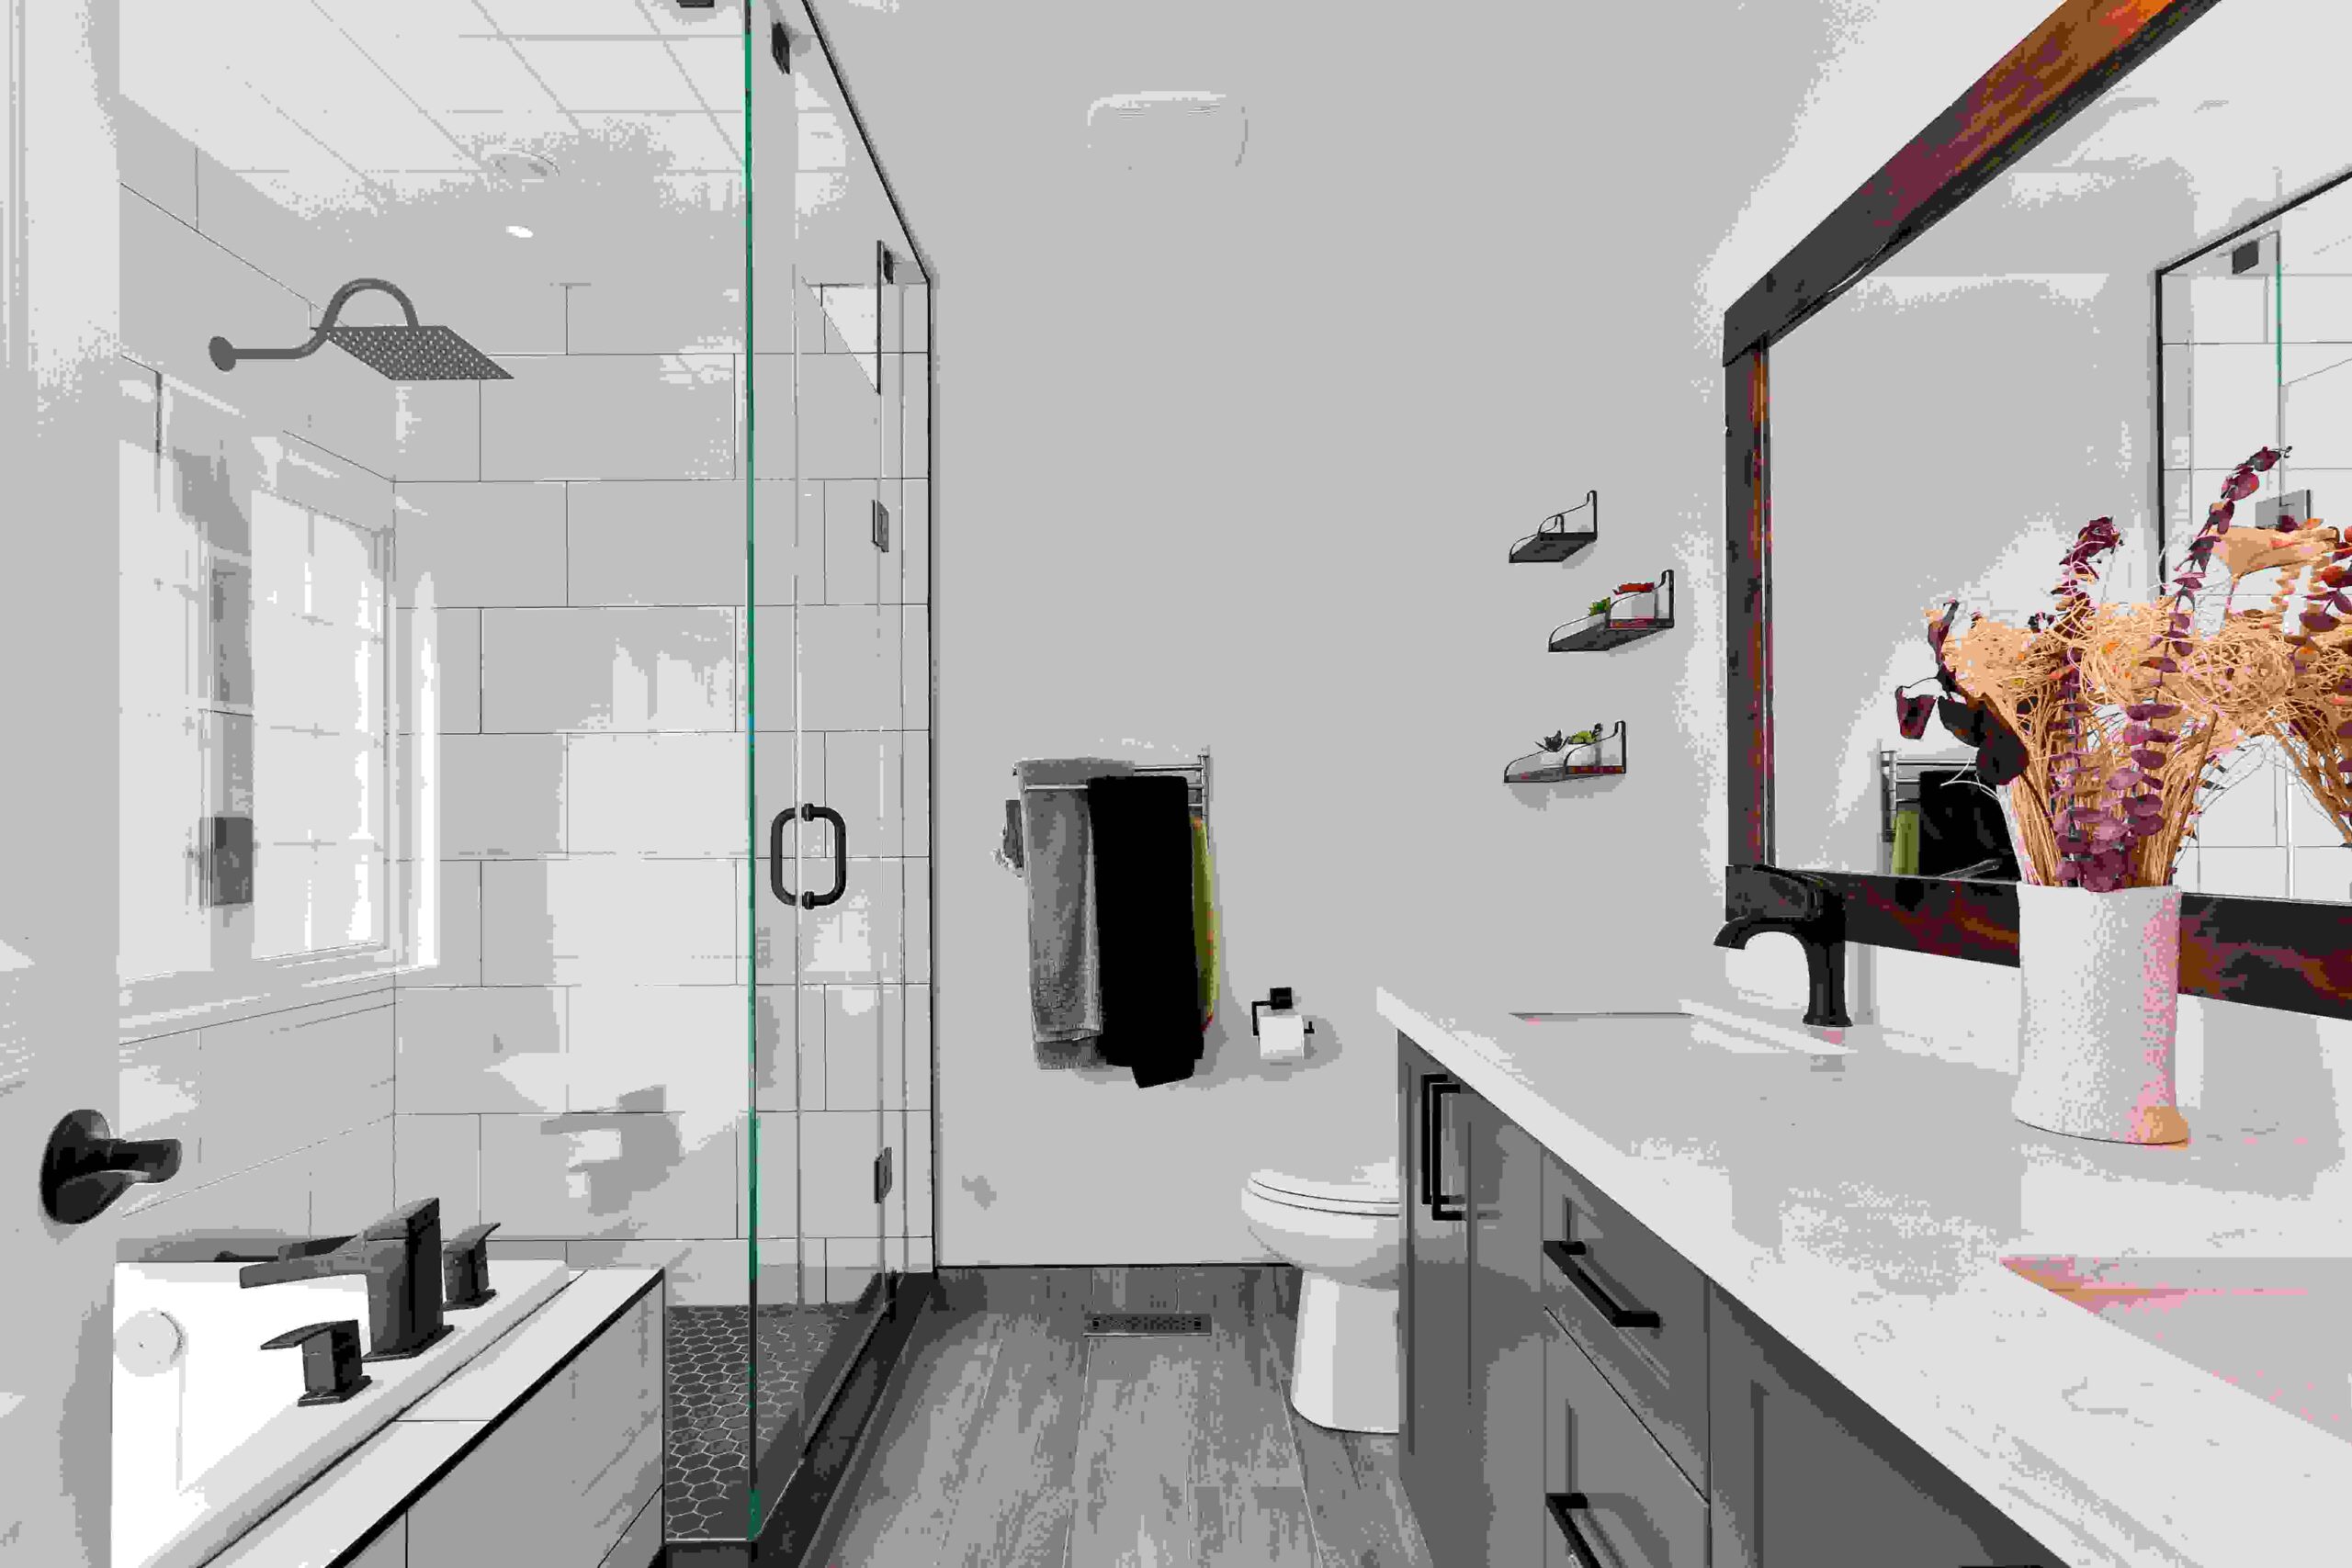
Can plumbing contractors help with shower remodels?
Absolutely! Many plumbing contractors specialize in shower remodels, helping you upgrade your bathroom with modern fixtures and improved functionality.
How can I prevent temperature fluctuations in my shower?
Installing a pressure-balanced or thermostatic shower valve can help maintain a consistent water temperature, preventing sudden fluctuations.