How Do I Fix a Dripping Tap?
A dripping Tap can be an irritating and wasteful problem in any household. The constant drip-drip-drip not only disrupts your peace but can also lead to water wastage and increased bills. Fortunately, fixing a dripping Tap is a common DIY task that you can tackle with a few tools and some basic knowledge. In this guide, we’ll walk you through the steps to stop that annoying drip and save water and money in the process.
Have you ever found yourself annoyed by the persistent sound of a dripping tap? Or perhaps you’ve noticed a subtle leak and wondered if it’s worth fixing? Addressing tap leaks promptly is more than just a matter of peace and quiet; it’s essential for preventing water waste and avoiding potential damage to your home. In this article, we’ll explore how our services can help you fix a dripping tap, discuss the importance of backflow prevention, and delve into common plumbing issues like blocked pipes and leaks.
Our Services for Fixing Dripping Taps
Overview of Tap Repair Services
When it comes to fixing a dripping tap, our services are second to none. We offer a comprehensive range of solutions, from simple tightening to complete tap replacements. Our experienced plumbers are equipped to handle any issue, ensuring that your taps are not only fixed but also functioning optimally.
Competitive Pricing for Dripping Tap Repairs
We understand that cost is a significant factor for our customers. That’s why we pride ourselves on offering competitive pricing without compromising on quality. Our transparent pricing structure means there are no hidden fees, and you’ll know exactly what to expect before any work begins.
Why Choose Professional Services Over DIY
While it might be tempting to try and fix a dripping tap yourself, professional services offer several advantages. Our experts have the tools and expertise to diagnose the problem correctly and ensure that it’s fixed for the long term. DIY fixes can often lead to temporary solutions that might even exacerbate the issue, costing you more in the long run.
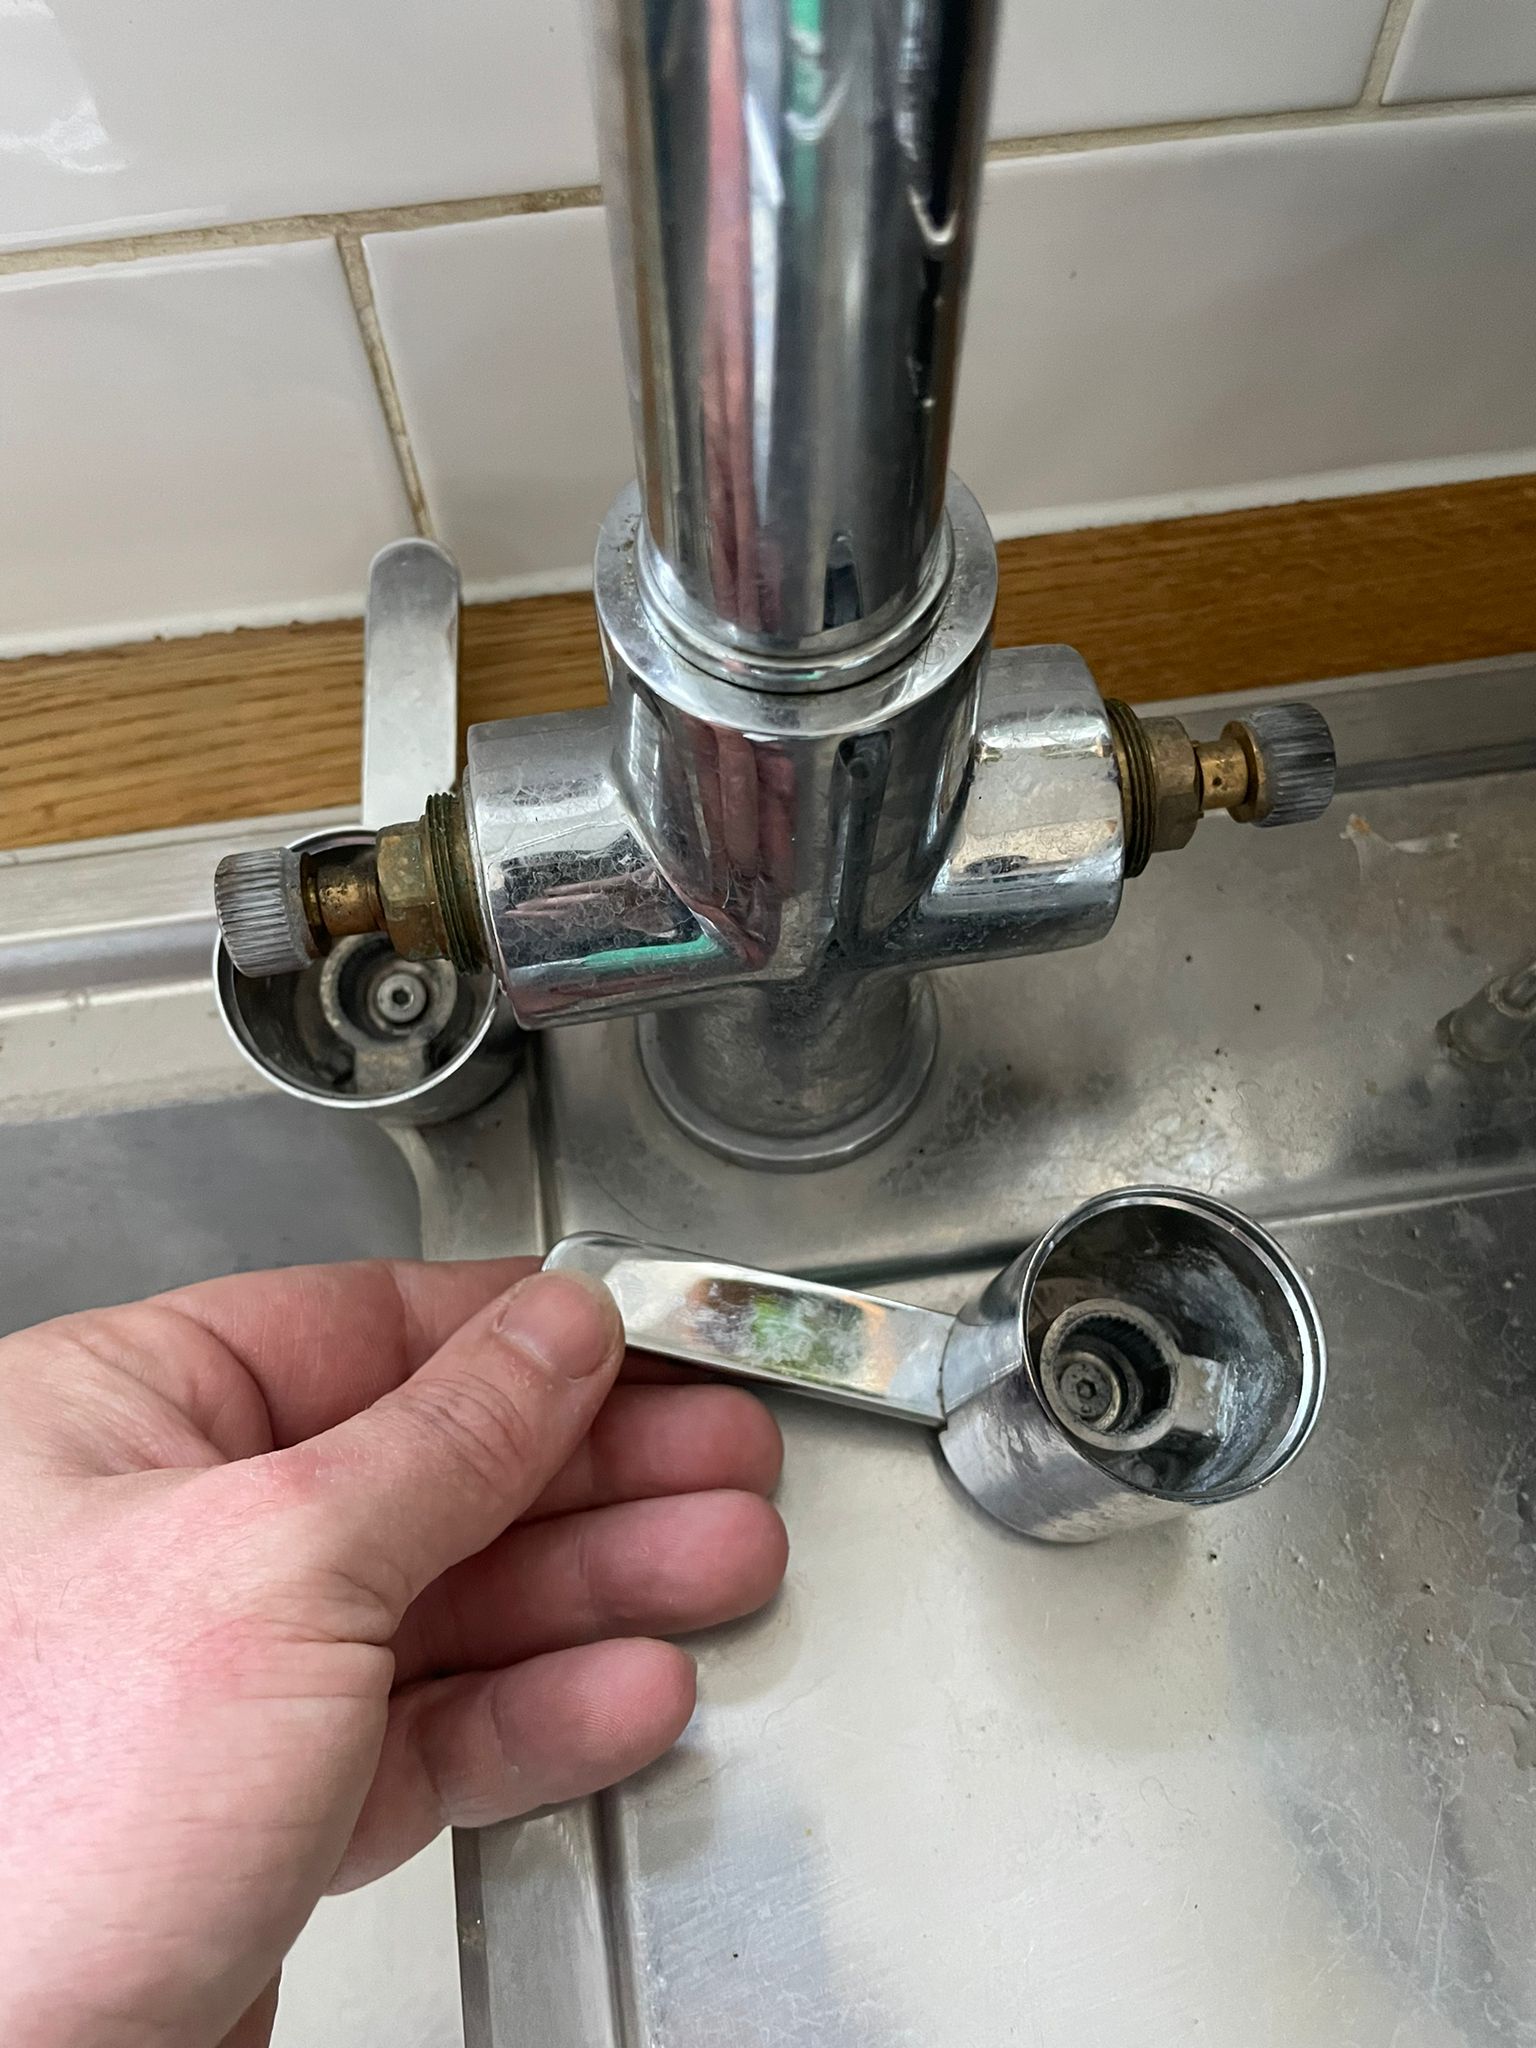
Understanding the Anatomy of a Tap
Before we delve into the fixing process, it’s essential to understand the components of a typical Tap. This knowledge will help you identify the source of the drip and the necessary steps to address it.
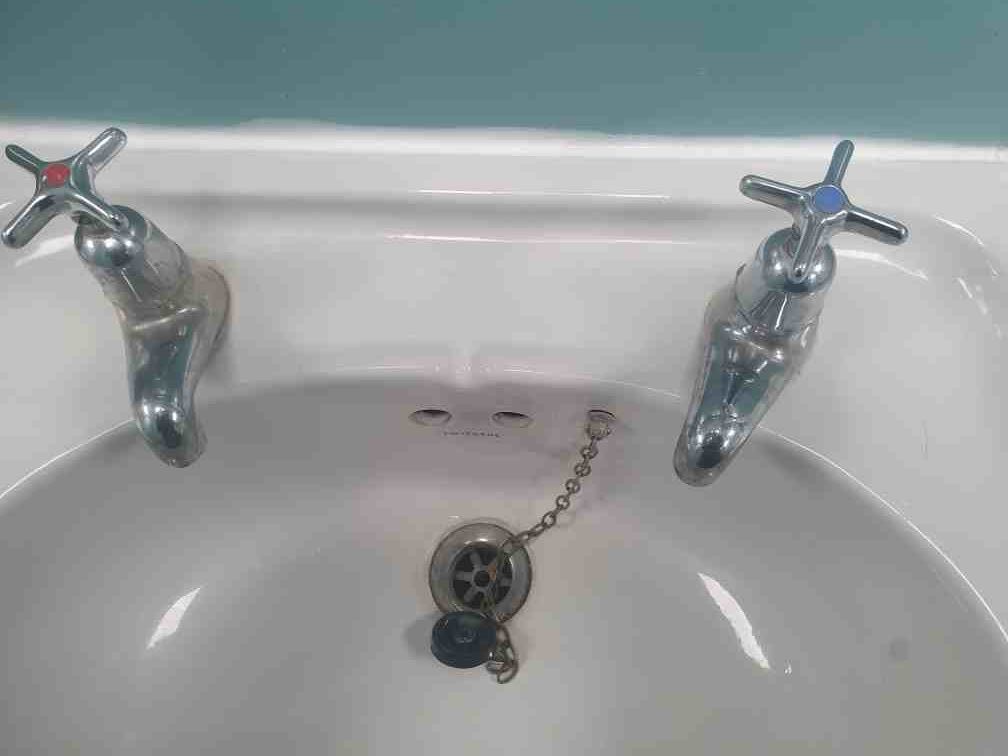
Tap Handle
- The handle controls the flow and temperature of water.
- A loose or damaged handle can lead to leaks.
Spout
- The spout is where water flows out.
- Leaks can occur around the base of the spout.
Valve
- The valve controls the water flow.
- Worn-out valves can result in dripping Taps.
Common Causes of Tap Leaks
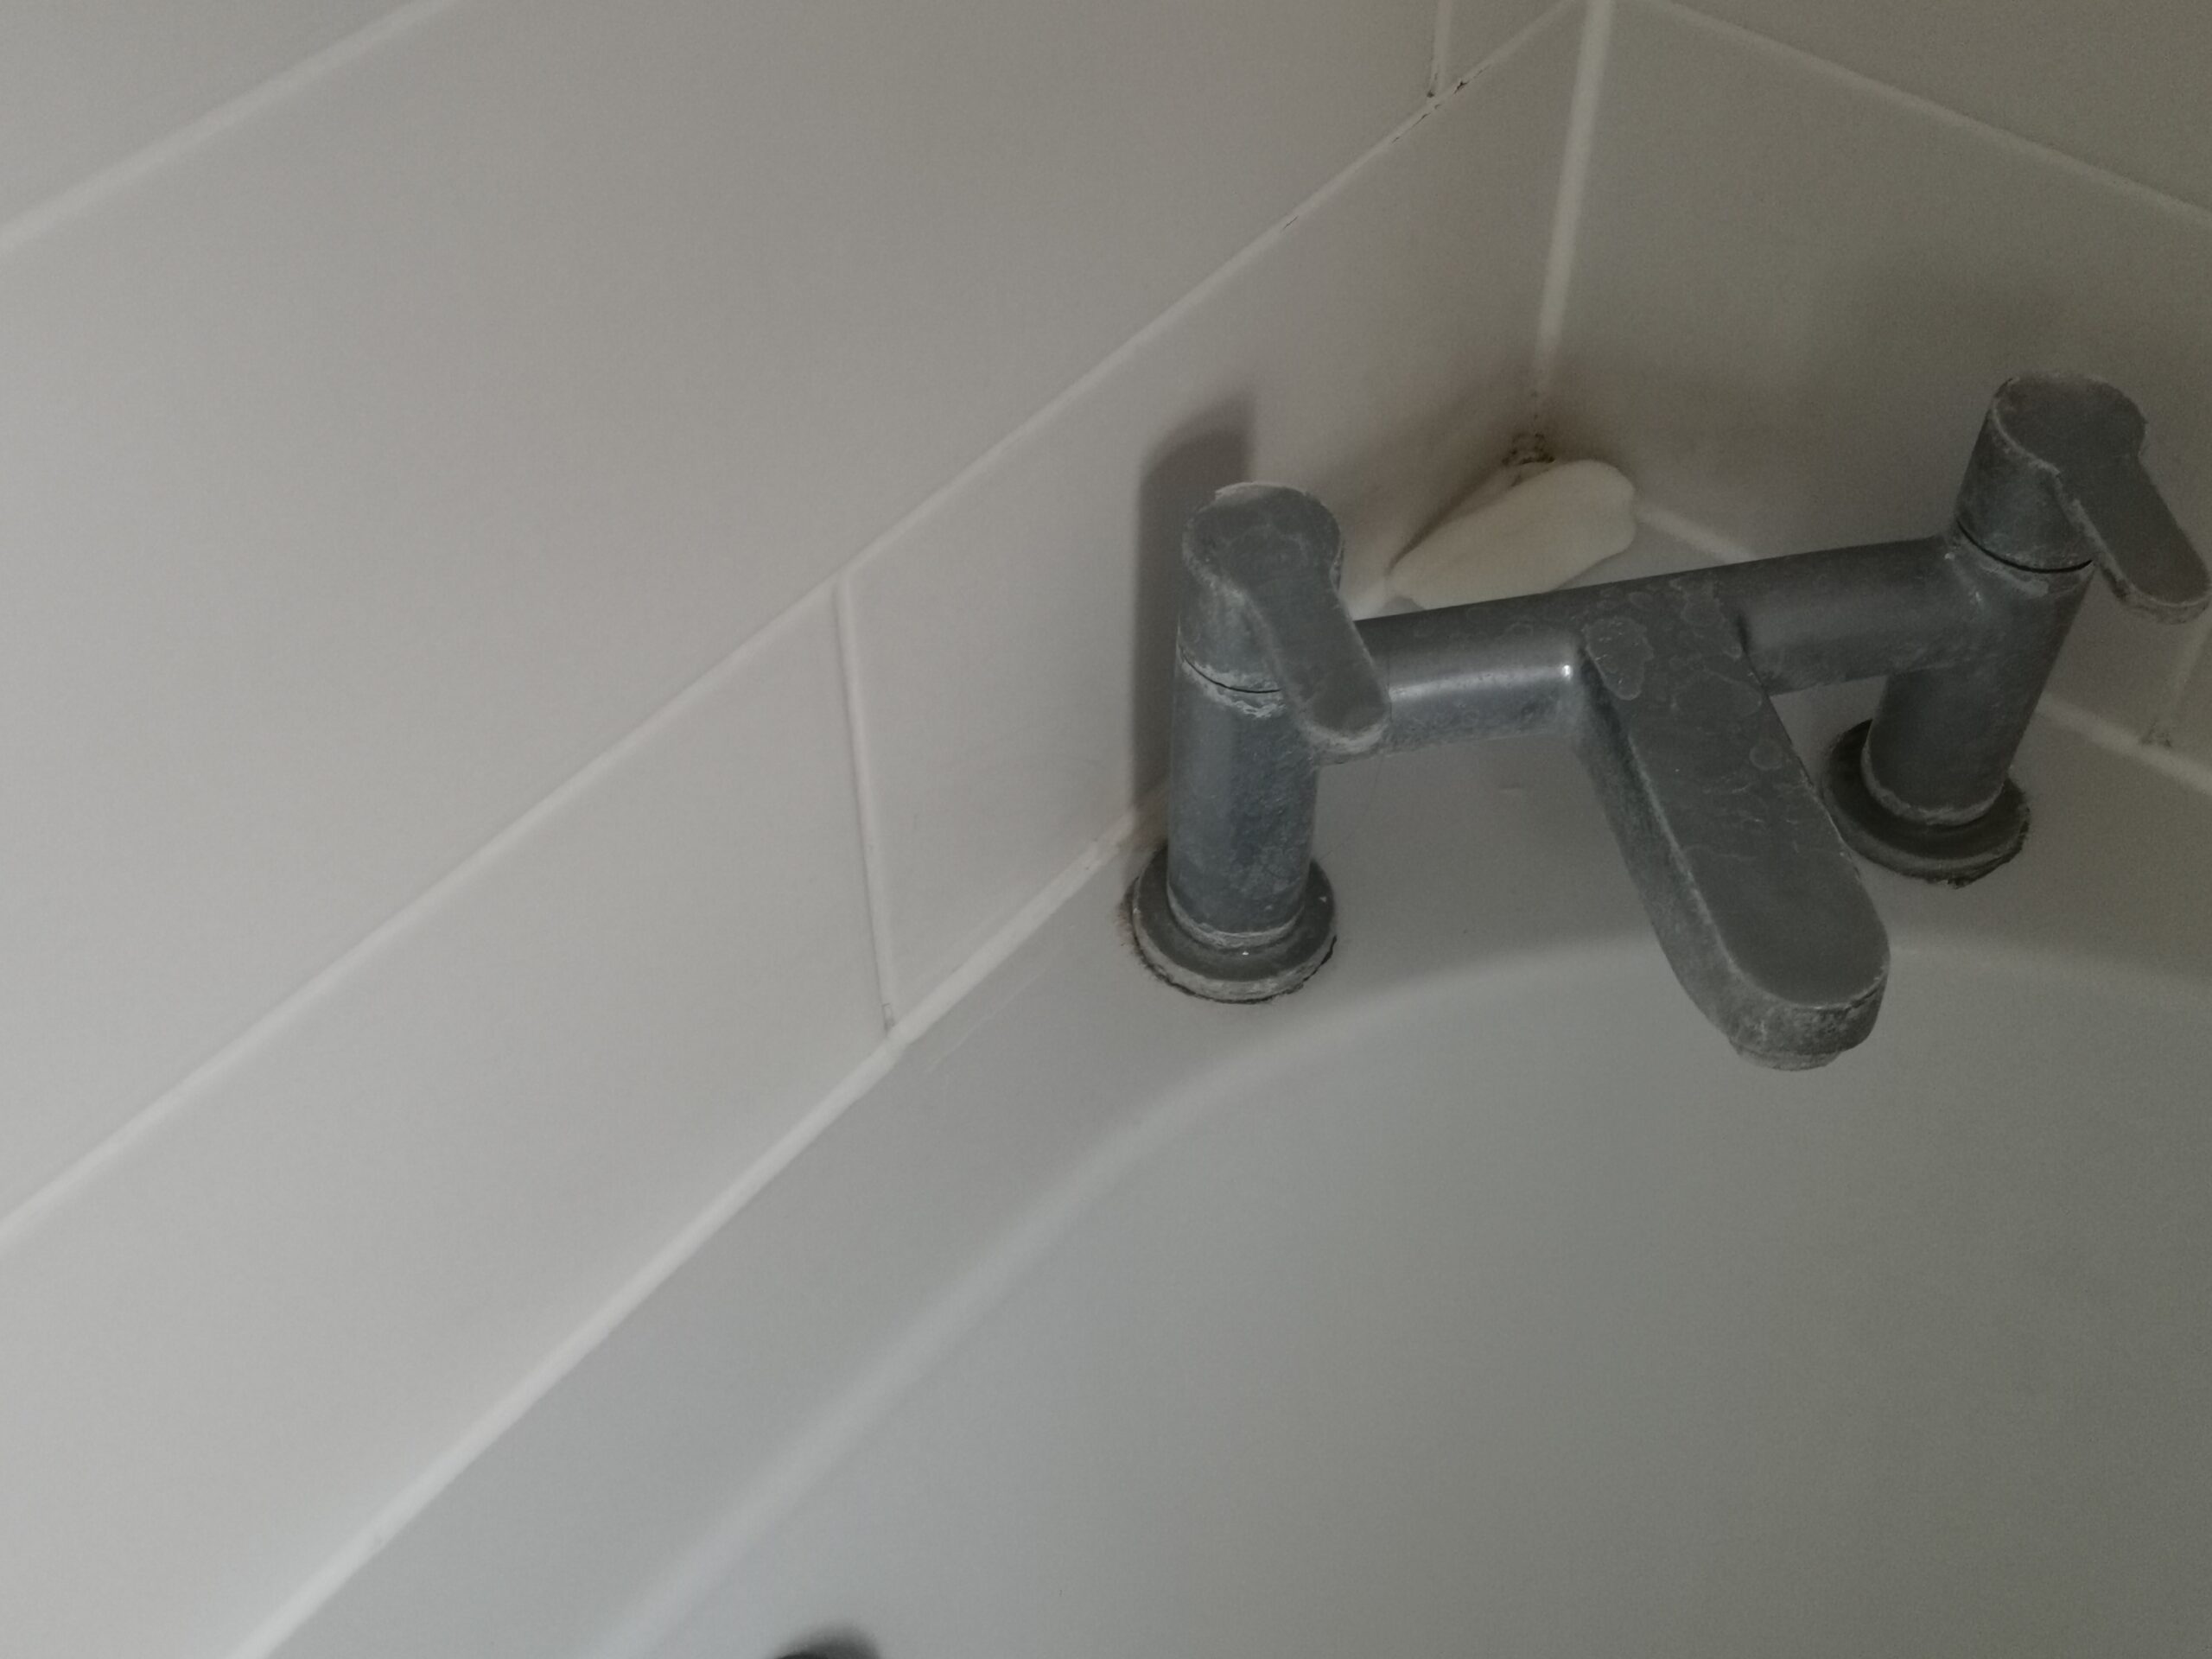
Tap leaks can stem from a variety of issues, ranging from worn-out washers to more complex internal problems. Over time, the seals inside taps degrade, leading to leaks. Sometimes, mineral deposits can build up, causing the tap to fail in its sealing function. In other cases, the issue might be as simple as a loose part or as serious as corrosion inside the tap.

Tools and Materials You’ll Need for a Dripping Tap repair
Before you begin, gather the following tools and materials:
- Adjustable Wrench – Used for tightening and loosening nuts and bolts.
- Screwdriver for a Dripping Tap repair – Needed for disassembling certain Tap types.
- Replacement Parts – Depending on the issue, you may need O-rings, washers, or a new cartridge.
Does My Dripping Tap Need Tightening?
When Tightening is Enough
In some cases, a simple tightening might be all that’s needed to stop a dripping tap. If the issue is a loose valve or handle, a quick adjustment could do the trick. However, this is only a temporary solution, and if the problem persists, it’s likely that there’s a deeper issue at play.
Signs Your Tap Needs Repair
How can you tell if your tap is due for a repair? The most obvious sign is the constant drip, but there are other indicators as well. If the tap handle is stiff or difficult to turn, if water is seeping out from around the base of the tap, or if you notice a significant decrease in water pressure, it’s time to call in a professional.
When You Need a Full Tap Replacement
If your tap continues to drip after tightening, or if you notice other issues like corrosion or water damage around the tap, it might be time for a full replacement. Our professionals can assess whether it’s more cost-effective to repair or replace your tap and guide you through the best options available.
How to Tell the Difference
Not sure whether your tap needs a simple fix or a full replacement? Our team can help. During a consultation, we’ll inspect your tap, identify the cause of the leak, and provide you with a clear understanding of what needs to be done. This ensures that you’re making an informed decision.
Diagnosing the Dripping Tap Problem
- Turn Off the Water
- Locate the shut-off valve under the sink and turn it off to prevent water flow.
- Remove the Tap Handle
- Use your screwdriver to carefully remove the handle.
- Inspect and Replace Parts
- Check the components for wear and tear.
- Replace any damaged or worn-out parts, such as O-rings or washers.
Reassembling the Tap
- Reattach the Handle
- Carefully place the handle back on, ensuring it’s secure.
- Turn On the Water after Dripping Tap repair
- Slowly turn on the water supply and check for leaks.
While fixing a dripping Tap is a manageable DIY task, there are situations when it’s best to call a professional Bristol plumber.
Continuous Dripping

- If the dripping persists after attempting DIY fixes, it’s time to seek professional help.
Complex Tap Types
- Some modern Taps may require specialized tools and expertise.
A dripping Tap is not only bothersome but can also lead to unnecessary water wastage and expenses. By understanding the components of Taps and following the steps outlined in this guide, you can tackle this common household issue with confidence. Fixing a dripping faucet is a small yet meaningful step toward water conservation and saving on your water bills.
Read avout the difference between hard water and soft water.
The Cost of Ignoring a Dripping Tap
Ignoring a dripping tap might seem like an easy option, but the long-term costs can be significant. A single dripping tap can waste thousands of litres of water each year, leading to higher water bills. Over time, the leak can cause water damage, leading to costly repairs to your home’s structure. Plus, the constant dripping can be more than just an annoyance—it can signal underlying problems that could lead to bigger issues if left untreated.
FAQs about dripping tap
- Why is my Tap dripping even when it’s turned off? Taps may drip due to worn-out parts like O-rings or washers. Replacing these components can often solve the issue.
- Can I use duct tape to stop a Tap from dripping temporarily? While duct tape may offer a temporary solution, it’s not a long-term fix. It’s best to address the root cause of the drip.
- How do I know if I need to replace the entire Tap? If your Tap is old, corroded, or has multiple issues, replacing it with a new one might be more cost-effective.
- What should I do if I encounter a leak beneath the sink?I f the leak is not related to the Tap but originates from the pipes, it’s advisable to call a professional plumber.
- Is fixing a dripping Tap a DIY project for beginners? Fixing a dripping Tap can be a beginner-friendly DIY project as long as you have the necessary tools and follow the steps carefully.
- How do I know if my tap needs more than tightening? If your tap continues to drip after tightening, or if you notice any other issues like corrosion or water damage, it might require more extensive repairs or a full replacement.
- What is the cost range for fixing a dripping tap? The cost can vary depending on the severity of the issue and the type of tap you have. However, we offer competitive pricing and transparent quotes so you know exactly what to expect.
- What are the long-term effects of ignoring tap leaks? Ignoring tap leaks can lead to higher water bills, water damage, and potentially serious plumbing issues down the line. It’s always best to address leaks as soon as they’re noticed.
Remember, addressing a dripping Tap promptly not only saves you from the annoyance of the constant drip but also contributes to a more sustainable and cost-effective household. So, grab your tools and get ready to put an end to that pesky drip once and for all!