
Toilet Repair in Bristol: The Ultimate Guide to Toilet Plumbing Problems and Solutions
Toilets are an essential part of our daily lives, and when they malfunction, it can be a real headache. Whether it’s a broken toilet pipe, a persistent leak, or a faulty flush, understanding how to address these issues can save you time and money. In this Toilet Repair guide, we’ll explore common toilet problems, the importance of professional plumbing services, and when to tackle repairs yourself.
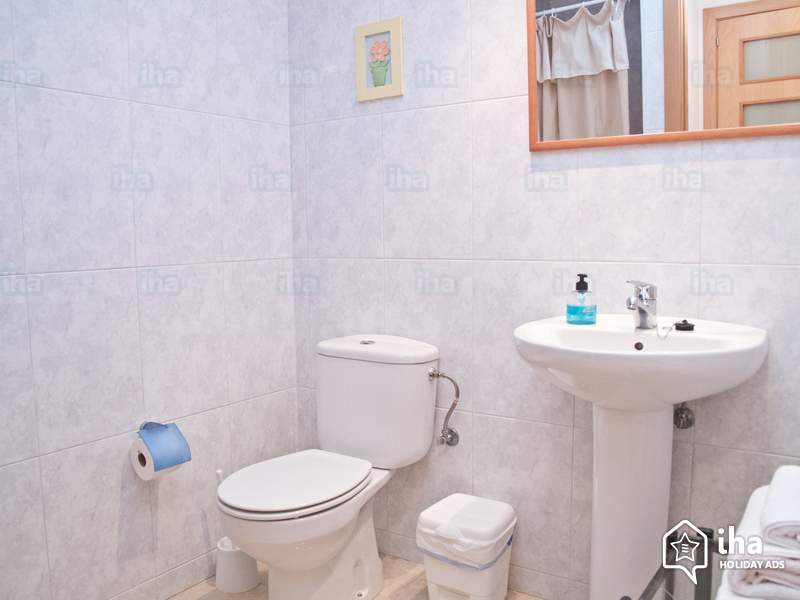
Common Toilet Problems
From broken pipes to leaks and flush malfunctions, toilets can present a variety of issues. Knowing the symptoms and solutions is key to keeping your bathroom functioning smoothly.
CCTV Toilet Pipe Inspection
Sometimes, the toilet problem lies deeper within your plumbing system, and a more thorough inspection is needed.
Benefits of CCTV Toilet Pipe Inspection
CCTV toilet pipe inspections allow plumbers to see inside your pipes without invasive digging. This technology can identify blockages, cracks, and other issues causing the rattling.
How the Toilet Inspection is Conducted
A small, waterproof camera is inserted into your pipes, providing a live feed to the plumber. This allows for precise identification of problems and targeted repairs.
When to Consider a CCTV Toilet Inspection
If you’ve tried all other solutions and the rattling persists, or if you suspect a deeper issue, a CCTV inspection is a good idea. It’s also useful for routine maintenance to catch problems early.
Broken Toilet Pipe
- Causes of Broken Toilet Pipes – Broken toilet pipes can be caused by several factors, including age, corrosion, accidental damage, and extreme weather conditions. Pipes can deteriorate over time, especially if they are made from older materials that are prone to rust and decay.
- Signs of a Broken Toilet Pipe – Water pooling around the base of the toilet, unusual noises when flushing, or a sudden drop in water pressure can all indicate a broken toilet pipe. Additionally, a noticeable smell of sewage might be a clear sign that something is amiss.
- Immediate Actions to Take – If you suspect a broken toilet pipe, turn off the water supply to prevent further damage. Place a bucket or towels around the leak to catch any dripping water and contact a professional plumber as soon as possible.
Toilet Leaks
- Identifying Toilet Leaks – Toilet leaks are not always obvious. Sometimes, the only sign is an unusually high water bill. To check for leaks, add a few drops of food colouring to the toilet tank and wait for 15 minutes. If the colour appears in the bowl without flushing, you have a leak.
- Common Causes of Toilet Leaks – Leaky toilets can be caused by a faulty flapper valve, a worn-out fill valve, or issues with the flush handle. Additionally, cracks in the toilet tank or bowl can lead to leaks.
- DIY Fixes for Minor Leaks – For minor leaks, replacing the flapper valve or tightening the fill valve can often resolve the issue. Make sure to turn off the water supply before attempting any repairs.
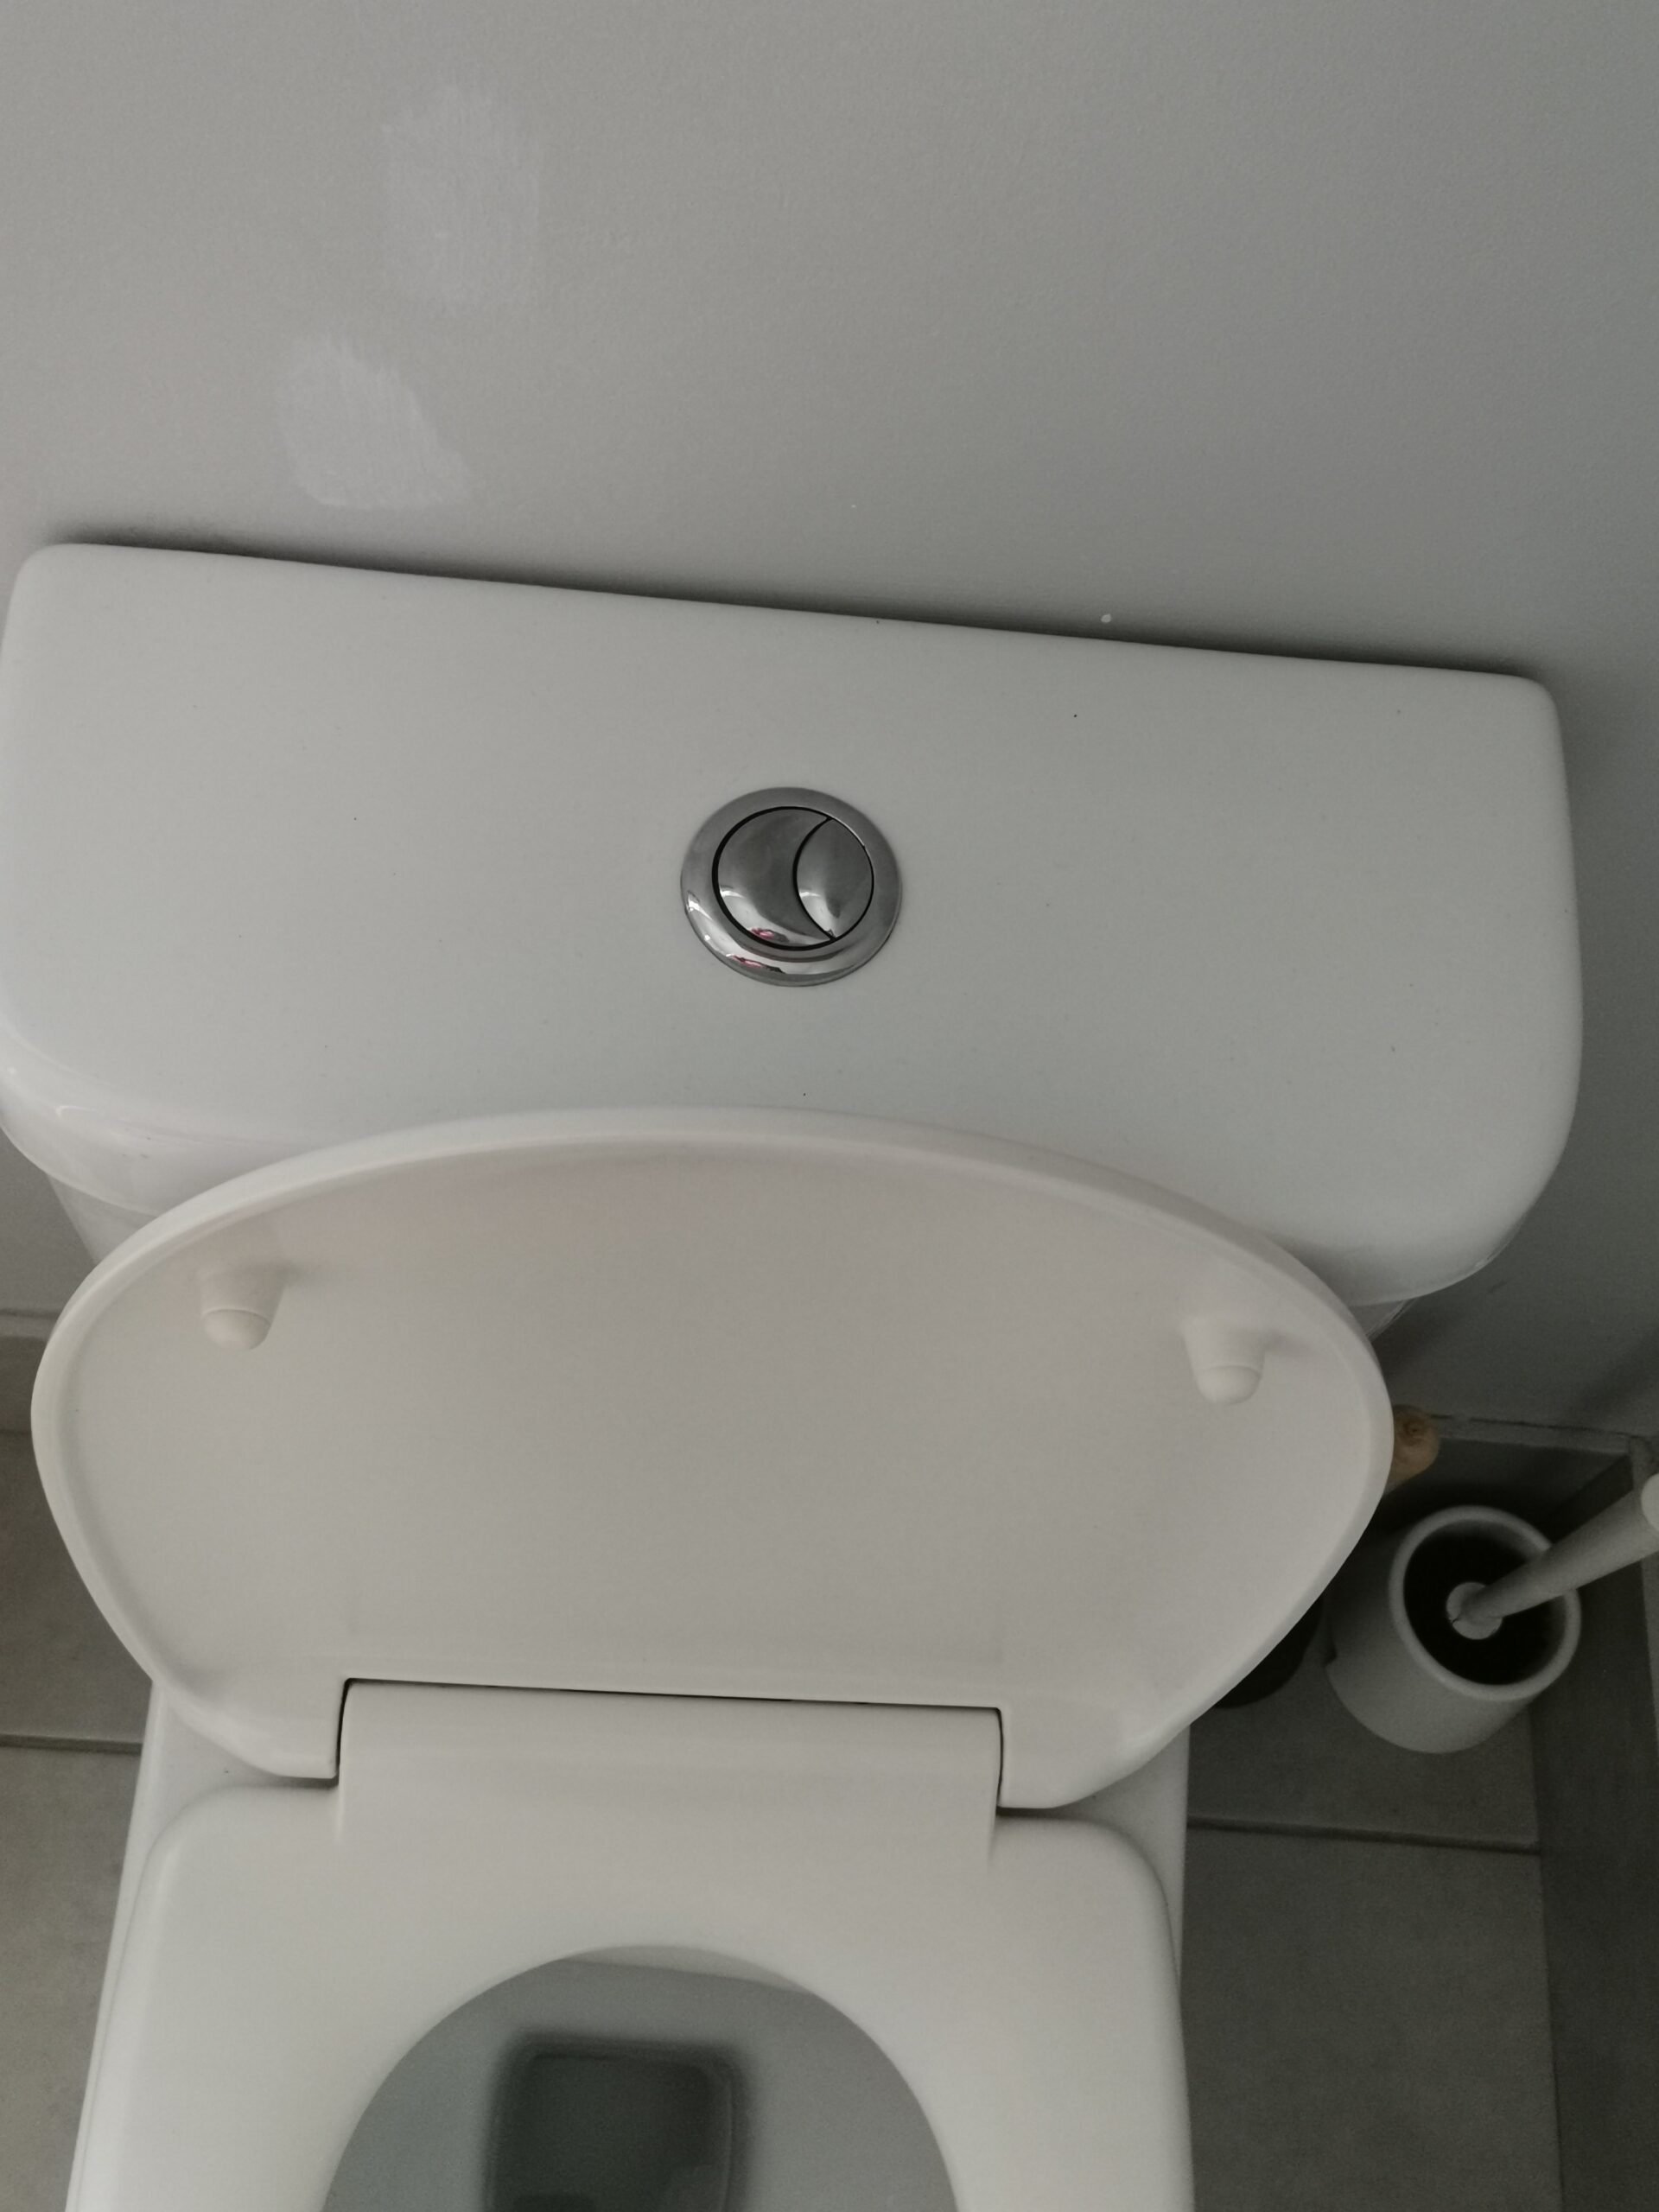
Malfunctioning Toilet Flush
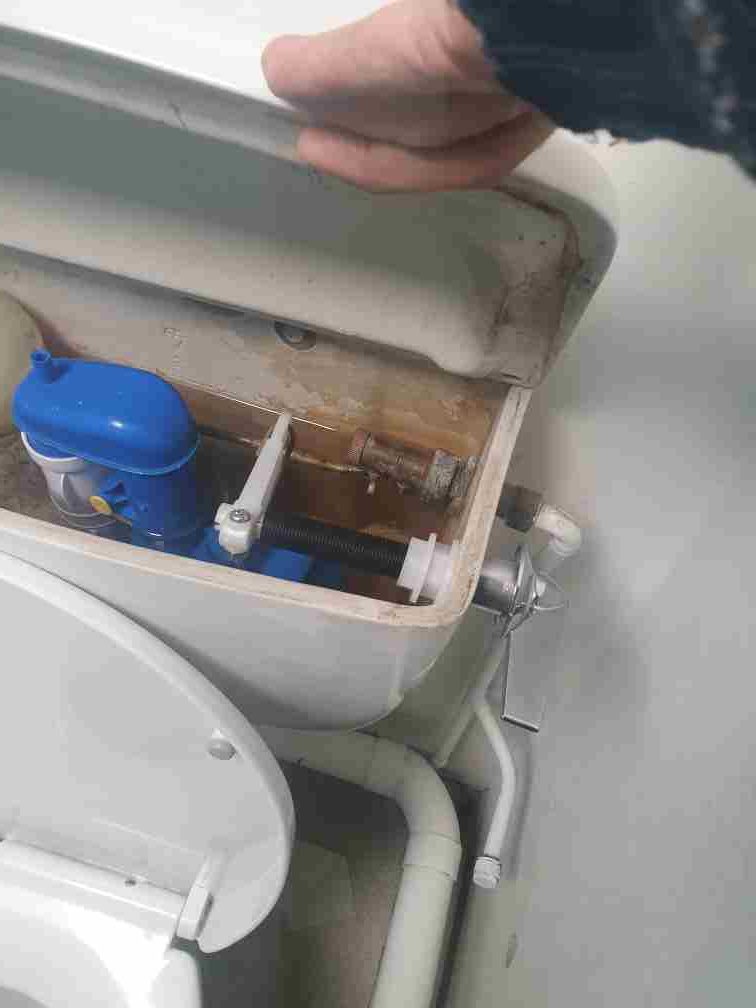
- Common Flush Problems – A flush that doesn’t work properly can be caused by a variety of issues, such as a broken handle, a disconnected chain, or a damaged flapper valve. Sometimes, the problem might be as simple as low water levels in the tank.
- Temporary Solutions – If your flush isn’t working, try jiggling the handle to see if the chain has become disconnected. Adjusting the water level in the tank can also provide a temporary fix.
- When to Call a Professional – If the flush problem persists despite your efforts, it’s time to call a professional plumber. Persistent issues may indicate a more serious underlying problem that requires expert attention.
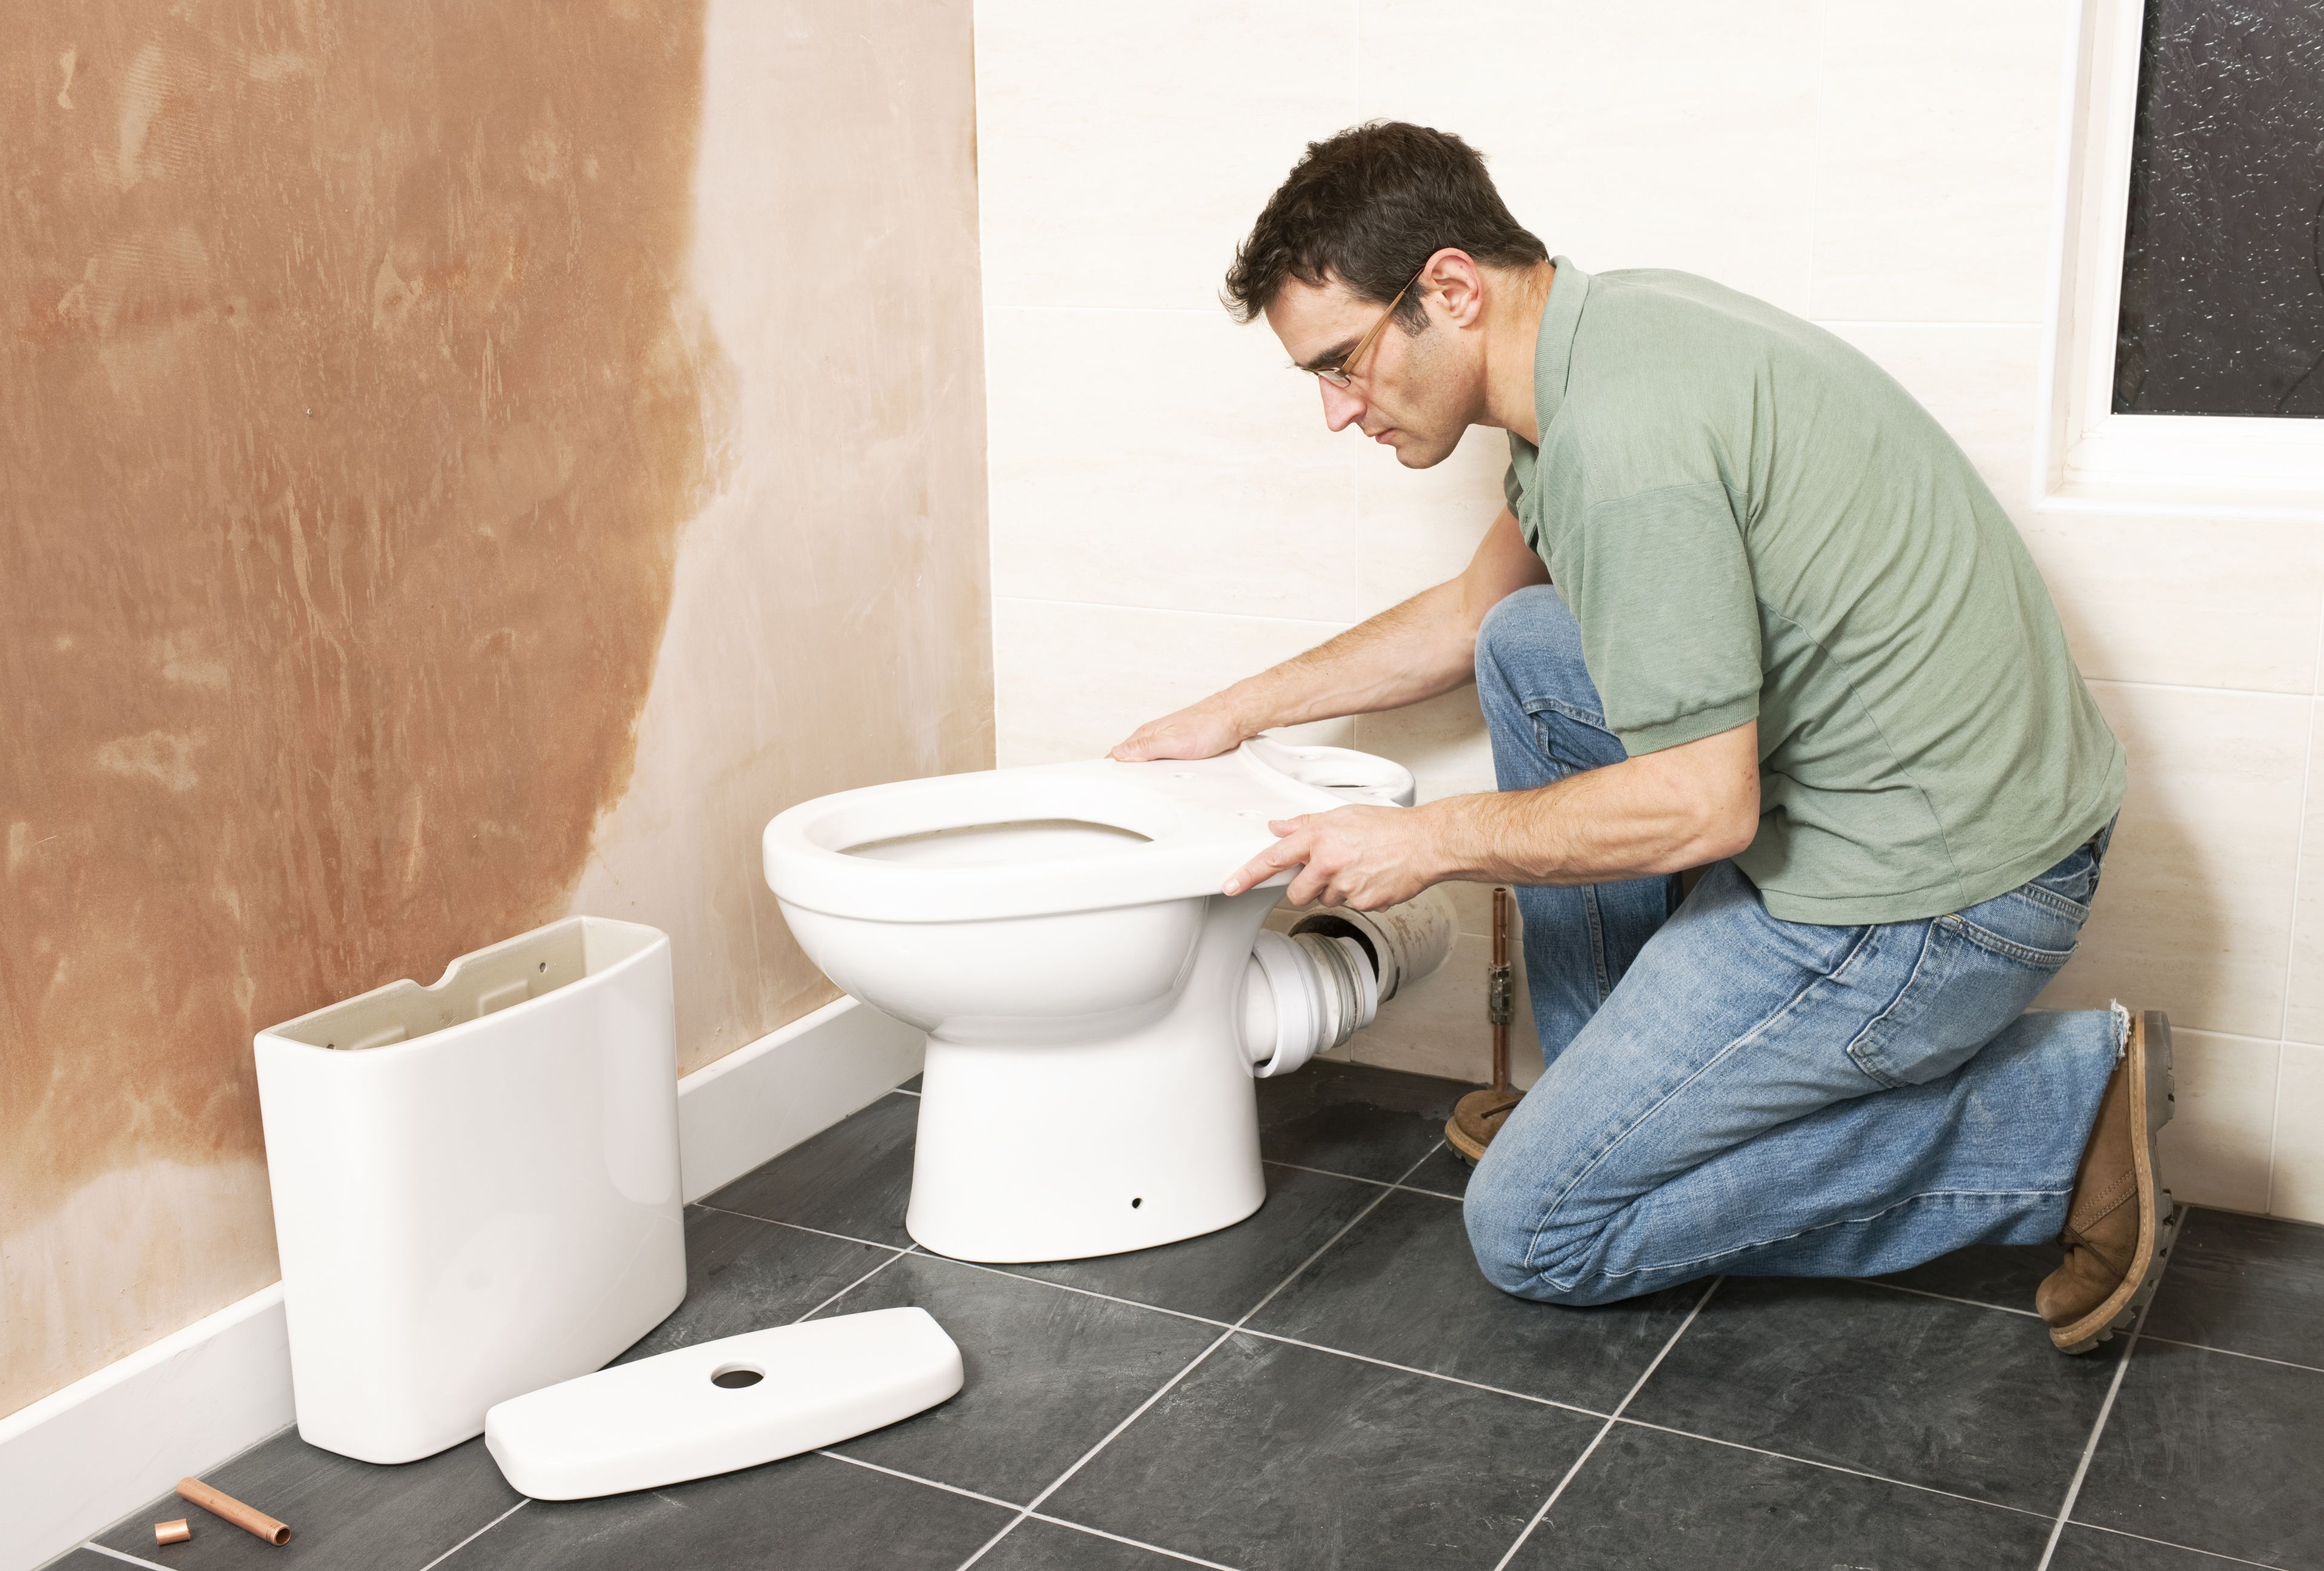
Changing a Flush Toilet Repair
- Tools Required – To change a toilet flush, you’ll need a wrench, a screwdriver, a new flush valve, and some plumber’s tape.
Step-by-Step Guide to Changing a Flush Toilet Repair
- Turn off the water supply and flush the toilet to empty the tank.
- Disconnect the water supply line from the tank.
- Remove the old flush valve using a wrench.
- Install the new flush valve, making sure to use plumber’s tape on the threads.
- Reconnect the water supply line and turn the water back on.
- Test the new flush to ensure it’s working properly.
- Common Mistakes to Avoid – Ensure you purchase the correct flush valve for your toilet model. Also, be careful not to overtighten the connections, as this can cause damage.
Eco-friendly Toilet Repair and Plumbing Solutions
- Water-saving Toilets – Modern water-saving toilets use less water per flush, helping to reduce your water bill and environmental impact.
- Sustainable Plumbing Practices – Sustainable practices include using eco-friendly materials, installing water-efficient fixtures, and regularly maintaining your plumbing system to prevent leaks and waste.
- Benefits of Eco-friendly Solutions – Eco-friendly plumbing solutions can save you money on your water bill, reduce your environmental footprint, and increase the value of your home.
Emergency Toilet Repair Services
- How to Handle Plumbing Emergencies – In a plumbing emergency, turn off the main water supply to prevent further damage. Use towels or buckets to contain any water and call an emergency plumber immediately.
We repair toilets fast. Whatever problem you’re having with the toilet do not fear.
We carry parts to repair almost any toilet so we can fix the job fast on the first visit. Don’t worry what type of toilet you have as we can come today and solve it for you.
How does central heating work?
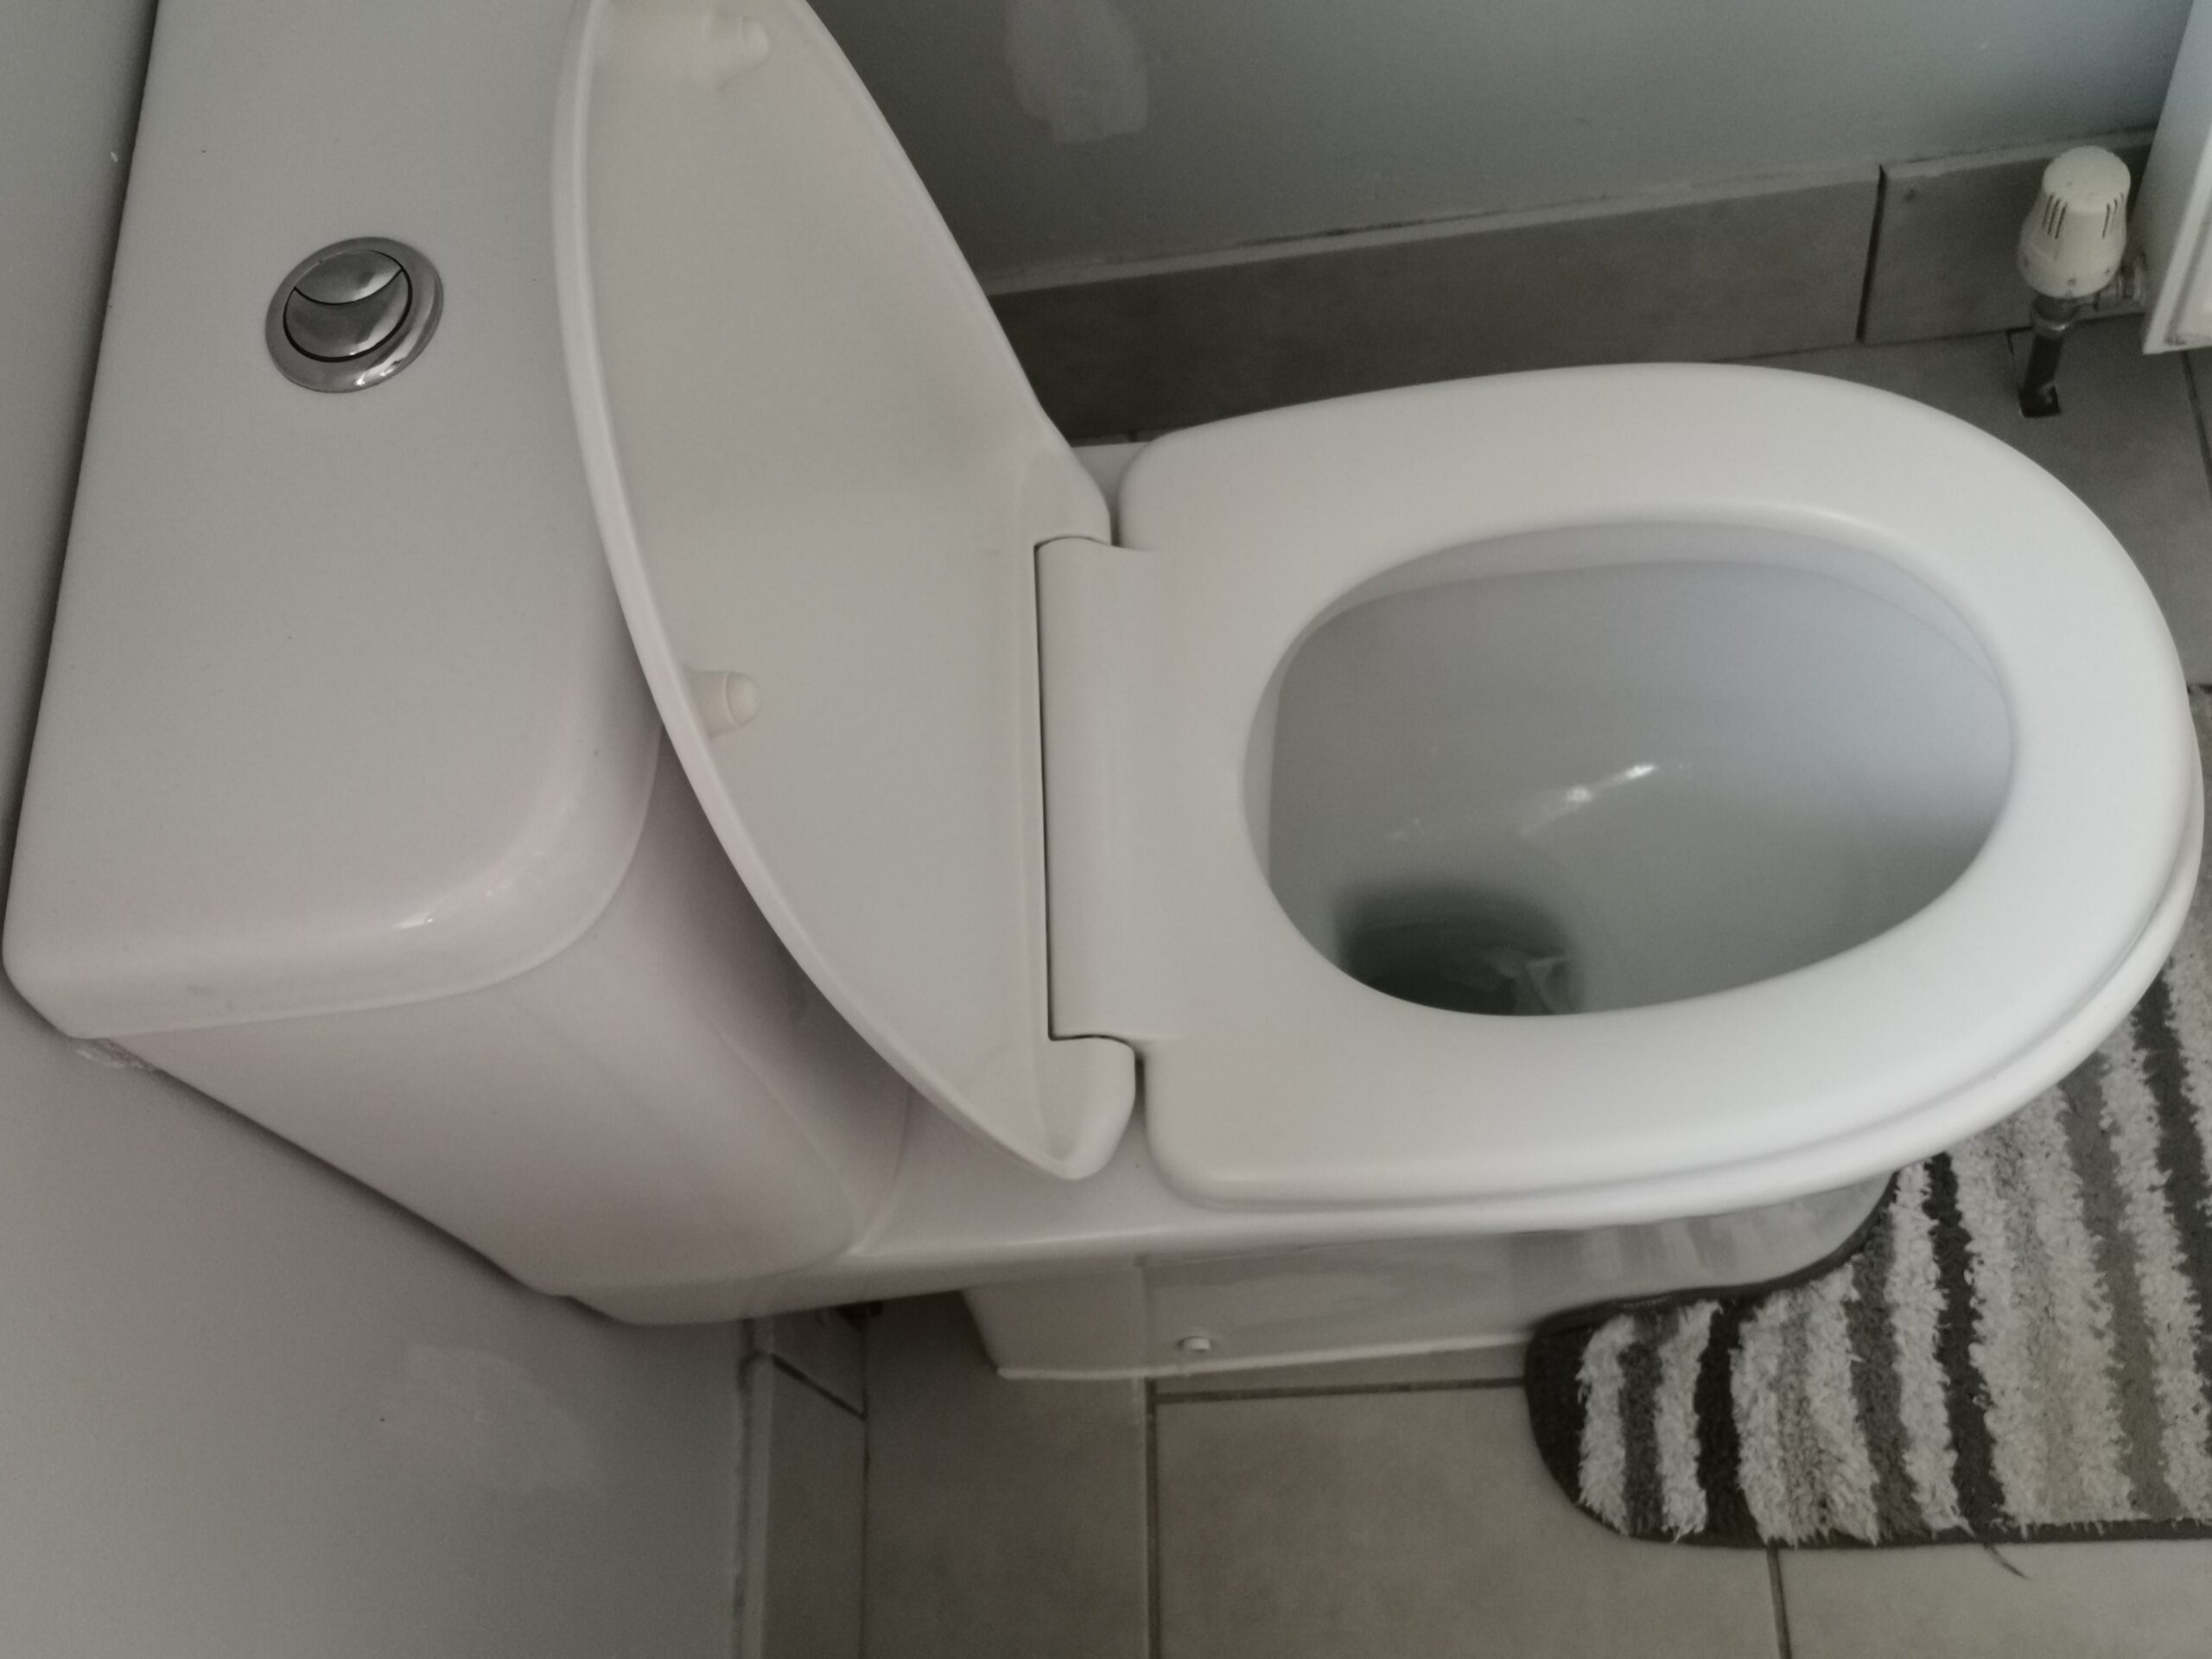
Toilets are usually closed couple or free standing with push button or handle flushes. The toilet has a lot of moving parts in the cistern which can often go wrong.
Will I need a new toilet or just a Toilet Repair?

Probably not. We can usually replace parts so your old toilet will carry on serving you for many years to some. We try to carry as many parts as possible so we don’t need to make two visits – we don’t want to waste time either and aim to have toilets repaired the same day and within the 1 hour slot for most toilets.