How to Check for a Toilet Leak: A Comprehensive Guide
Are you experiencing a sudden increase in your water bill or hearing an odd hissing sound coming from your bathroom? If so, you might have a toilet leak on your hands. A toilet leak is not only wasteful but can also lead to water damage if left untreated. In this guide, we’ll walk you through the steps on how to check for a toilet leak and address any potential plumber issues.
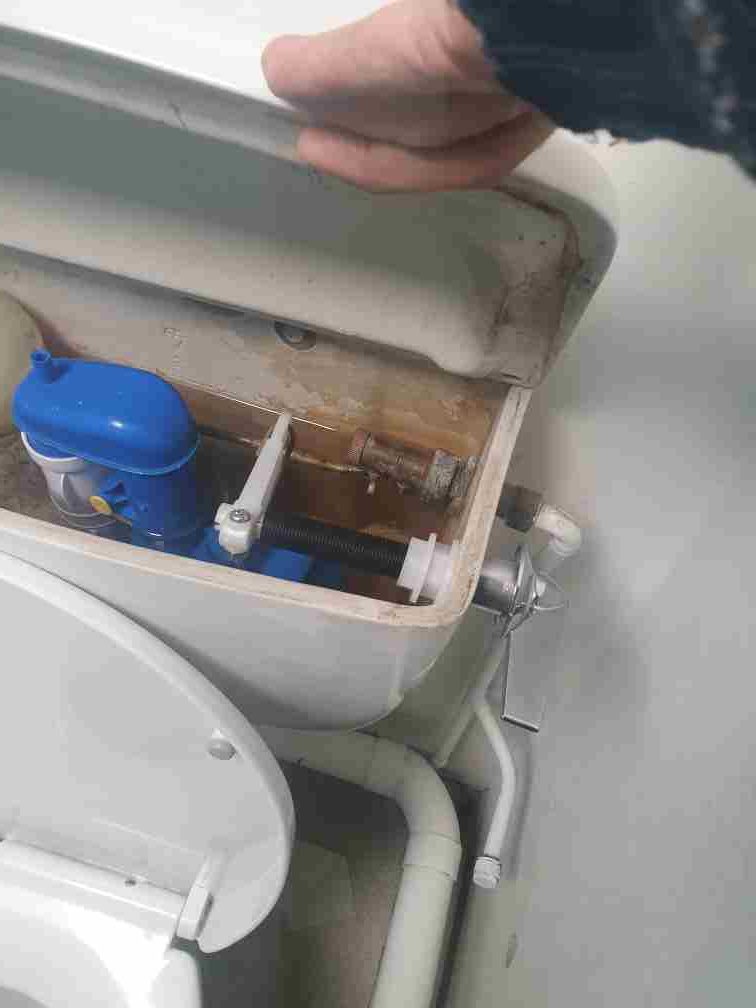
Toilet leaks can be more than just a minor inconvenience—they can lead to significant water wastage and higher utility bills. One of the most common culprits behind a leaking toilet is a faulty flapper valve. In this article, we will explore the role of the flapper valve in toilet mechanics, common causes of toilet overflows, and how to inspect and fix these issues effectively.
Understanding the Importance of Detecting Toilet Leaks
Before plumbers Bristol dive into the practical steps of detecting a toilet leak, it’s essential to grasp the significance of this issue. Detecting and fixing a toilet leak can help you:
- Save money on your water bill.
- Prevent water damage to your home.
- Contribute to water conservation efforts.
Gather Your Tools to do the Toilet Leak Investigation
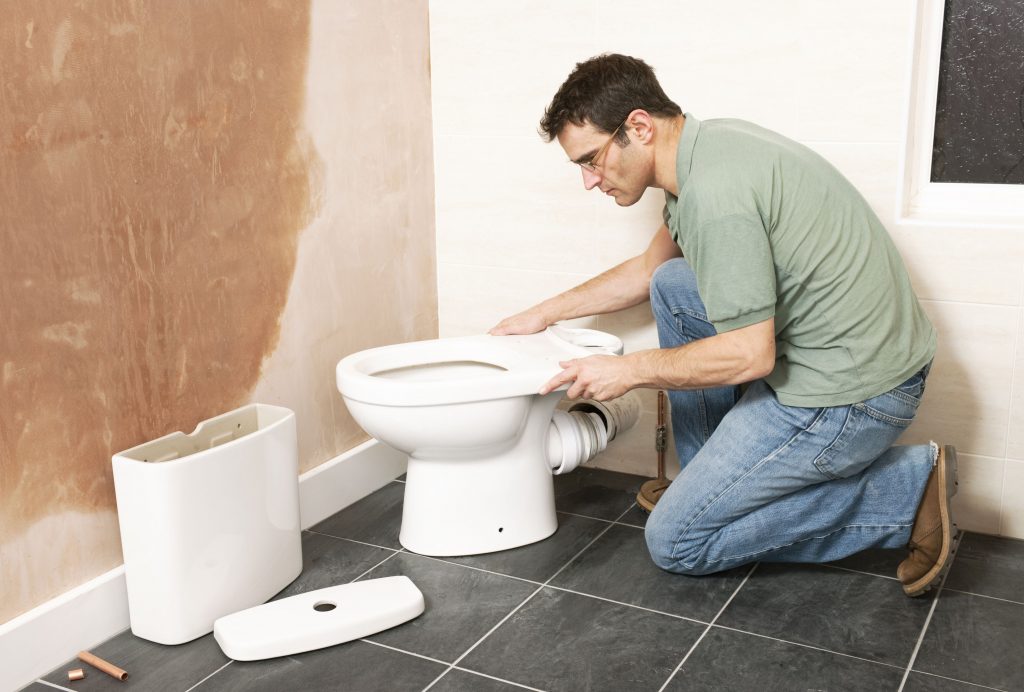
To begin your investigation, you’ll need a few basic tools:
- A flashlight
- Food coloring (optional)
- A wrench
Check for External Leaks
Start by inspecting the external areas of your toilet for visible leaks. Look closely at:
The Toilet Base
Check around the base of the toilet for any signs of water. If you notice moisture or water pooling, it’s a clear indicator of a leak.
The Supply Line Toilet Leak
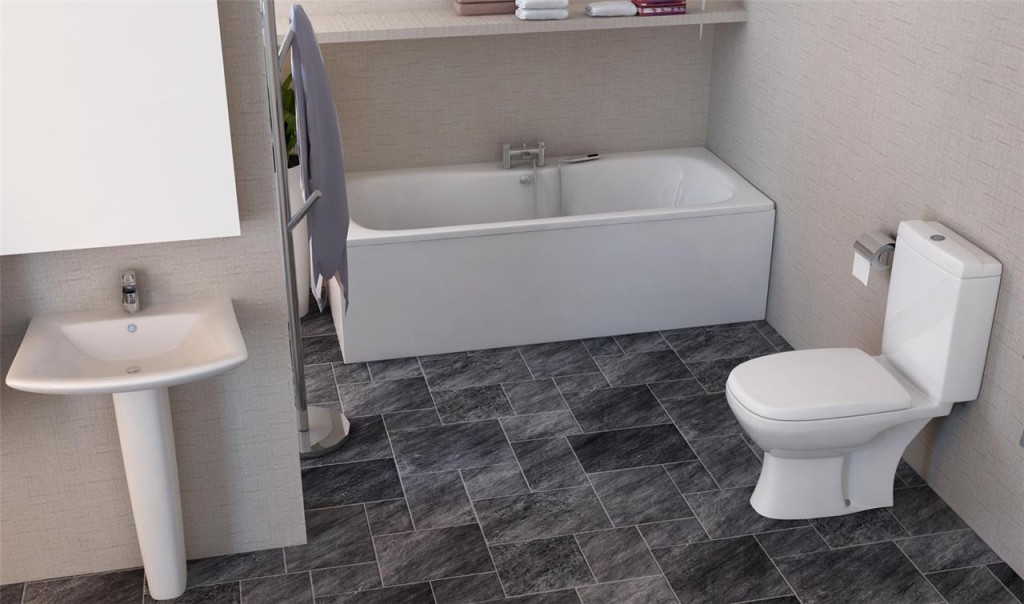
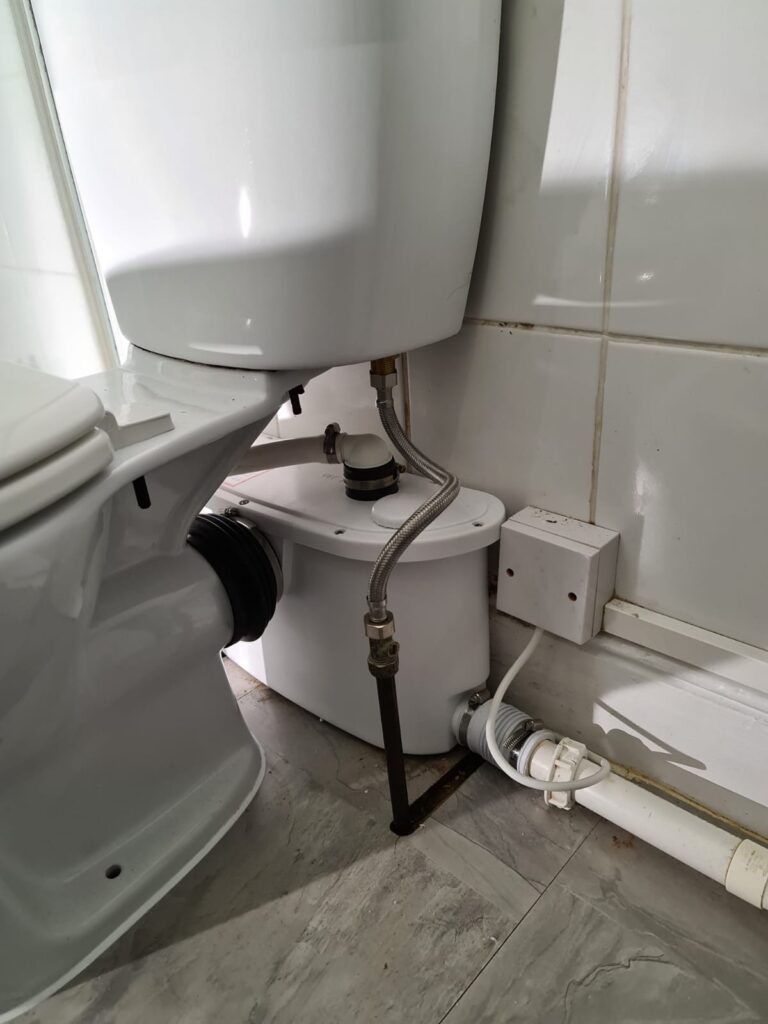
Examine the supply line, which connects your toilet to the water supply. Look for any drips or puddles near the connection points.
The Toilet Tank
Inspect the tank for any cracks, condensation, or water seepage. A cracked tank can be a common source of leaks.
Conduct the Dye Toilet Leak Test
A dye test is an effective way to detect internal toilet leaks. Here’s how to do it:
- Remove the tank lid.
- Add a few drops of food coloring to the tank water.
- Wait for about 15 minutes without flushing.
If you notice colored water in the toilet bowl, you have a leak in the flapper valve. This valve controls the release of water from the tank into the bowl.
Inspect If the Flapper Valve Is Causing The Toilet Leak
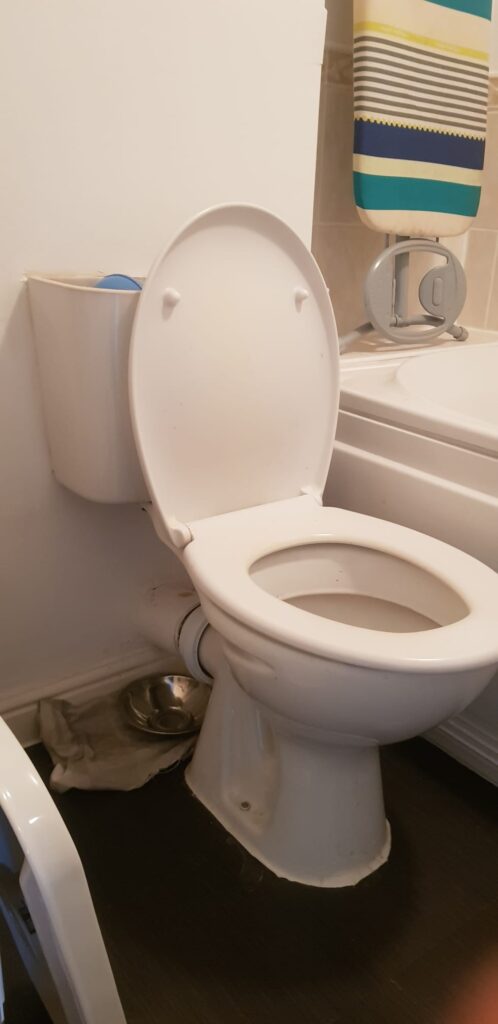
Understanding the Flapper Valve and how it affects toilet leaks
What is a Flapper Valve?
The flapper valve is a small but crucial component located at the bottom of the toilet tank. It controls the release of water from the tank into the bowl during a flush.
How Does It Function and how it can make the toilet leak?
When you flush the toilet, the flapper valve lifts, allowing water to flow from the tank into the bowl, creating the flush. Once the tank is empty, the flapper falls back into place, sealing the tank and allowing it to refill.
Common Signs of a Faulty Flapper Valve

Identifying a faulty flapper valve early can save you from more significant issues down the line. Here are some signs to watch for:
- Continuous Running Water – If you hear water running in your toilet long after you’ve flushed, it could be a sign that the flapper valve is not sealing properly.
- Hissing Sounds – A hissing noise from your toilet is often a sign that water is escaping from the tank to the bowl due to a poorly sealed flapper valve.
- Water Seeping into the Bowl – Visible water trickling into the toilet bowl when it hasn’t been flushed indicates that the flapper valve may be leaking.
Causes of Flapper Valve Malfunctions That’s Causing a Toilet Leak
Several factors can lead to flapper valve issues:
- Wear and Tear – Over time, the flapper valve can deteriorate due to regular use, causing it to lose its seal.
- Mineral Buildup – Hard water can cause mineral deposits to form on the flapper valve, preventing it from sealing correctly.
- Misalignment – A flapper valve that is not properly aligned can fail to create a watertight seal.
Inspecting the Flapper Valve
Before you can fix a faulty flapper valve, you need to inspect it properly:
Tools Needed for Inspecting If a faulty Flapper Valve is Causing The Toilet Leak
- Adjustable wrench
- Screwdriver
- Replacement flapper valve (if needed)
- Cleaning cloth
Step-by-Step Guide to Inspecting if the Toilet Leak is Flapper Valve’s fault
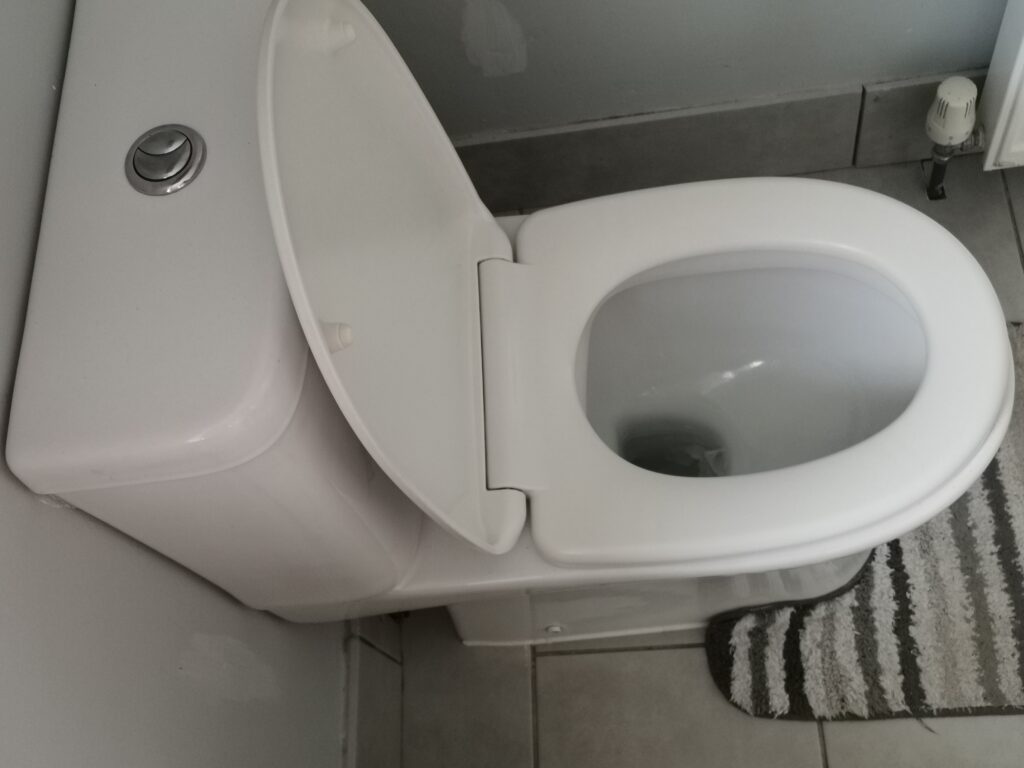
- Turn Off the Water Supply: Locate the shut-off valve behind the toilet and turn it off.
- Drain the Tank: Flush the toilet to empty the tank.
- Remove the Lid: Carefully lift off the tank lid and set it aside.
- Examine the Flapper Valve: Look for signs of wear, misalignment, or mineral buildup.
- Test the Seal: Press down on the flapper valve to see if it seals properly.
- Clean the Valve: If there’s buildup, clean the valve and surrounding area with a cloth.
Replacing a Faulty Flapper Valve
If inspection reveals that the flapper valve is beyond repair, replacing it is a straightforward process:
Choosing the Right Replacement
Ensure you buy a flapper valve compatible with your toilet model. Universal flapper valves are available but always check specifications.
Instructions for Replacing the Flapper Valve
- Remove the Old Valve: Unhook the chain and detach the flapper from the hinges.
- Install the New Valve: Attach the new flapper to the hinges and reattach the chain.
- Adjust the Chain: Make sure the chain has the proper slack to allow the flapper to seal and open fully.
- Test the Flush: Turn the water supply back on and test the new flapper valve by flushing the toilet.
Check the Overflow Tube
An overflowing toilet can also indicate a leak. Ensure the water level in the tank is about an inch below the overflow tube’s top. Adjust the float if necessary.
Inspect the Toilet Leak by Testing the Fill Valve
Sometimes, a malfunctioning fill valve can cause continuous water flow into the tank. To test it:
- Flush the toilet.
- Listen for any hissing or running water.
- If you hear these sounds, the fill valve may need adjustment or replacement.
Detecting and addressing a toilet leak
Detecting and addressing a toilet leak is crucial for both your wallet and the environment. By following the steps outlined in this guide, you can identify and resolve toilet leaks promptly, ensuring efficient water usage and preventing potential damage to your home.
Read about clearing blocked sewer line.
Questions you might ask about Toilet Leaks

Can a toilet leak lead to mold growth in my bathroom?
Yes, prolonged leaks can create a conducive environment for mold growth. It’s essential to address leaks promptly to prevent this issue.
Is it possible to repair a leaking toilet on my own?
Yes, many toilet leaks can be fixed as DIY projects. However, if you’re unsure or the problem persists, it’s best to consult a professional plumber.
How can I prevent future toilet leaks?
Regular maintenance, such as checking for loose connections and worn-out parts, can help prevent toilet leaks.
Are toilet leaks covered by homeowners’ insurance?
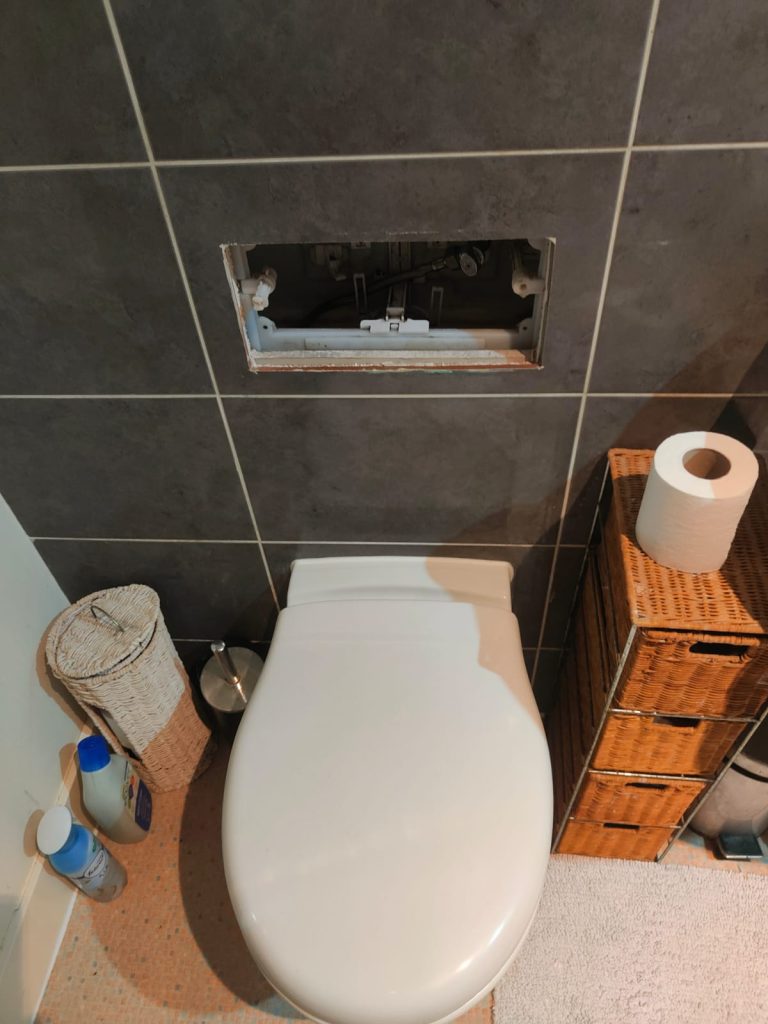
It depends on your policy. Some homeowners’ insurance policies may cover water damage resulting from toilet leaks, but it’s essential to review your policy to know for sure.
Can a leaking toilet increase my water bill significantly?
Yes, a toilet leak can lead to a substantial increase in your water bill if left unattended. Addressing the issue promptly can save you money in the long run.
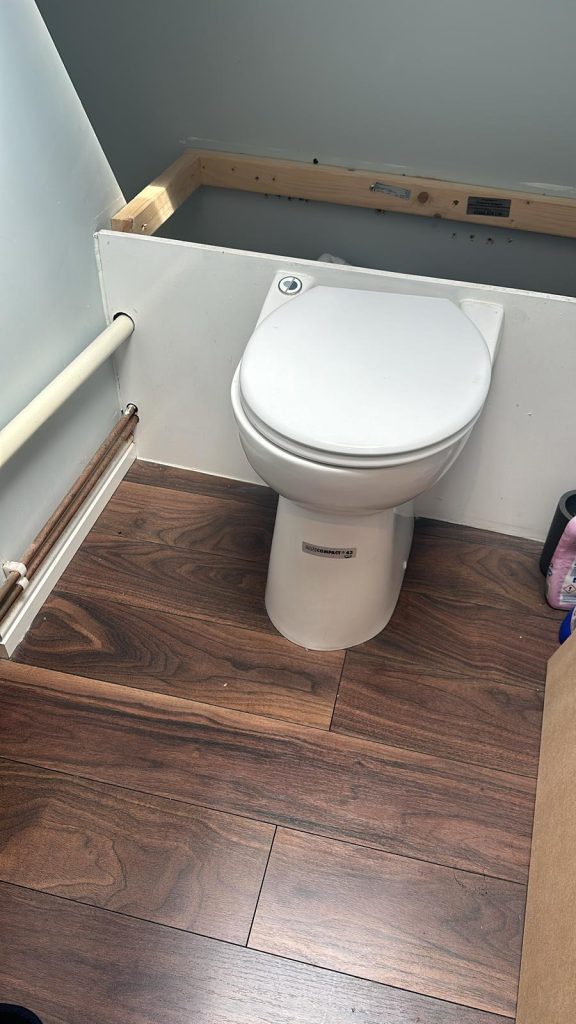
Check for a toilet leak
Now you have a comprehensive guide on how to check for a toilet leak and take the necessary steps to address it. By following these guidelines, you can save money, conserve water, and maintain a leak-free bathroom. Don’t wait; take action today to ensure a more efficient and eco-friendly toilet system.
